
iOS App from Environment Setup to App Store Preparation: Xcode, Real Device Debugging, and Compliance Process
Where does iOS app development start? This article follows the complete development mainline to sort out macOS and Xcode environment preparation, SwiftUI or UIKit interface development, simulator and real device debugging, developer mode and signing mechanisms, as well as pre-submission privacy permission checks, helping beginners and developers transitioning to mobile understand the relationships between each stage and the necessary preparations.
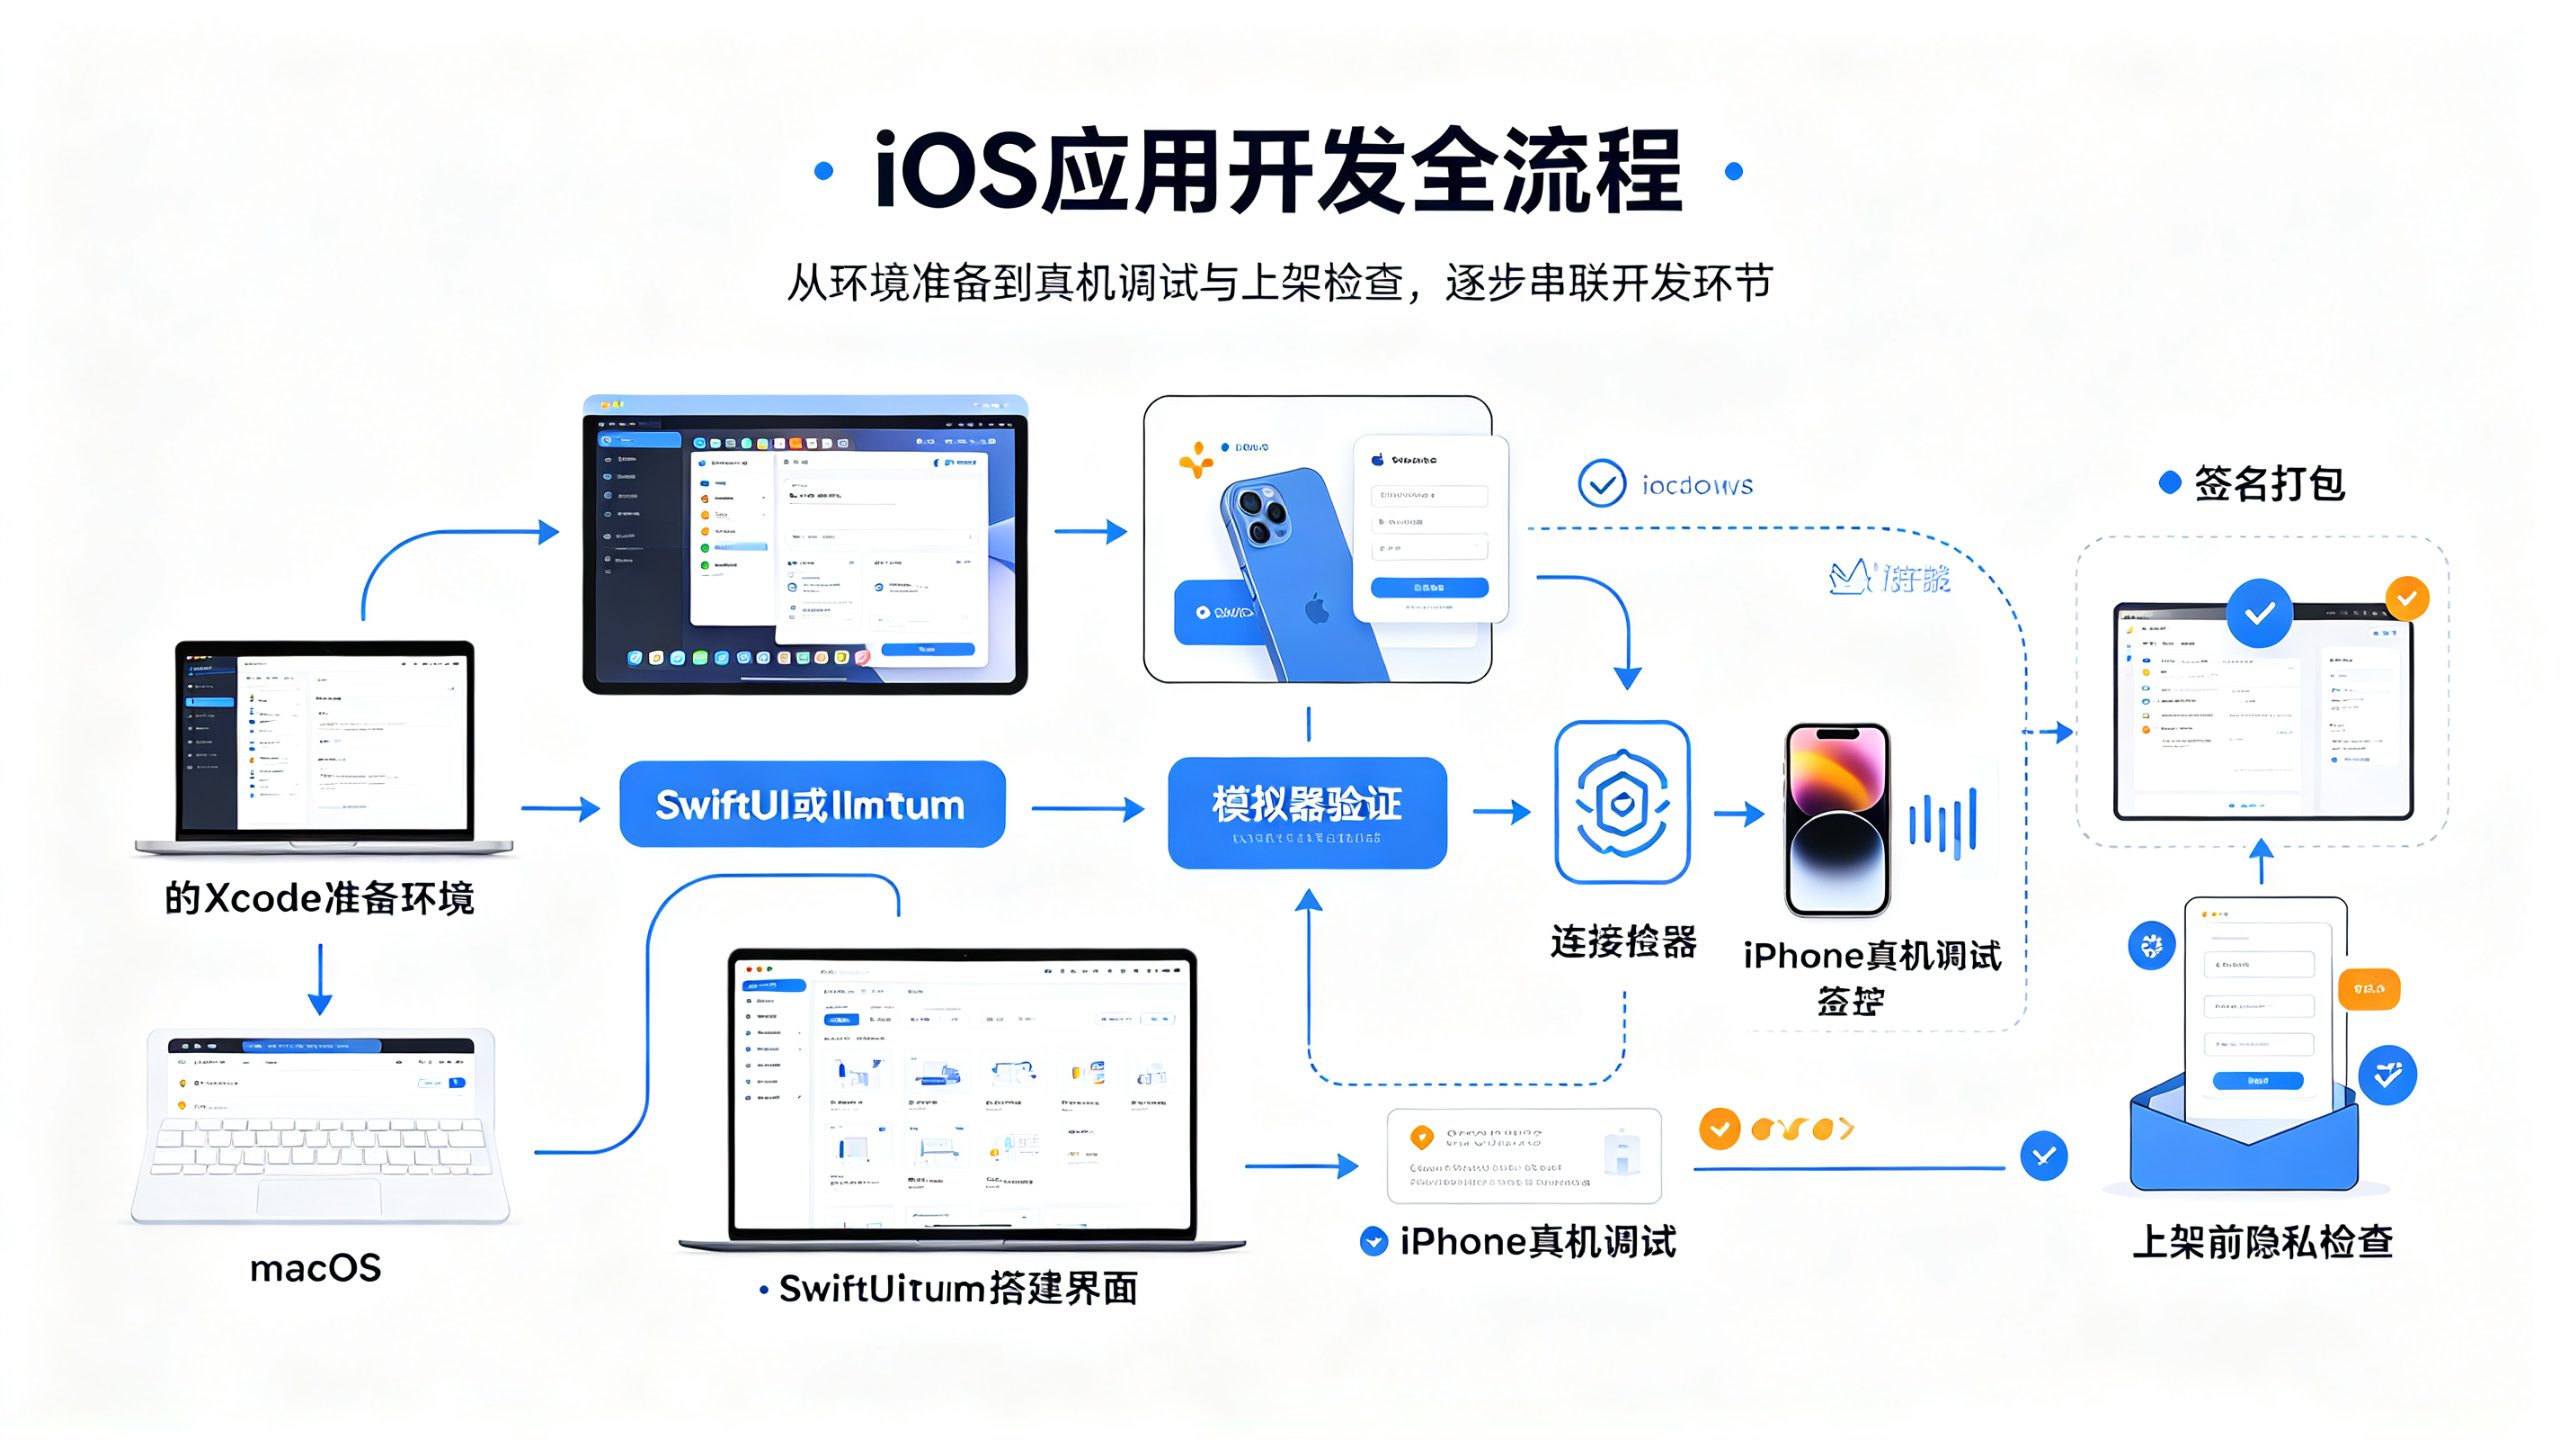
Brothers, the ninth chapter of the iOS series is finally updated. This chapter has indeed been awaited for quite some time, and readers have been urging updates in the backend all along. If the previous eight chapters were more about individual knowledge points, then the core goal of the ninth chapter is very clear: string the previously scattered capabilities into a complete iOS app development mainline, from environment preparation, interface building, real device debugging, to signing and packaging and pre-submission compliance checks, all in one go.
This article will systematically organize the core content of the ninth chapter, making it convenient for those who haven't caught up to directly see the key points, and also convenient for those who have already watched the videos or documents to use as notes. The content covers iOS development environment setup, developer mode and simulator usage, UI layout specifications, certificate signing principles, real device debugging process, and common permission adaptation issues after iOS 15. It is suitable for readers starting from zero foundation, and also for friends transitioning from backend to mobile who want to quickly understand the full iOS development process.
1. Background: Why iOS Development Needs a Complete Mainline
When many beginners come into contact with iOS development, they easily fall into two extremes: either they only look at syntax, learn a lot of Swift basics, but don't know what steps an app goes through from creation to submission; or they only learn tools, can use a bit of Xcode, can run the simulator, but completely don't understand the purpose of signing, provisioning profiles, and developer accounts.
What the ninth chapter wants to solve is precisely the problem of "connecting the whole process."
iOS development is not just about writing code. After writing a page well, you also need to consider which devices it runs on, how to adapt to screen sizes, how to declare user privacy permissions, how to enable developer mode during real device debugging, and finally how to package and upload to the App Store. Each step has a corresponding toolchain and engineering specification. If you only learn scattered knowledge points, it is easy to encounter problems during real device debugging or submission.
There is another easily overlooked point: iOS system versions iterate very quickly. Every year after WWDC, a batch of new features, new permission requirements, and new privacy rules appear. For example, developer mode became a switch that must be manually enabled in iOS 16, and many developers encountering real device debugging for the first time will get stuck here. This kind of problem cannot be solved by memorizing syntax; you must understand the iOS development chain as a whole.
Therefore, the positioning of the ninth chapter is "connecting the past and leading to the future": it both integrates the previous foundational content and lays the groundwork for subsequent advanced content. Below I will break down the key points of this chapter into several parts and expand on them one by one.
1.1 What Exactly Is iOS Development
Strictly speaking, iOS development refers to developing applications that run on devices such as iPhone and iPad based on Apple's official SDK. The development languages are mainly Swift and Objective-C, and the official integrated development environment is Xcode.
Compared with Android development, iOS development has a distinctive feature: a closed toolchain. From writing code, designing interfaces, running the simulator, real device debugging, to packaging and submission, almost everything can be completed through the single tool Xcode. The system's openness is relatively lower, but correspondingly, security and consistency are higher, and fragmentation problems are much fewer.
This is also one of the reasons why many enterprises are willing to choose iOS as the first-launch platform for mobile. For developers, this means that mastering one relatively fixed process can cover most development needs.
1.2 What Problems Does the Ninth Chapter Mainly Solve
The content of this chapter can be summarized as four things:
First, environment setup, including registering an Apple ID, installing Xcode, and understanding the composition of the iOS SDK.
Second, interface development. Use SwiftUI or UIKit to build a complete app interface and adapt to iPhones of different sizes.
Third, real device debugging. Install the app on your own iPhone to run it, and understand developer mode and the signing mechanism.
Fourth, submission preparation. Understand common pre-submission check items and privacy compliance requirements for the App Store.
These four things exactly correspond to the complete process of an app from "idea" to "installable."
2. Environment Preparation: Xcode, Simulator, and Developer Account
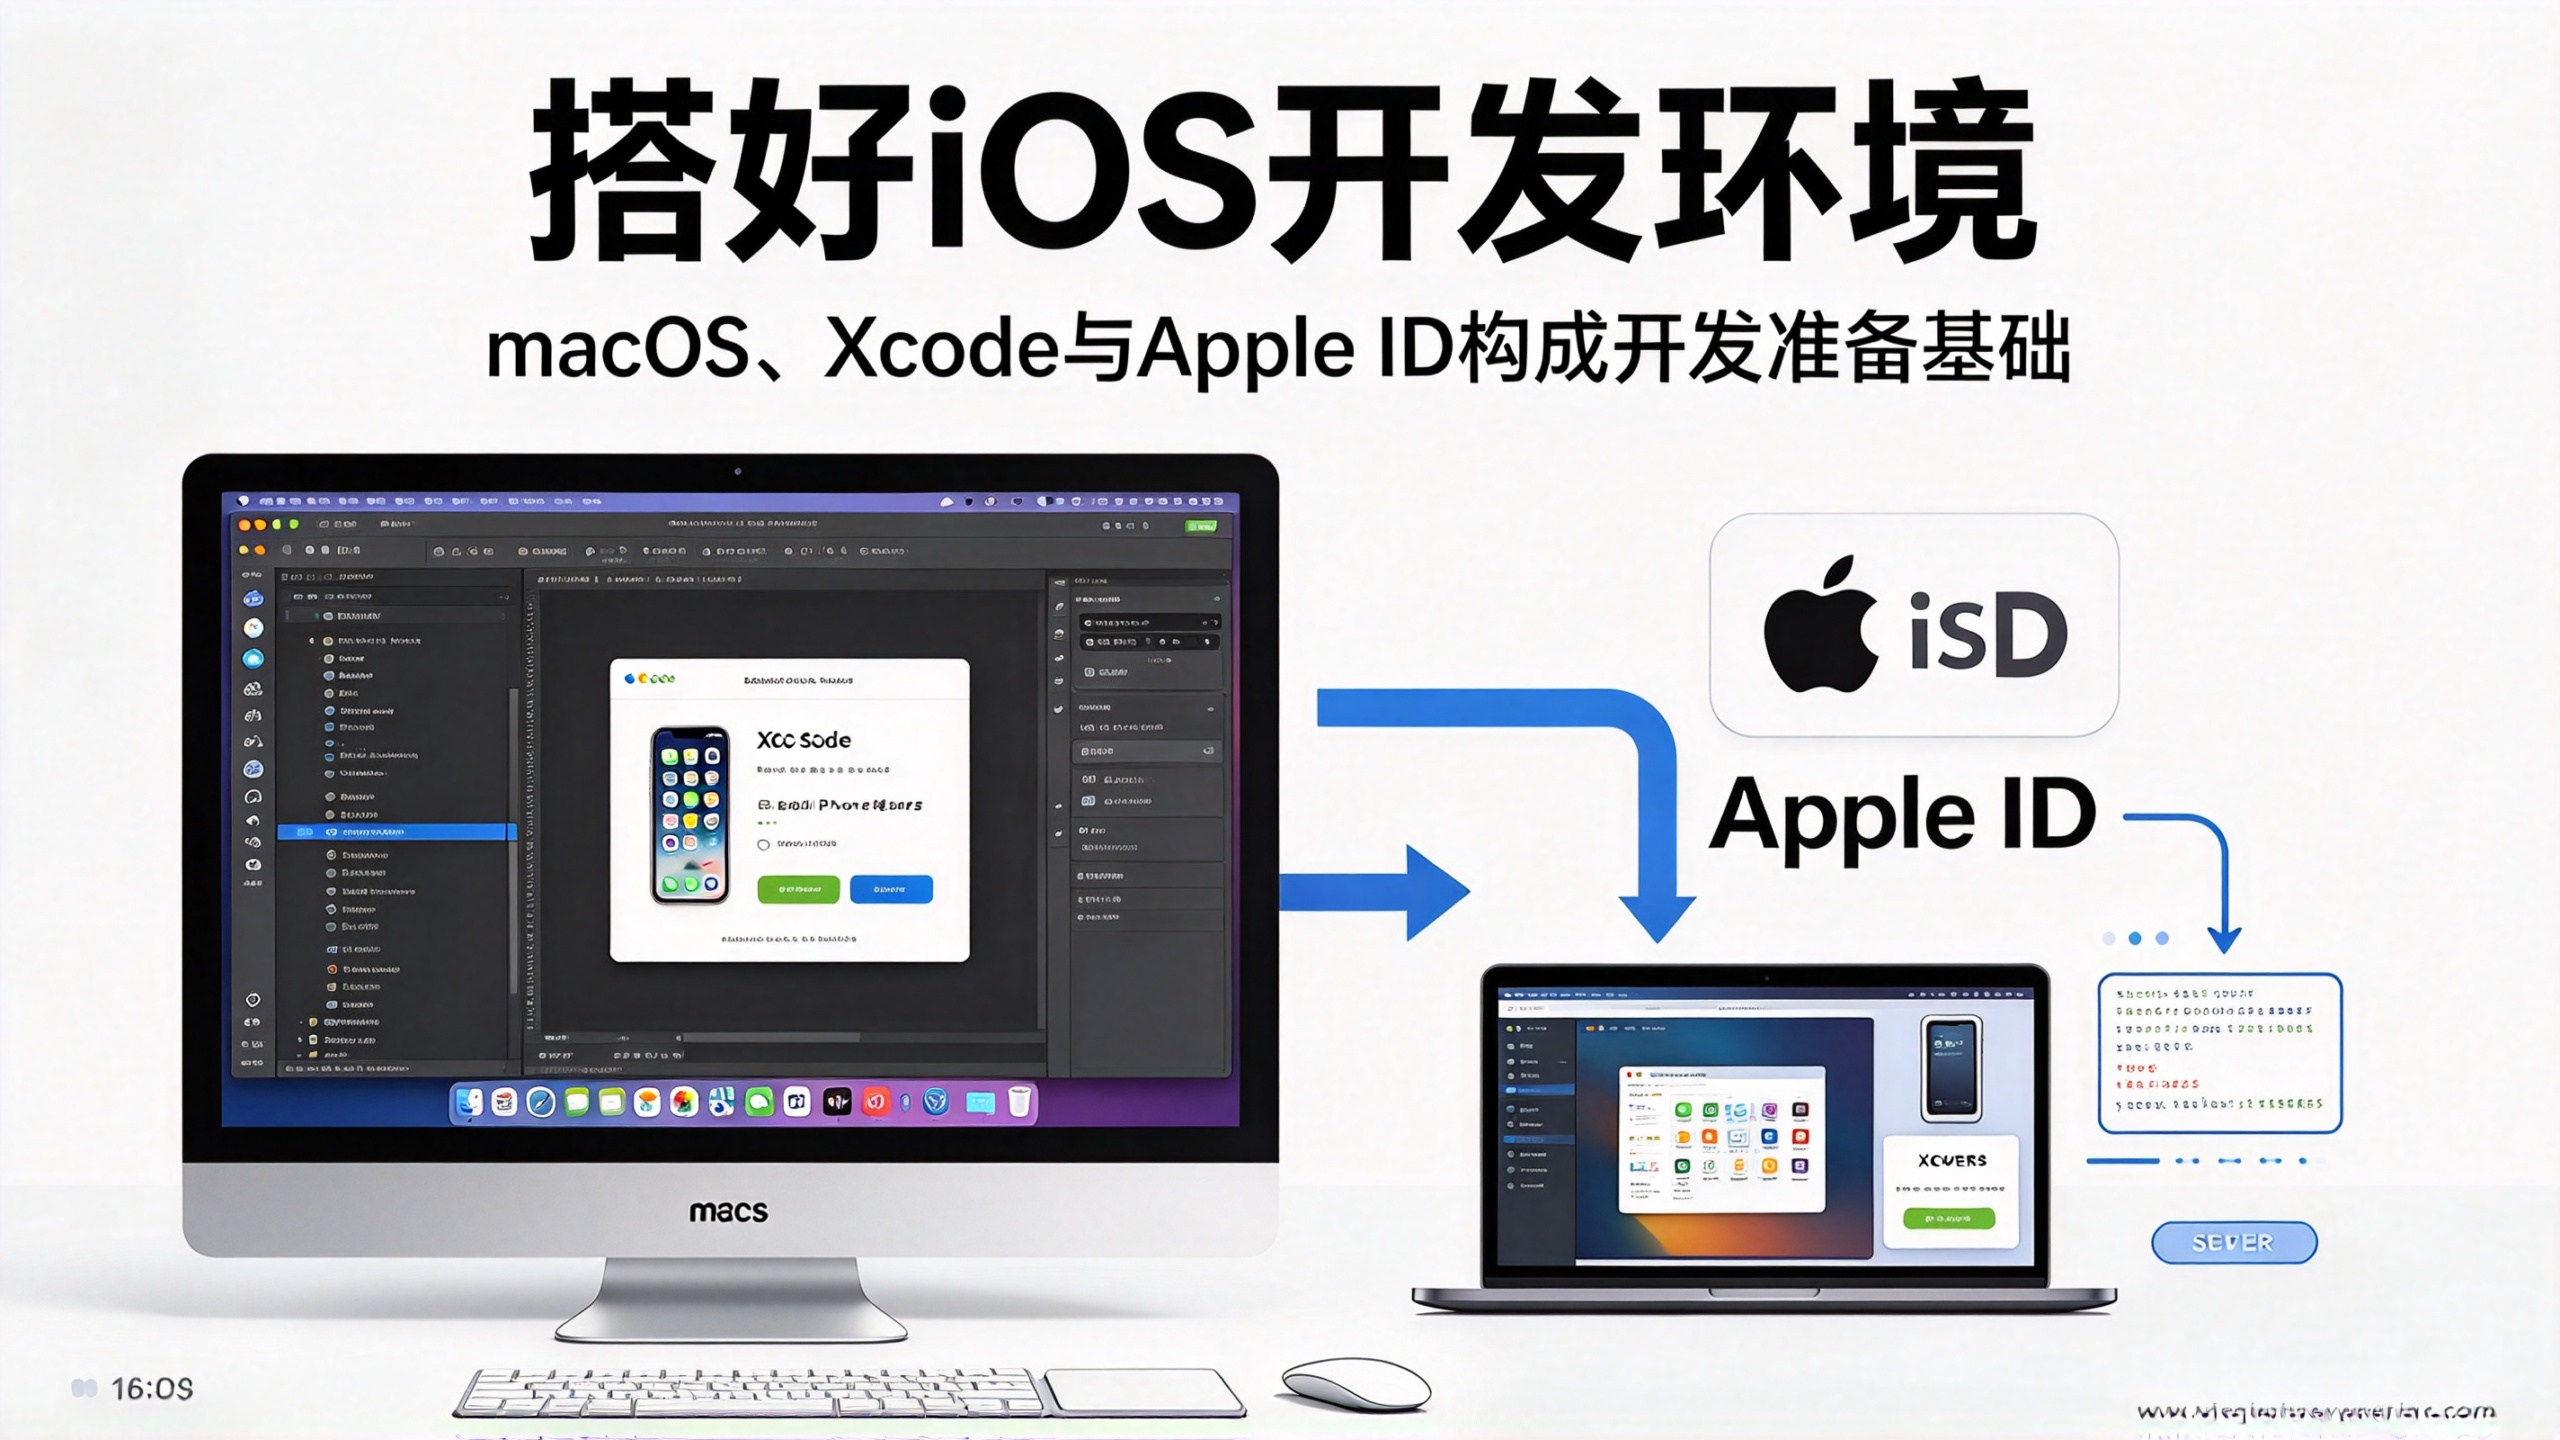
Before starting to write code, first prepare the development environment. The iOS development environment includes three core parts: the macOS system, the Xcode development tool, and an Apple ID account. They are explained separately below.
2.1 Hardware and System Requirements
Developing iOS apps requires the macOS system; this is an official restriction from Apple. Xcode can only run on macOS, and new versions of Xcode usually require a newer version of macOS.
If you only have a Windows computer and want to do iOS development, the available options are limited. The more reliable approach is to use a Mac computer, such as a MacBook with an Apple chip, a Mac mini, or similar devices. Virtual machine solutions have obvious problems in terms of performance and stability. Many people try to install a macOS image on Windows via a virtual machine to develop iOS, but hardware compatibility, system updates, and Xcode debugging all become troublesome, so it is not recommended as a primary solution.
If you are using an Apple chip Mac, it is recommended to choose as large a memory configuration as possible. Xcode itself uses a fair amount of memory, and with the simulator running at the same time, 16GB of memory is a comfortable starting configuration.
2.2 Installing Xcode
The App Store version automatically matches the current system version and is the simplest installation method.
# 在终端中查看 macOS 系统版本
sw_vers

# 确认 Xcode 版本
xcodebuild -version
After running these two commands, you can view the current system version and Xcode version. Different versions of Xcode correspond to different iOS SDK versions; for example, Xcode 14 comes with the iOS 16 SDK, and Xcode 15 comes with the iOS 17 SDK. The examples in this article are not tied to specific versions; the focus is on demonstrating the general approach, and the specific versions should be based on your local environment.
After installation is complete, the first time you open Xcode it will prompt you to install additional components; just follow the prompts. If you want to use tools such as xcodebuild or git in the terminal, you may also need to run the following command to accept the license agreement:
sudo xcodebuild -license accept
2.3 Apple ID and Developer Account
Developing iOS apps requires an App