
uni-app Cross-Platform Development in Practice: A Complete Guide from Underlying Principles to Packaging and Release
From underlying compilation principles, technology selection, environment setup, cross-platform routing and lifecycle, and conditional compilation, to performance optimization and packaging and release, this systematically sorts out the entire uni-app cross-platform development workflow, and shares the team's practical pitfall experiences and selection advice, helping developers efficiently implement multi-platform projects.
Two years ago I took on a mobile project. The requirements were simple: one business system that had to launch on WeChat Mini Program, Alipay Mini Program, and H5, and also be wrapped into iOS and Android apps. Including me, the team had three frontend developers. No one had written native code, and no one had worked on iOS or Android. At the technology selection meeting at the time, I stared at the requirements list and did the math—if each platform were developed separately, even using a native web technology stack, it would require at least two codebases; add the syntax differences between WeChat and Alipay, and it would start at three. That was the first time I seriously researched uni-app, and it was also after I later used it to finish the entire project that I decided to organize the most worthwhile parts of the whole process into something useful, as a practical reference for people preparing to get into it.
The name uni-app is quite controversial in many frontend communities. Some praise its efficiency, while others say it has many pitfalls. My attitude is straightforward: it is indeed not omnipotent, but in the scenario of "one codebase handling a multi-platform business system," it is the most cost-effective solution I have used. In this content, I will start from the underlying principles, walk you through the complete development workflow, and then lay out all the pitfalls I stepped into in actual projects, the performance issues I tuned, and the configuration details I encountered during release. Whether you are a beginner just getting in touch with uni-app, or a veteran who has been writing it for a while but always feels something is off, this should give you some reference answers.
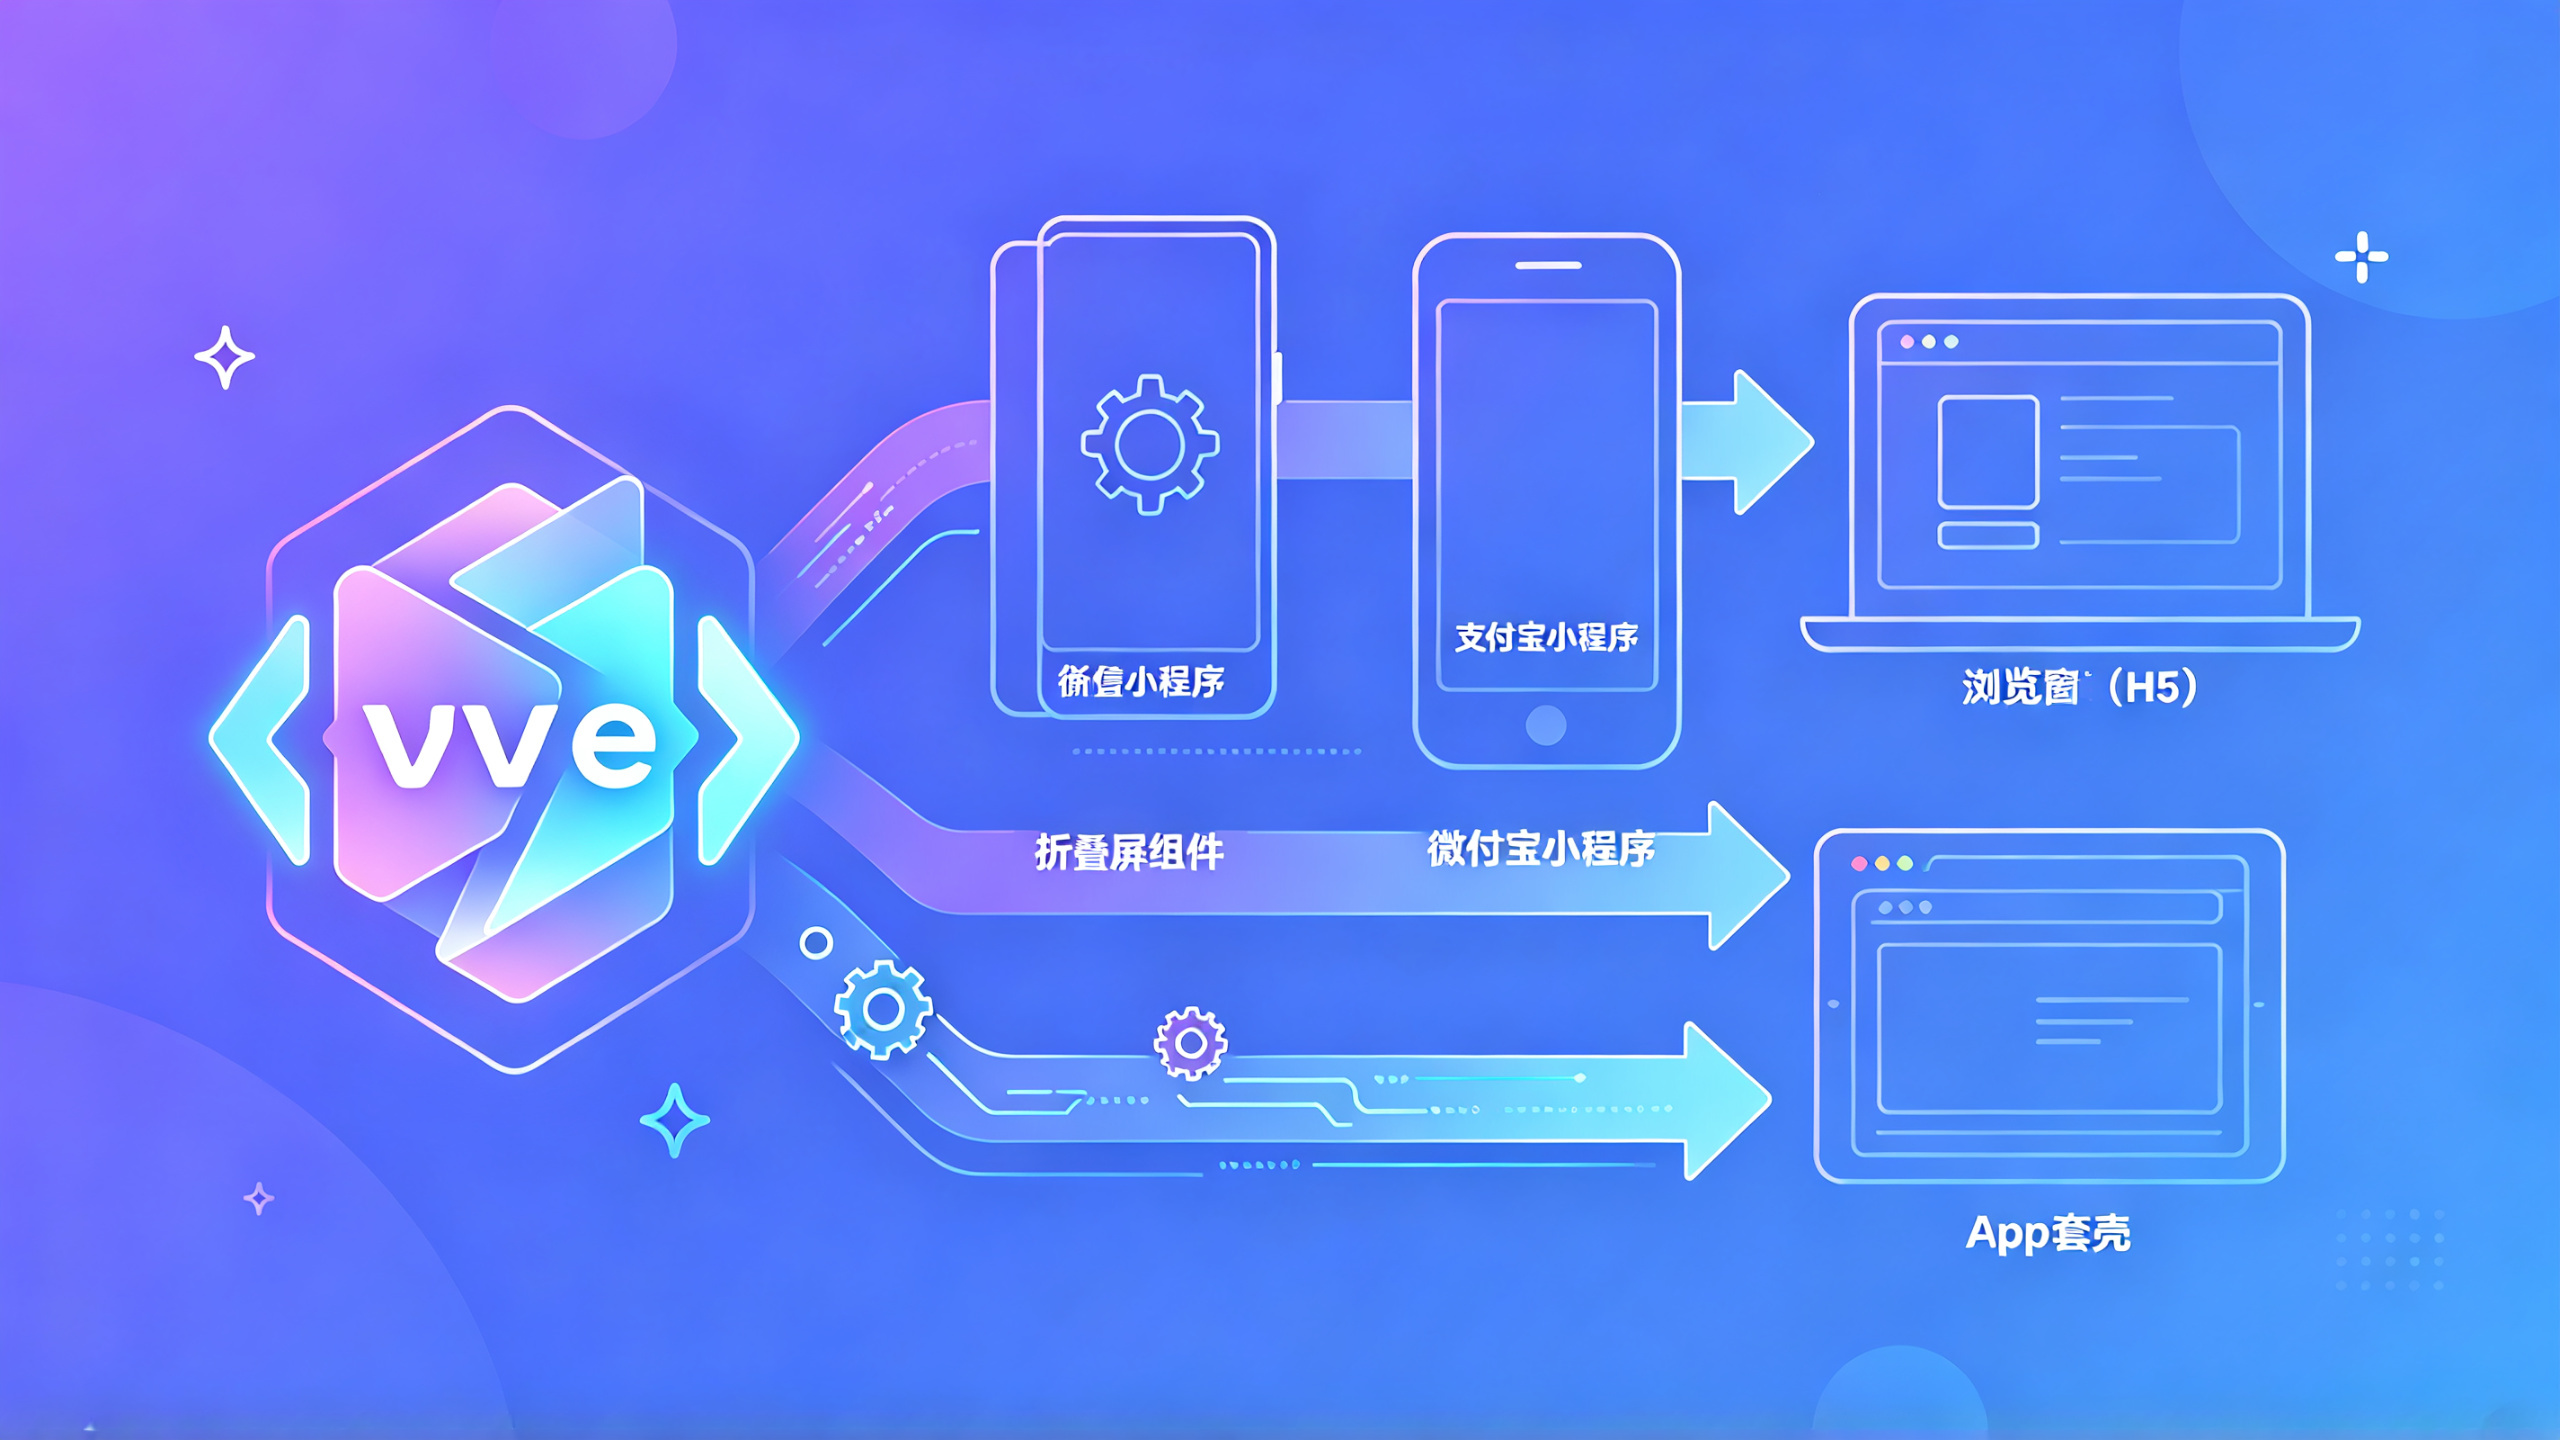
1. First understand uni-app's underlying logic: how exactly does one codebase run on multiple platforms?
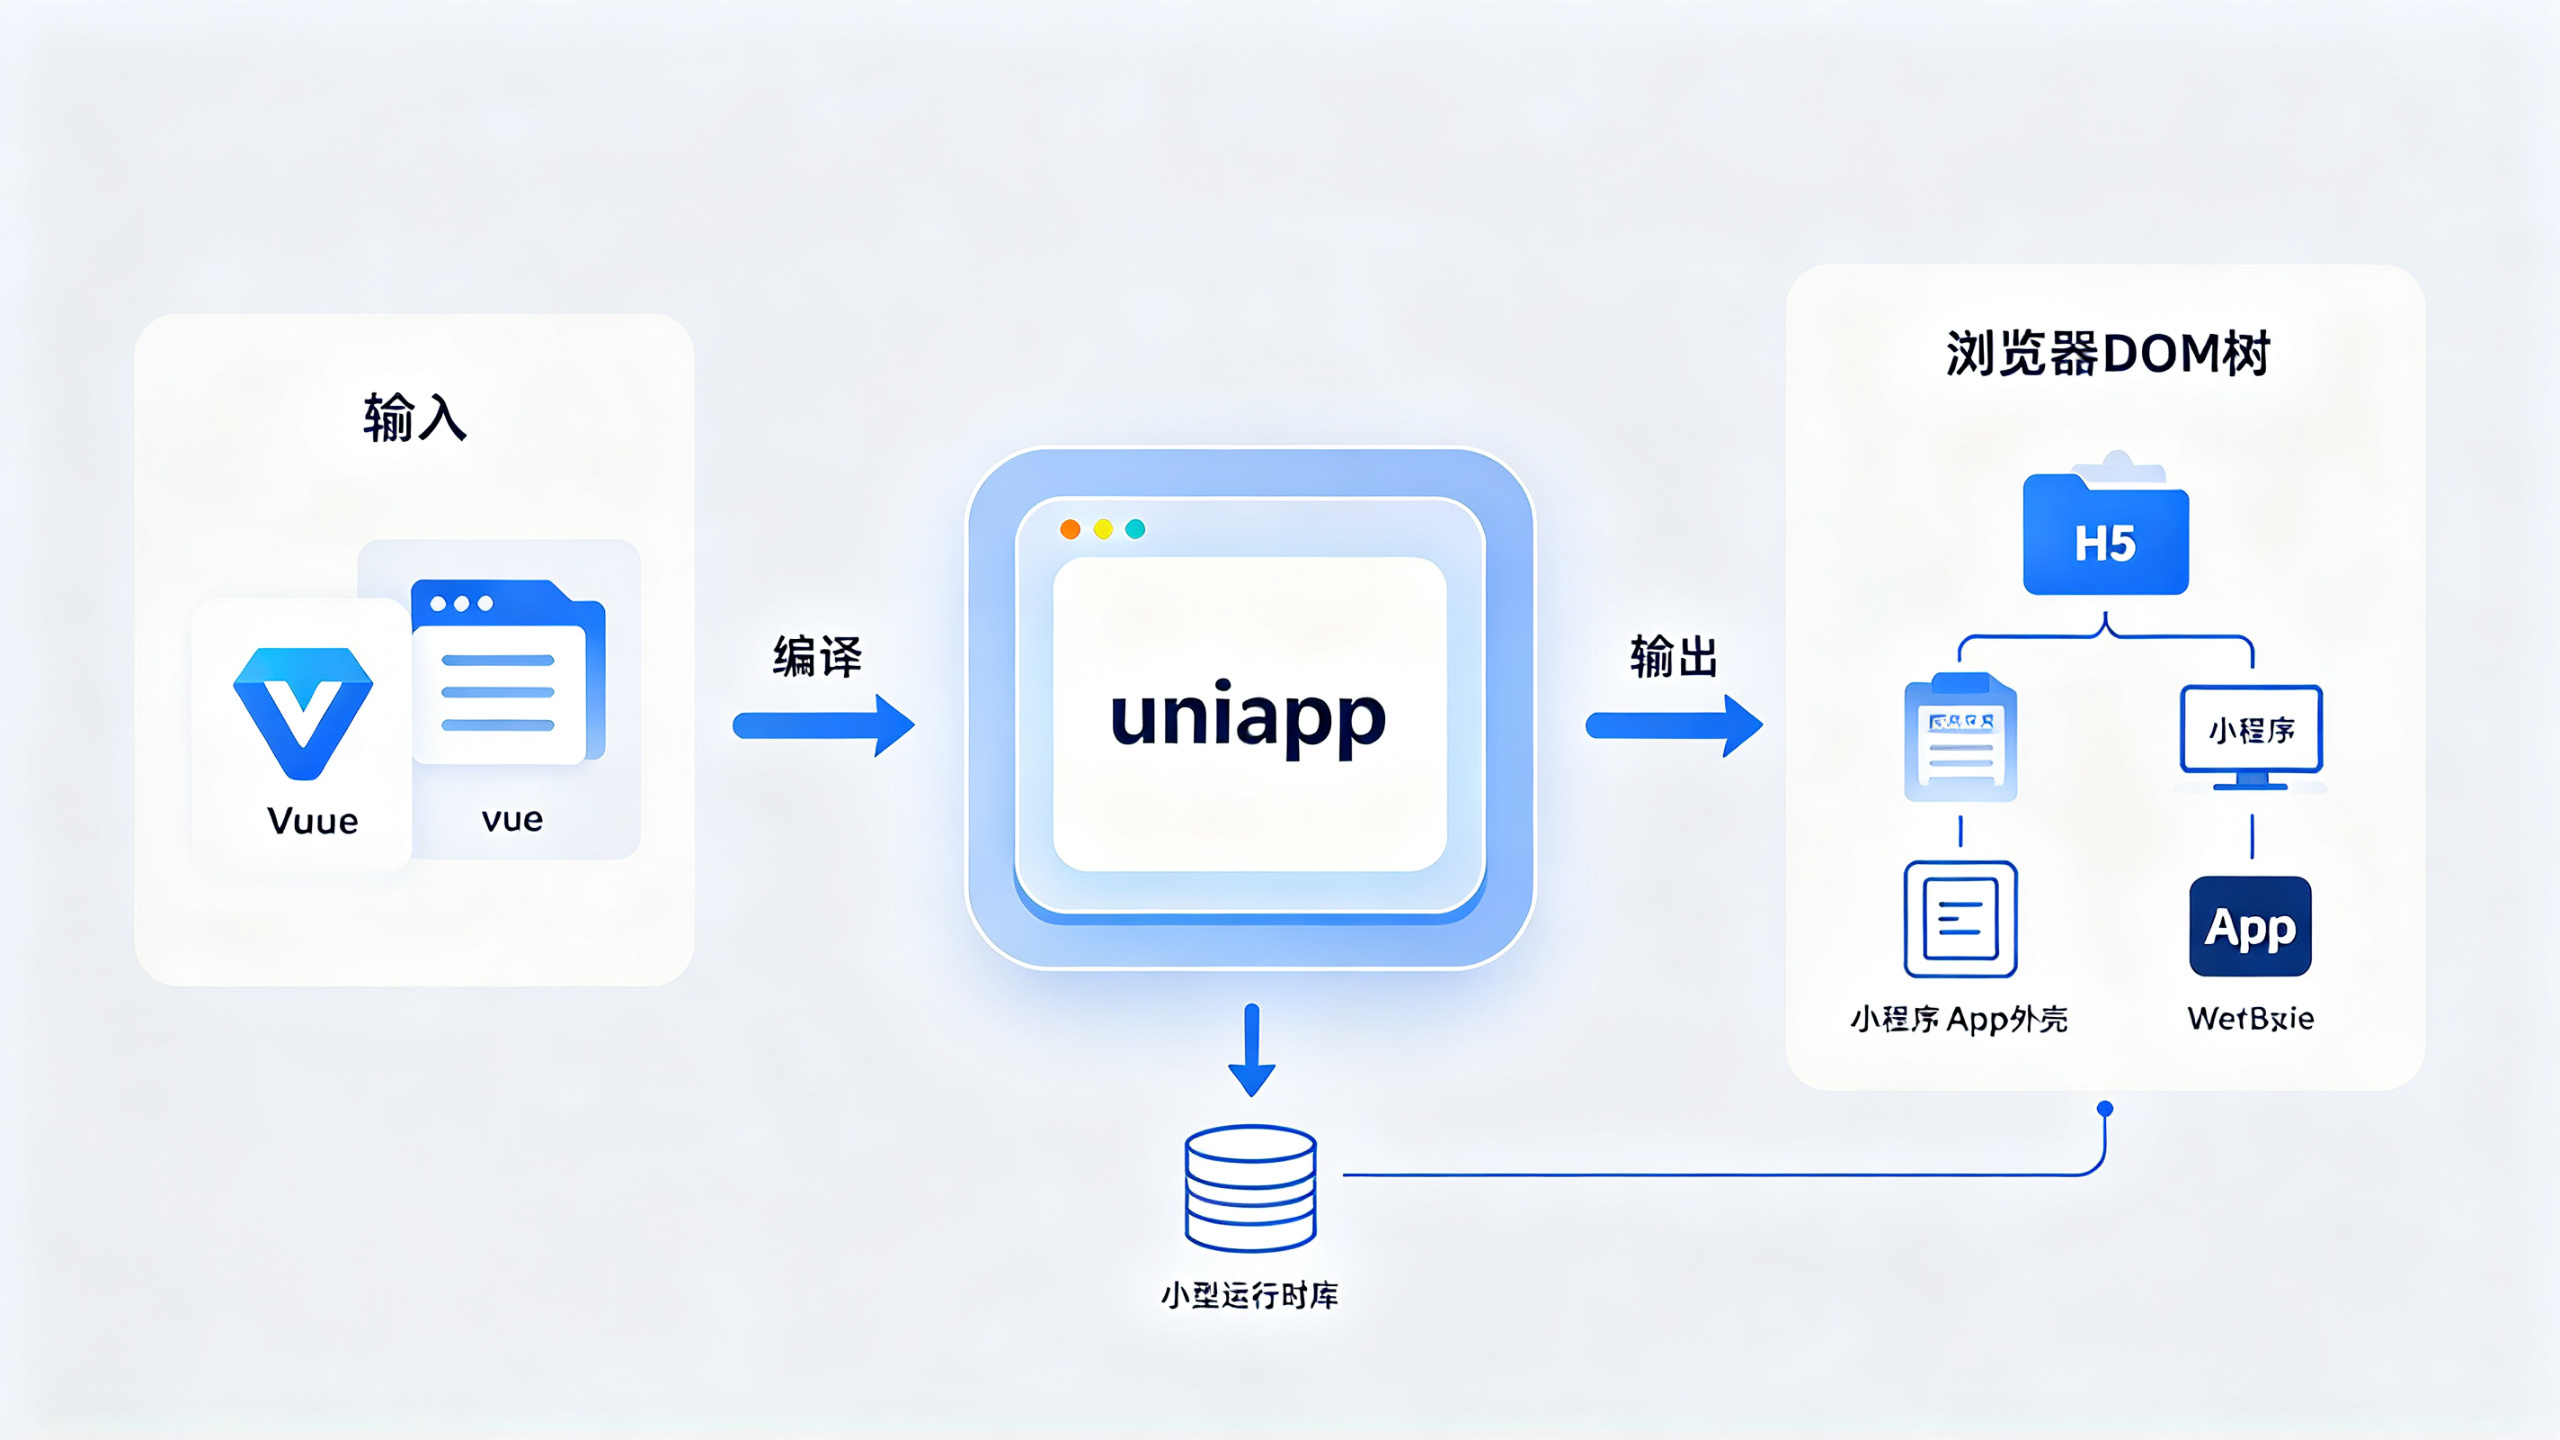
1.1 It is essentially a compiler, not a runtime
Many people have an illusion when they first encounter uni-app: they think that, like Flutter, it implements its own rendering engine and all platforms use the same drawing logic. In fact, uni-app's approach is completely different. It is more like a translator—what you write in the project is .vue single-file components, and after development is complete, uni-app compiles this codebase into forms that each platform can understand.
Specifically, when you run the project on the H5 platform, it compiles into an ordinary web application and follows Vue's standard rendering pipeline in the browser. When you run it on WeChat Mini Program, it breaks down the .vue files you wrote into the four required pieces of WeChat Mini Program—.wxml templates, .wxss styles, .js logic, and .json configuration. When you run it on the App platform, the situation is a bit more complex. The older approach was rendering with webview, and later uni-app introduced nvue, which follows the weex route of self-drawn native rendering.
This logic explains uni-app's most critical design philosophy:
It does not try to unify the rendering mechanisms of each platform, but rather unifies the developer's coding model.
You write on the page
<view>
, and when compiled to Mini Program it becomes
<view>
, when compiled to H5 it is still
<view>
, and when compiled to App's webview rendering it is roughly the same; but when compiled to nvue, it maps to
.nvue
dedicated components. Write
onLoad
lifecycle, and on the Mini Program side it corresponds to the Mini Program's onLoad, while on the H5 side it corresponds to the timing when page loading is complete. uni-app does a clever layer of mapping in between, allowing the same business logic to produce the same behavioral results on different platforms.
1.2 Technical differences in compilation targets across platforms
To explain the principles more thoroughly, I will use a table to organize uni-app's compilation outputs and technical points on different platforms:
Target Platform | Compilation Output | Rendering Method | Notes |
H5 | Standard Vue application | DOM rendering | Fully reuses the Vue ecosystem |
WeChat Mini Program | WXML/WXSS/JS/JSON | Mini Program native component tree | Has a 2MB package size limit, requires subpackaging |
Alipay Mini Program | AXML/ACSS/JS/JSON | Mini Program native component tree | API naming differs slightly from WeChat |
App (webview solution) | Packaged frontend resources | Webview rendering | Performance on pages with complex interactions is average |
App (nvue solution) | Native rendering components | Weex native rendering | Style support subset, need to pay attention to the syntax |
The most noteworthy thing here is the compilation logic of the mini program. When compiling a mini program, uni-app performs a very important operation:
Static analysis of the dependency tree
. It starts from the entry file, recursively parses every import and component registration, and assembles all the used JS and WXML fragments into independent files. This is also why the uni-app official documentation has always emphasized not to dynamically register components and not to load components with string-concatenated paths — because once content can only be determined at runtime appears, the compiler cannot perform static analysis, and the final output may be missing things.
During development, I once encountered a strange problem: a certain component worked perfectly on the H5 side, but as soon as it was compiled to the mini program, it reported “Component is not found”. Later, after investigation, it turned out that
v-if
a component was dynamically referenced inside, and the compiler determined during the static analysis stage that this part would never execute, so it directly tree-shook it away. This is the direct help that understanding compilation principles can bring to development — you know how it works, so you know which ways of writing will hit a landmine.
1.3 Runtime differences between the mini program side and the App side
There is also a concept that is easy to confuse and needs to be clarified: the runtime of uni-app on the mini program side and the runtime on the App side are two completely different things.
The uni-app runtime on the mini program side is actually a piece of base library code compiled into the output. It is responsible for mapping Vue's reactive data model to the mini program's data binding. What you write in Vue as
data() { return { a: 1 } }
, after compilation, becomes the mini program Page's
data.a
, and the
{{ a }}
in the template will also be converted into the mini program's template syntax. Vue's reactive update logic is synchronized to the mini program view layer through the setData call injected by the uni-app runtime.
The App side is a bit different. Under the webview solution, uni-app runs Vue in a hidden webview, and the page is actually rendered in the webview as well, with native capabilities exposed externally through a bridge layer. Under the nvue solution, Vue's virtual DOM is mapped to a native component tree, which is then drawn by the native rendering engine. So when you do complex interactive animations on the App side, you must confirm whether you are using webview rendering or nvue rendering, because the performance difference between these two modes is very obvious.
After clarifying these underlying logics, when you encounter problems like “why does the same way of writing work normally on H5, report an error in the mini program, and lag on App”, you will not be completely confused.
2. Reverse thinking on technology selection: how to choose between uni-app, Flutter, and native development
2.1 Comparison of the essential differences among the solutions
When doing technology selection, it is useless to look only at the advantages of uni-app; you have to place it in a horizontal comparison with other solutions. Back then, I listed all the mainstream options, and the table below was the comparison approach at that time:
Solution | Language stack | Multi-platform coverage | Performance ceiling | Team learning cost | Applicable scenarios |
uni-app | Vue.js | Mini program/App/H5 | Medium (bottlenecks in complex animations) | Low, basically seamless for those who know Vue | Business systems, e-commerce, tool-type applications |
Flutter | Dart | Mainly App, limited Web support | High (self-drawn engine) | Relatively high, need to learn Dart | Apps with heavy interaction and strong animation |
React Native | React | Mainly App | Relatively high | Medium | Medium-to-large Apps, teams that already have RN |
Native development | Swift/Kotlin | Single platform | Highest | High, multi-platform cost doubles | Applications with extremely high requirements for performance and system capabilities |
2.2 Where the real value of uni-app lies
The core value of uni-app is that it minimizes the cost of “cross-platform”. People who know Vue can basically get started without additional learning, which is the essential difference between it and Flutter and RN. In that three-platform project, from setting up the project from scratch to getting the first page running in WeChat DevTools, it took me less than half a day in total. This efficiency is unimaginable in native solutions.
It is easier to understand from a team perspective. With three front-end developers, if you take the native route, you need at least one dedicated person for each of two platforms; the Flutter route requires an App team that knows Dart plus a front-end team to build the mini program; the uni-app route means the same group of people writes all five platforms. For teams with limited budget and tight schedules, this difference is decisive.
There is also a value that many people ignores: uni-app's community ecosystem has already accumulated a large number of ready-made components and plugins. High-frequency needs such as login, payment, maps, sharing, push, and analytics tracking can basically all find mature wrappers in the plugin market. In the project I did myself, the payment module, location module, and QR code scanning module were all adapted from ready-made plugins, saving at least a week of work.
2.3 Under what circumstances I advise you not to touch uni-app
Having said so many advantages, I also have to pour a few basins of cold water. In some scenarios, choosing uni-app is digging a pit for yourself.
The first category is applications that heavily depend on native capabilities.
If your App needs deep system capabilities such as real-time background location, Bluetooth multi-device connections, hardware-level data collection, and system-level push, although uni-app provides a native plugin mechanism, in the end you still have to write native code to wrap them, and the cross-platform architecture instead becomes a burden.
The second category is products with extremely high requirements for visual expressiveness and special sensitivity to frame rate.
For example, applications with complex animations, real-time rendering, or games. On the mini program side, uni-app runs on mini program native rendering, and the performance is still passable; but under the App's webview approach, complex animations easily drop frames. You cannot expect an application rendered by a webview to compare in smoothness with an application drawn purely natively. That is unfair and unrealistic.
The third category is teams with no front-end foundation at all.
Some teams come from native development backgrounds and want to use uni-app to achieve "learn once, reuse across multiple platforms," only to find that they still have to first learn Vue, front-end engineering, npm, and various build tools. The learning cost is not much lower than directly learning a new language.
My suggestion is:
First define your core scenario, then choose the tech stack, not the other way around.
If your core demand is "low-cost multi-platform coverage for business systems," uni-app is almost the optimal solution; if your core demand is "App experience benchmarked against native," then honestly go with native or Flutter.
3. Running through your first uni-app project from scratch: environment setup, scaffolding, and directory understanding
3.1 Two development routes: HBuilderX or CLI
uni-app officially provides two development environments: HBuilderX and CLI command line. Many people struggle over which to choose. I will directly give the conclusion:
People with command-line experience can choose CLI; complete beginners can start with HBuilderX.
HBuilderX is the official built-in IDE, integrating uni-app's compilation, running, and debugging functions. The advantage is that it works out of the box and requires no environment configuration; it can run right after installation. The disadvantage is that it uses a custom build process, which is inconvenient for integrating with the team's own CI/CD, and for people used to editors such as VS Code, switching tools itself is a cost.
The CLI approach is essentially creating a uni-app template based on vue-cli, with the compilation logic encapsulated in
@dcloudio/vue-cli-plugin-uni
plugin. It pulls uni-app back into the standard front-end engineering process, supporting your own webpack configuration, ESLint integration, unit test writing, and connection to Jenkins or GitHub Actions. I strongly recommend that people with a certain front-end foundation take the CLI route, because in real projects you will definitely encounter scenarios that require customizing the build process, injecting environment variables, and doing multi-environment releases. HBuilderX will limit you in these aspects.
3.2 Create a project and run through the WeChat mini program side
I will directly paste the CLI command for creating a project:
# 使用Vue CLI创建uni-app项目,模板选默认的uni-app模板
vue create -p dcloudio/uni-preset-vue my-uni-app

# 进入项目目录
cd my-uni-app

# 安装依赖
npm install

# 启动开发模式
npm run dev:mp-weixin
After executing
npm run dev:mp-weixin
the project will compile to
dist/dev/mp-weixin
Under the directory. At this point, open WeChat DevTools, select "Import Project", and point the directory to
dist/dev/mp-weixin
Fill in your own Mini Program AppID (if you don't have one, you can use a test account), and you'll see the project running.
There is a detail worth noting here: the default source directory of a uni-app CLI project is
src
, while the import directory of WeChat DevTools is the compilation output directory; don't confuse the two. Many beginners run a project for the first time and think that importing the
src
directory is enough, only for WeChat DevTools to directly prompt that the project structure is invalid.
3.3 Interpreting the Project Directory Structure
After getting the project running, spend some time understanding the directory structure. Below is a typical uni-app CLI project:
my-uni-app
├── src
│   ├── pages        # 页面目录,每个页面是一个vue文件
│   │   └── index
│   │       └── index.vue
│   ├── static       # 静态资源目录,会被原样复制到各端
│   ├── components   # 公共组件目录
│   ├── store        # Vuex状态管理目录
│   ├── api          # 接口请求封装
│   ├── App.vue      # 根组件,全局生命周期
│   ├── main.js      # 入口文件,Vue实例创建
│   ├── manifest.json # 全局配置(应用ID、各端SDK配置、权限声明)
│   ├── pages.json   # 页面路由与导航栏配置(相当于小程序全局配置)
│   └── uni.scss     # 全局样式变量
├── package.json
└── vue.config.js
The two most critical configuration files are
manifest.json
and
pages.json
。
pages.json
is responsible for page routing, tabBar, navigation bar, and subpackage structure; when it is compiled to the Mini Program side, it directly corresponds to and generates the Mini Program's
app.json
。
manifest.json
is application-level configuration, including AppID, permission declarations, and SDK configuration for each platform—
Every time you package it as a Mini Program, the AppID configuration in the WeChat Mini Program backend must be filled in correctly here
, otherwise uploading and publishing will report an error.
The first time I configured it, I made a rookie mistake: in
manifest.json
I filled in the official AppID, but WeChat DevTools was using a test account, so when previewing on a real device, capabilities such as login and payment were all abnormal. Only later did I understand that the AppID configuration chain is
manifest.json
→ compilation output → configuration when importing in WeChat DevTools; the ID must remain consistent across the entire chain.
3.4 Quickly Get the H5 Side and App Side Running
In addition to the Mini Program, the H5 side and App side also need to be gotten running as soon as possible, so that later multi-platform joint debugging and development won't be a scramble.
# 运行到H5,默认监听8080端口
npm run dev:h5

# 运行到App(需要连接手机或模拟器)
npm run dev:app
When compiling for the App side, note that the uni-app App side has two view modes: the webview rendering default in Vue2, and uvue rendering under Vue3 (the previous generation nvue was replaced by uvue in Vue3). In a Vue3 project,
npm run dev:app
will first compile an App resource directory, and then use HBuilderX's resource packaging or cloud packaging feature to generate an installation package. When running on a real device for the first time, the phone needs USB debugging enabled, and you need to select the corresponding running device in HBuilderX.
4. The Unavoidable Hurdles in Cross-Platform Development: Routing, Lifecycle, and Component Communication
4.1 Page Routing Mechanism: The Logic Behind uni.navigateTo
uni-app's page routing mechanism inherits from the native Mini Program routing model and is fundamentally different from free navigation on the Web side. On the Web side, you can use
window.location.href
to navigate freely, but in uni-app pages are controlled, and all navigation must be done through routing APIs.
// 跳转到新页面
uni.navigateTo({
  url: '/pages/detail/detail?id=123&name=test'
})

// 关闭当前页面,返回上一页
uni.navigateBack({
  delta: 1
})

// 关闭所有页面,打开应用首页的某个页面
uni.reLaunch({
  url: '/pages/index/index'
})

// 跳转到tabBar页面
uni.switchTab({
  url: '/pages/index/index'
})
The most commonly used method for passing parameters between pages is
url
the query parameters on the URL. Here is a cross-platform common issue to watch out for:
The H5 side has a URL length limit. Although the mini program side does not have the same limit, extremely long query parameters will significantly reduce page startup speed.
If the data you want to pass is relatively large, such as an object of several hundred KB, do not stuff it into the URL. The correct approach is to first store the data in a global variable, Vuex/Pinia, or storage, pass only an id when navigating, and then have the target page read it based on the id.
4.2 Lifecycle: The coordination between the Vue lifecycle and the uni-app page lifecycle
The place where cross-platform development is most prone to pitfalls is the lifecycle. In a uni-app page, there are two sets of lifecycles: one is Vue's own (
created
、
mounted
etc.), and the other is page-level (
onLoad
、
onShow
etc.). Their trigger order also differs slightly across platforms.
Based on my actual testing experience, on the WeChat mini program side, the execution order of the page file is roughly:
beforeCreate
→
created
→
onLoad
→
onShow
→
mounted
→
onReady
. On the H5 side,
onLoad
is triggered earlier after page creation,
onReady
is after
mounted
. This means:
The logic you write in
onLoad
cannot necessarily rely on the data initialization result set in
created
, and vice versa.
I recommend a reliable pattern: put data requests in
onLoad
or
onShow
, put initialization logic that does not depend on the DOM in
created
, and put logic that depends on rendering results in
onReady
or
mounted
. Honestly, using two sets of lifecycles at the same time in a uni-app project does increase the mental burden, but this is the inevitable cost of a cross-platform architecture.
Another high-frequency requirement is pausing when the page is hidden and resuming when it is shown. For example, on a video page or countdown page, you need to use
onHide
and
onShow
to control it. I once worked on a live streaming page. When users switched to the background and came back, the player state got messed up. I spent ages troubleshooting, and in the end found it was because I hadn't listened for
onHide
to handle pausing.
4.3 Component communication: from props/$emit to global events
There are several things to watch out for with component communication in uni-app's cross-platform scenarios.
Parent-child component communication
It's recommended to stick with the Vue standard: the parent component passes data via props, and the child component uses
$emit
to trigger events. This behaves stably on any platform, with no pitfalls.
Cross-component communication
I've hit a real pitfall once. On the H5 side, you can use the Vue instance itself as an event bus (Vue2's
new Vue()
as the event center); however, after compiling to mini programs, the event bus is still usable, because the corresponding implementation is already built into uni-app's runtime. But,
under webview rendering on the App side, cross-page communication via the event bus has problems
—after pages in the page stack are obscured by the native navigation, some event listeners stop working.
To solve this problem, uni-app provides a global API:
uni.$emit
、
uni.$on
、
uni.$off
. This API is the officially encapsulated cross-platform event mechanism, and using it is more stable than hand-writing an event bus.
// 页面A:触发全局事件
uni.$emit('loginSuccess', { userInfo: {...} })

// 页面B:监听全局事件
onLoad() {
  uni.$on('loginSuccess', this.handleLogin)
},
onUnload() {
  uni.$off('loginSuccess', this.handleLogin) // 务必要在页面卸载时解绑
}
Here's a lesson:
uni.$on
listeners bound with it do not get automatically destroyed with the page. If you don't manually
onUnload
or
beforeDestroy
inside
uni.$off
, the listeners will remain, causing memory leaks and repeated triggering.
In actual projects, there were several times when "page A logged in successfully, and page B popped up the prompt twice." In the end, the cause was traced to repeatedly registering listeners without unbinding them.
4.4 Global state management: Vuex and Pinia
In complex business scenarios, component-to-component communication isn't enough, and you need global state management. uni-app supports Vuex very well. In Vue2 projects, Vuex is integrated by default; in Vue3 projects, I'd rather recommend using Pinia directly—it's more concise and has better TypeScript support.
// store/user.js
import { defineStore } from 'pinia'

export const useUserStore = defineStore('user', {
  state: () => ({
    token: '',
    userInfo: null
  }),
  actions: {
    setToken(token) {
      this.token = token
    },
    async login(phone, code) {
      const res = await uni.request({
        url: '/api/login',
        data: { phone, code }
      })
      this.token = res.data.token
      return res.data
    }
  }
})
When using Pinia in uni-app, there's one place you need to be especially careful about:
Module instantiation on the mini program side differs from the H5 side; the store cannot depend on browser-specific global objects.
, for example
window
、
document
、
localStorage
. All data that needs to be persisted is uniformly handled through
uni.getStorageSync
/
uni.setStorageSync
to do it.
5. Key tools for handling platform differences: the correct way to use conditional compilation
5.1 Syntax rules of conditional compilation
One of uni-app's most impressive official capabilities is conditional compilation. Its syntax is very simple; it is essentially a preprocessing comment directive:
// #ifdef H5
console.log('这段代码只在H5端编译')
// #endif

// #ifndef MP-WEIXIN
console.log('这段代码不在微信小程序端编译')
// #endif
It is also supported in templates:
<!-- #ifdef H5 -->
<view>只在H5显示</view>
<!-- #endif -->
The values of conditional compilation correspond to the names of each platform. Commonly used ones are:
H5
、
MP-WEIXIN
(WeChat Mini Program),
MP-ALIPAY
(Alipay Mini Program),
APP-PLUS
(App side). On the Vue3 App side, you can use
APP-PLUS
or
APP
both can be recognized.
The biggest advantage of this approach is:
Differentiated code for different platforms is handled at the compilation stage and will not be packaged into other platforms' bundles, with zero runtime overhead.
Compared with the runtime platform-checking approach in React Native, uni-app's conditional compilation naturally has a performance advantage.
5.2 Application scenarios in actual projects
Let me organize several example scenarios where conditional compilation is used frequently:
Scenario One: Differentiation in the login flow
WeChat Mini Program can use
uni.login
to get the code, and then go through WeChat silent login; the H5 side does not have this API, and usually uses mobile phone SMS verification codes or account and password. This is a typical conditional compilation scenario:
// #ifdef MP-WEIXIN
uni.login({
  provider: 'weixin',
  success: (loginRes) => {
    const code = loginRes.code
    // 拿code换token
  }
})
// #endif

// #ifdef H5
// 走账号密码或验证码登录
// #endif
Scenario Two: Differences in the payment module
WeChat Mini Program payment goes through
uni.requestPayment
together with backend order placement; the App side needs to first invoke the Alipay SDK or WeChat SDK; the H5 side usually uses QR code payment or redirects to the checkout counter. The payment parameter format for each platform is also different, and writing these differences separately with conditional compilation is the cleanest.
Scenario Three: Differences in navigation bar buttons
In our project, the H5 side places a "Share" button in the navigation bar, the WeChat Mini Program side has a built-in capsule share in the upper right corner, and the App side places a "Share to WeChat friends" button. Both the template and the logic only need a small piece of conditional compilation to handle it well.
5.3 The correct boundary of conditional compilation: do not abuse it
Conditional compilation is useful, but it has a very obvious cost:
Readability decreases, code splitting becomes difficult, and the logic between conditional branches easily drifts.
If one difference needs to be modified synchronously in three places—logic, template, and style—it is very easy to miss one of them.
My experience is:
Differences that can be solved through encapsulation should not be solved with conditional compilation.
For example, for capabilities like login and payment mentioned above, the correct approach is to first abstract a unified interface layer, have each side implement its own adaptation logic, and call the unified interface in the page code, writing only one copy throughout.
// services/auth.js
import loginFromWeixin from './login/weixin'
import loginFromH5 from './login/h5'
import loginFromApp from './login/app'

export function loginAdapter() {
  // #ifdef MP-WEIXIN
  return loginFromWeixin()
  // #endif
  // #ifdef H5
  return loginFromH5()
  // #endif
  // #ifdef APP-PLUS
  return loginFromApp()
  // #endif
}
Only those scattered differences that cannot be encapsulated into a unified interface (such as a certain button text, a certain image size, a certain layout structure) should be written directly with conditional compilation. This way, the differences can be kept to the smallest scope, while ensuring that the core business logic is not duplicated.
6. Performance and experience optimization: from startup speed to long list smoothness
6.1 The core idea of first screen startup optimization
After the uni-app application goes online, the first thing I pay attention to is first screen startup speed. This is not a small matter. On the Mini Program side, if first screen loading exceeds 3 seconds, the user churn rate will rise significantly. To optimize the first screen, the highest priority is to reduce "the amount of code that must be loaded at startup."
The first step is to control the main package size.
WeChat Mini Programs have a 2MB (after compression) limit on the main package. Before every release, you must check the compiled output size. If it exceeds the limit, you need to analyze which code has been packed into the main package. Common methods are splitting packages and dynamically loading components. In
pages.json
you can define the subpackage structure:
{
  "pages": [
    {
      "path": "pages/index/index"
    }
  ],
  "subPackages": [
    {
      "root": "pages/user",
      "pages": [
        {
          "path": "user-info"
        }
      ]
    }
  ]
}
The second step is to import the component library on demand.
At that time, I used a full component library, and after packaging, the main package instantly grew by 400KB. Later I changed to on-demand import and directly copied the single-file components into the project, and the size dropped immediately.
The third step is lazy loading of static resources.
Images not needed for the first screen should not be placed in the
static
directory, and even less should they be directly used on the homepage with the
<image>
tag. Either load them dynamically via CDN addresses, or wait until the page scrolls to the corresponding area before rendering.
6.2 Practical solution for long list rendering optimization
The most common performance bottleneck in business systems is long lists. An order list with several hundred records, all at once
setData
Once you enter, the mini program side freezes directly. This is an inherent characteristic of mini programs—data passed from the logic layer to the view layer is transmitted via serialization, so large data volumes are inevitably slow.
The solution I adopted is
batch rendering
, and the core idea is to control the number rendered in each batch.
const PAGE_SIZE = 20
let allList = []      // 全量数据
let renderedCount = 0 // 已渲染数量

function loadMore() {
  const start = renderedCount
  const end = Math.min(start + PAGE_SIZE, allList.length)
  const chunk = allList.slice(start, end)
  this.list = this.list.concat(chunk)
  renderedCount = end
}
Combined with
onReachBottom
(the mini program bottom-reached event) or H5 scroll listening, simple and reliable batch rendering can be achieved. For truly ultra-long lists with tens of thousands of items, uni-app also has community solutions such as virtual list components. The principle is to render only a small portion of DOM nodes within the visible area, and through dynamic calculation
translateY
make the scroll position appear seamless. However, the implementation complexity and bug rate of virtual list solutions on the mini program side are both relatively high. For scenarios that can be solved with batch rendering, it is recommended to prioritize batch rendering.
6.3 Image optimization and processing
For images returned by the backend, directly using the original large image URLs in uni-app is very wasteful. I strongly recommend integrating CDN image processing capabilities, or having the backend include thumbnail URLs when returning list data.
// 微信小程序可以用CDN裁剪参数
// 例如资源地址是 https://cdn.xxx.com/a.jpg
// 拼接参数生成不同尺寸
const thumbUrl = 'https://cdn.xxx.com/a.jpg?imageView2/2/w/200'
const fullUrl = 'https://cdn.xxx.com/a.jpg?imageView2/2/w/1200'
In addition, there is another hidden detail in image loading on the mini program side:
<image>
The default lazy-load attribute of the component is not equivalent to the browser's loading=lazy on some platforms. It loads only after monitoring entry into the viewport through mechanisms such as IntersectionObserver. Therefore, for images in lists, it is recommended to uniformly set the
lazy-load
attribute (supported on the WeChat mini program side), and at the same time use CSS to control fixed width and height for images, avoiding page layout jumps caused by image loading.
7. Pitfalls in the packaging and release stage: a full-process record from development to listing
7.1 Complete configuration for WeChat mini program release
The release process on the mini program side is not complicated, but there is one step that often goes wrong:
The correspondence between the version number and AppID
。
manifest.json
What is configured there is the version number at the uni-app level, while online version management in the WeChat mini program backend is another system entirely. You need to change the version number in uni-app, then recompile and upload before you can see the new version in the WeChat backend. Many teams have stumbled here—they changed the code but forgot to change
manifest.json
the version number. After uploading, the online version was still the old one. After troubleshooting for a long time, they found that the version number had not changed.
Speaking of uploading, CLI projects will use a key tool:
miniprogram-ci
After configuring the key and AppID, you can upload preview packages and release packages with one click.
npm install miniprogram-ci --save-dev
Then use a Node script to implement the upload:
const ci = require('miniprogram-ci')

const project = new ci.Project({
  appid: 'your-appid',
  type: 'miniProgram',
  projectPath: './dist/build/mp-weixin',
  privateKeyPath: './private.key',
  ignores: ['node_modules/**/*']
})

ci.upload({
  project,
  version: '1.0.0',
  desc: '发布测试版本',
  setting: {
    es6: true,
    minify: true
  }
}).then(res => {
  console.log('上传成功')
}).catch(err => {
  console.error('上传失败', err)
})
This script can be directly integrated into the CI/CD pipeline. After anyone in the team submits code, a mini program experience version can be automatically built. We used this solution at the time to completely eliminate the process of “manually clicking upload in WeChat DevTools.”
7.2 App-side packaging: the trade-off between cloud packaging and local packaging
The release process on the App side is an order of magnitude more complex than that of mini programs. The App side of uni-app has two packaging methods: cloud packaging and local packaging.
Cloud Packaging
is a service officially provided by uni-app. You package the project in HBuilderX, and the official server helps you complete the generation of the App resource package and the assembly of the basic native shell, producing an iOS or Android installation package. The advantage is that it is simple to operate and does not require setting up a native environment locally; the disadvantage is that the space for customizing native code is limited—if you need to add custom native modules, the cloud packaging approach will be very inadequate.
Local Packaging
is to hand the front-end resources compiled by uni-app to a native project for integration and packaging. You need to maintain a native project yourself (Android Studio or Xcode), integrate the uni-app offline SDK into the project, and then put the front-end resource package into it. This approach is suitable for projects that require deep customization of native features, but it is also the solution with the highest operations and maintenance cost.
For most small and medium-sized teams, I personally recommend starting with cloud packaging. For the positioning, payment, push, sharing, and other capabilities in the vast majority of business scenarios, the uni-app plugin market can already cover them, and you do not need to write native code yourself.
7.3 The compliance issues you cannot avoid when publishing an App
This part of the content has become especially important after 2024. Publishing on domestic Android app markets generally requires software copyright, a privacy policy, and app filing. Publishing on iOS requires using the correct development certificate and distribution certificate, and a complete privacy manifest must be filled out in App Store Connect.
uni-app provides a set of built-in compliance solutions for privacy:
manifest.json
You can configure a privacy agreement pop-up, and on first launch force users to read and agree before continuing to initialize the SDK. Note,
the WeChat Mini Program user privacy protection guidelines must also be updated in sync,
—especially for features involving the collection of phone numbers, location, camera, and photo album permissions, they must be declared in the backend, and you must ensure that the code has a pop-up explanation before using permissions.
I stepped on a real pitfall: when the App was submitted for review, it was rejected on the grounds that “the location SDK was called during app initialization without user consent.” The reason was that the uni-app location plugin was initialized by default during the App startup phase, causing compliance issues. The solution is in
manifest.json
set the location permission to “not obtained at startup,” and delay the SDK initialization logic until after the user authorizes it.
7.4 Hot Update Mechanism: Incremental Updates on the App Side
uni-app officially provides a set of App resource hot update capabilities, based on wgt packages verified by digital signatures. Its principle is: only update front-end resources, without touching the native shell, so the installation package is small and updates are fast. The release process is to first use HBuilderX to compile the project into a
wgt
package, then upload it to the server, and when the App starts, check the version and download it.
Hot updates can solve the problem of “slow App review cycles,” but
it is not a cure-all
Whenever native SDK version upgrades, permission changes, or native code modifications are involved, a full package update must be used; otherwise compatibility issues will occur. Before each release, evaluate whether the changes are purely front-end resource updates or involve the native layer, and then decide whether to use a hot update or a full package update.
8. Real feelings after using it for more than half a year: Is uni-app worth investing in after all?
8.1 What I think it does well
What satisfies me most about uni-app is
the completeness of the ecosystem and the maturity of the toolchain
. From compilation, running, and debugging to packaging, the entire chain is a closed loop. Especially the debugging experience: the H5 side directly uses browser DevTools, the Mini Program side can open the debugging panel of WeChat Developer Tools, and the App side has real-device remote debugging—all three mainstream debugging methods are covered, which is difficult to assemble all at once in other cross-platform frameworks.
The second thing that made me marvel was the community's accumulated solutions to problems. For the abnormal situations I encountered during development, whether it was a blank page on the mini program side, location failure on the App side, or a white screen on the H5 side, I could almost always find a corresponding solution in the official community or the plugin marketplace. This atmosphere of "predecessors step in pits, successors avoid lightning" is too important for the adoption and promotion of a framework.
8.2 The places where I find it headache-inducing
First, the ceiling of debugging complexity. The fatal weakness of cross-platform frameworks is this: when a problem cannot be reproduced on each platform, the troubleshooting cost rises exponentially. The same API works normally on H5, works normally on WeChat, but is abnormal on App — this kind of problem is very common in uni-app, and pinpointing it often takes ten times more energy than fixing it.
Then there is
the uncertainty of version updates
. Although uni-app's iteration pace is fast, major version upgrades also bring quite a few breaking changes. When our project migrated from Vue2 to Vue3, we encountered a batch of third-party plugins that were incompatible, and just adapting took two weeks. If you decide to use uni-app for a long-term project, you must lock down the version plan at the very beginning of the project, and make a good cost estimate for dependency upgrades.
Another point is that the documentation quality is uneven. uni-app's official documentation has broad coverage, but some pages' sample code will throw errors if copied directly into a new version, clearly because it has not kept up with the framework's iteration. When this happens, the best approach is to go find answers in the source code of the corresponding version branch, which is more efficient than digging hard through the documentation.
8.3 How I ultimately advise the team
If someone now asks me, "Should I actually use uni-app?", I would say: first answer three questions.
First, can your user volume reach the tens of millions level in the short term?
If so, please seriously consider native or Flutter, because cross-platform frameworks cannot hold up in extreme performance scenarios.
Second, do you need to cover three or more platforms?
If you only need WeChat mini program and H5, uni-app's advantages are not that obvious, and even directly using native mini program plus Web is a reasonable choice.
Third, is your team's current tech stack frontend?
If yes, choosing uni-app has the lowest learning cost; if not, you should instead consider whether native or RN is more suitable for the team's existing skill accumulation.
My personal stance is:
For more than 90% of business-type applications, tool-type applications, and small and medium-sized teams, uni-app is currently the most cost-effective choice.
It is not a silver bullet, but on the proposition of "covering the most business scenarios at the lowest cost," it has indeed delivered a sufficiently beautiful answer sheet.
This framework is really comfortable to use for business system development. Although uni-app's documentation has some places that will drive you crazy, fortunately the community is strong enough to carry it. If you decide to jump into the pit, I suggest writing down the first error you encounter and posting it to the community — very likely you have already found the answer while troubleshooting it yourself, and your experience will become the antidote that the next person who steps into the pit needs most.