
Source Code Analysis and Practical Deployment Guide for a Music Forum App Based on Java and uni-app
Analyze the complete source code of a music forum App based on Java SSM and uni-app, covering the front-end and back-end separation architecture, SSM back-end interface design, Vue admin backend and mini-program client, MySQL database table relationships, HBuilderX real-device debugging, and a guide to avoiding pitfalls in source code deployment.
Introduction: This is a complete source code set for a music forum APP based on Android technology. The back end uses the Java/SSM framework, and the front end includes a Vue admin backend, H5 pages, and a WeChat mini-program client. It is especially suitable for computer science students for graduation projects or course design practice. The compressed package contains a total of 2000 files, about 85.83MB overall, mainly covering 430 Vue page components, 345 JavaScript logic scripts, 208 Java back-end code files, and 307 PNG icon assets, plus SQL database scripts and project configuration files. The directories are divided by modules such as front end, backend, and mini-program, making it easy to locate things quickly. Currently 70 people have viewed and studied it. The source code has been strictly tested and can run directly. The code comments are complete and come with runtime environment instructions, so you can easily set up the development environment and deeply understand the complete business chain of the music forum from user login, music display, and forum interaction to backend management. For course assignments, graduation defenses, or job-seeking project accumulation, this complete three-end practical source code is solid reference material.
1. Is this music forum App based on Java and Android technology really worth running after unpacking it?
First, the conclusion: this source code is not the kind of demo that just throws you an empty Android shell. It is a complete front-end and back-end separated project of "Java back-end interfaces + uni-app front-end engineering." The front end runs on Android after packaging, and the back end uses Java to provide interfaces for posts, replies, users, music resources, and so on. When you open the compressed package, you will see two types of directories: one is the Java back-end source code, and the other is the front front-end project. The front contains a standard uni-app directory structure such as pages, components, colorui, and assets. Who is it suitable for? People who are working on music-related community or campus forum course design, and people who want to learn the complete closed-loop logic of "posting, replying, QR code sharing, and list pagination" all at once. It is not a toy project. Pages, components, and interfaces are all complete. With some modifications, it can serve as the main body of a graduation project, and it can also be used as a practice project to go through front-end and back-end joint debugging once.
2. Unpack and look at the structure: where is the division of labor boundary between the Java back end and the uni-app front end?
2.1 What exactly is in the compressed package: how to identify the front-end project and the back-end project
After unzipping, do not rush to look for the .apk. This resource provides source code, not an installation package. At the top level, you will see a front directory, which is the uni-app project; the other is a Java project directory, usually identified by pom.xml or build.gradle. Many people are confused when opening it for the first time: why are there no Activity and xml? Because the Android side is not written natively with Android Studio, but with the uni-app cross-platform framework, and is finally packaged into an Android installation package through HBuilderX. This is not a defect. Instead, it allows the same codebase to output multiple ends such as Android and H5 at the same time.
Inside the front directory, several key components can be seen under components: forum-reply handles post replies, mescroll-uni handles pull-up loading for more, uni-popup handles popups, and tki-qrcode handles QR code generation. These component names directly tell you the core gameplay of this App: view posts, reply to posts, scroll pagination, and generate sharing QR codes. colorui is the UI style library, assets/css is the global style, and the pages directory is the main body of the pages. Once you understand these directories, you will know roughly what the surface functions of this App look like.
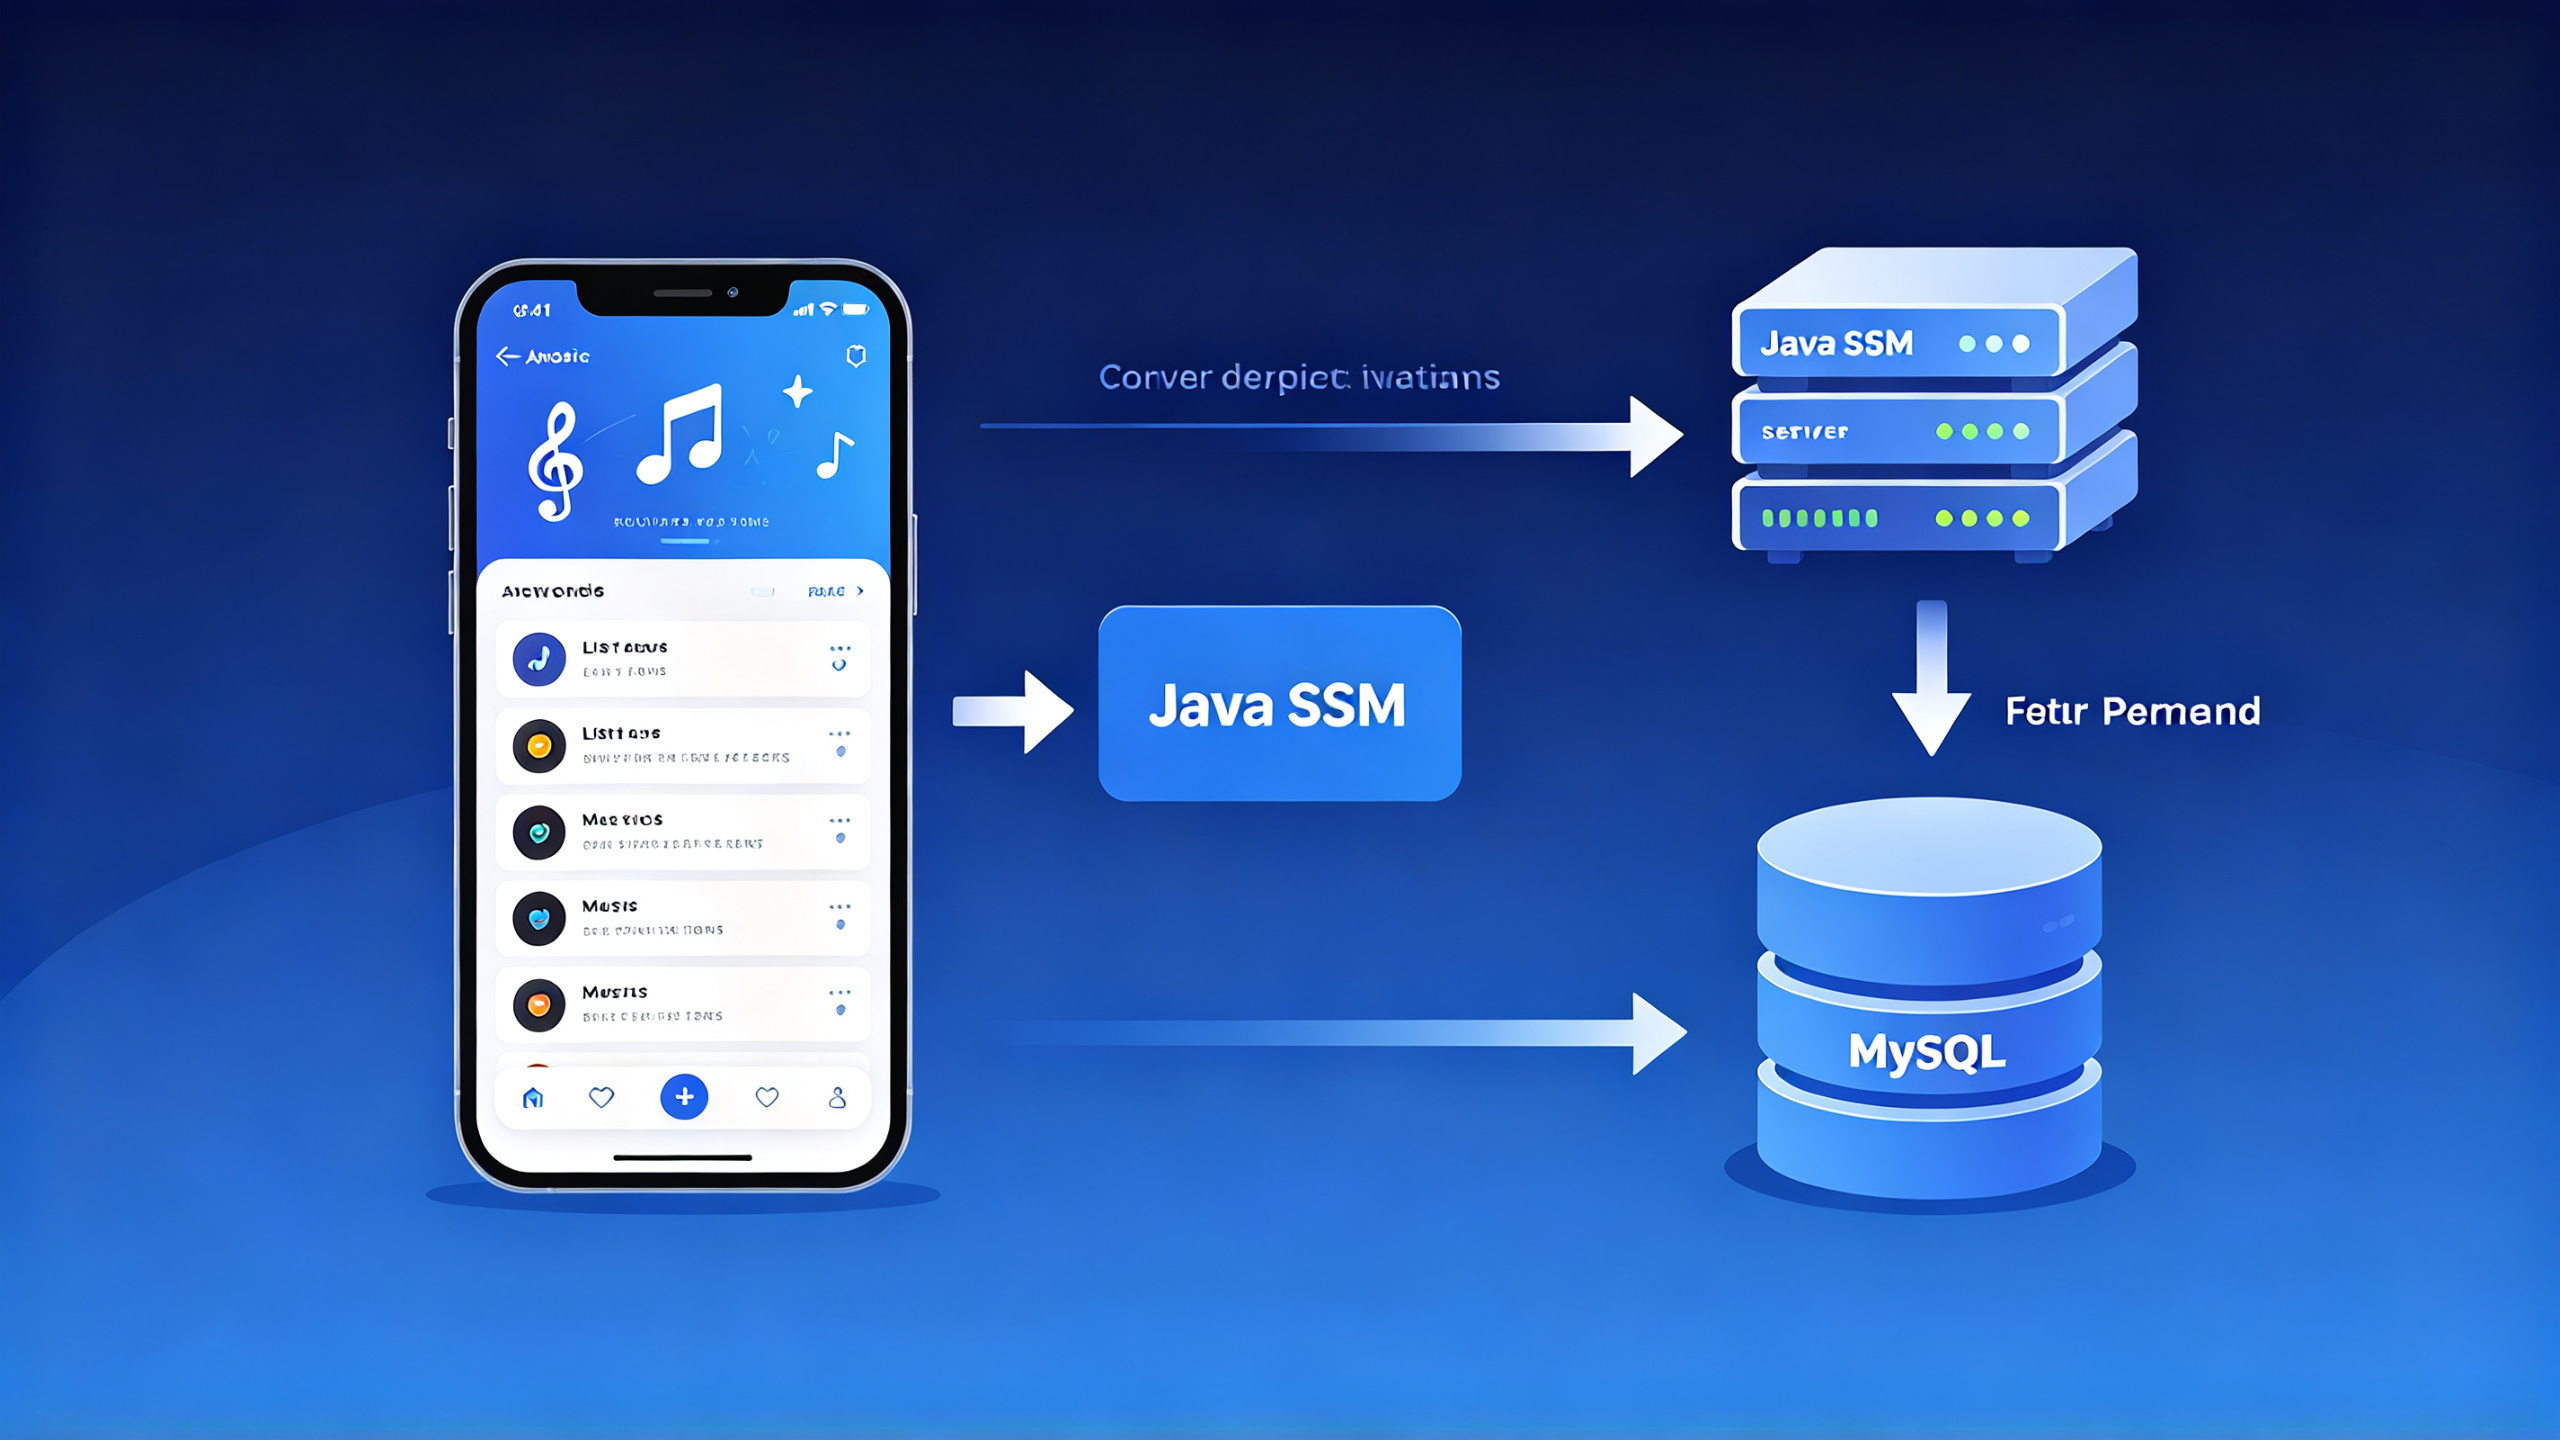
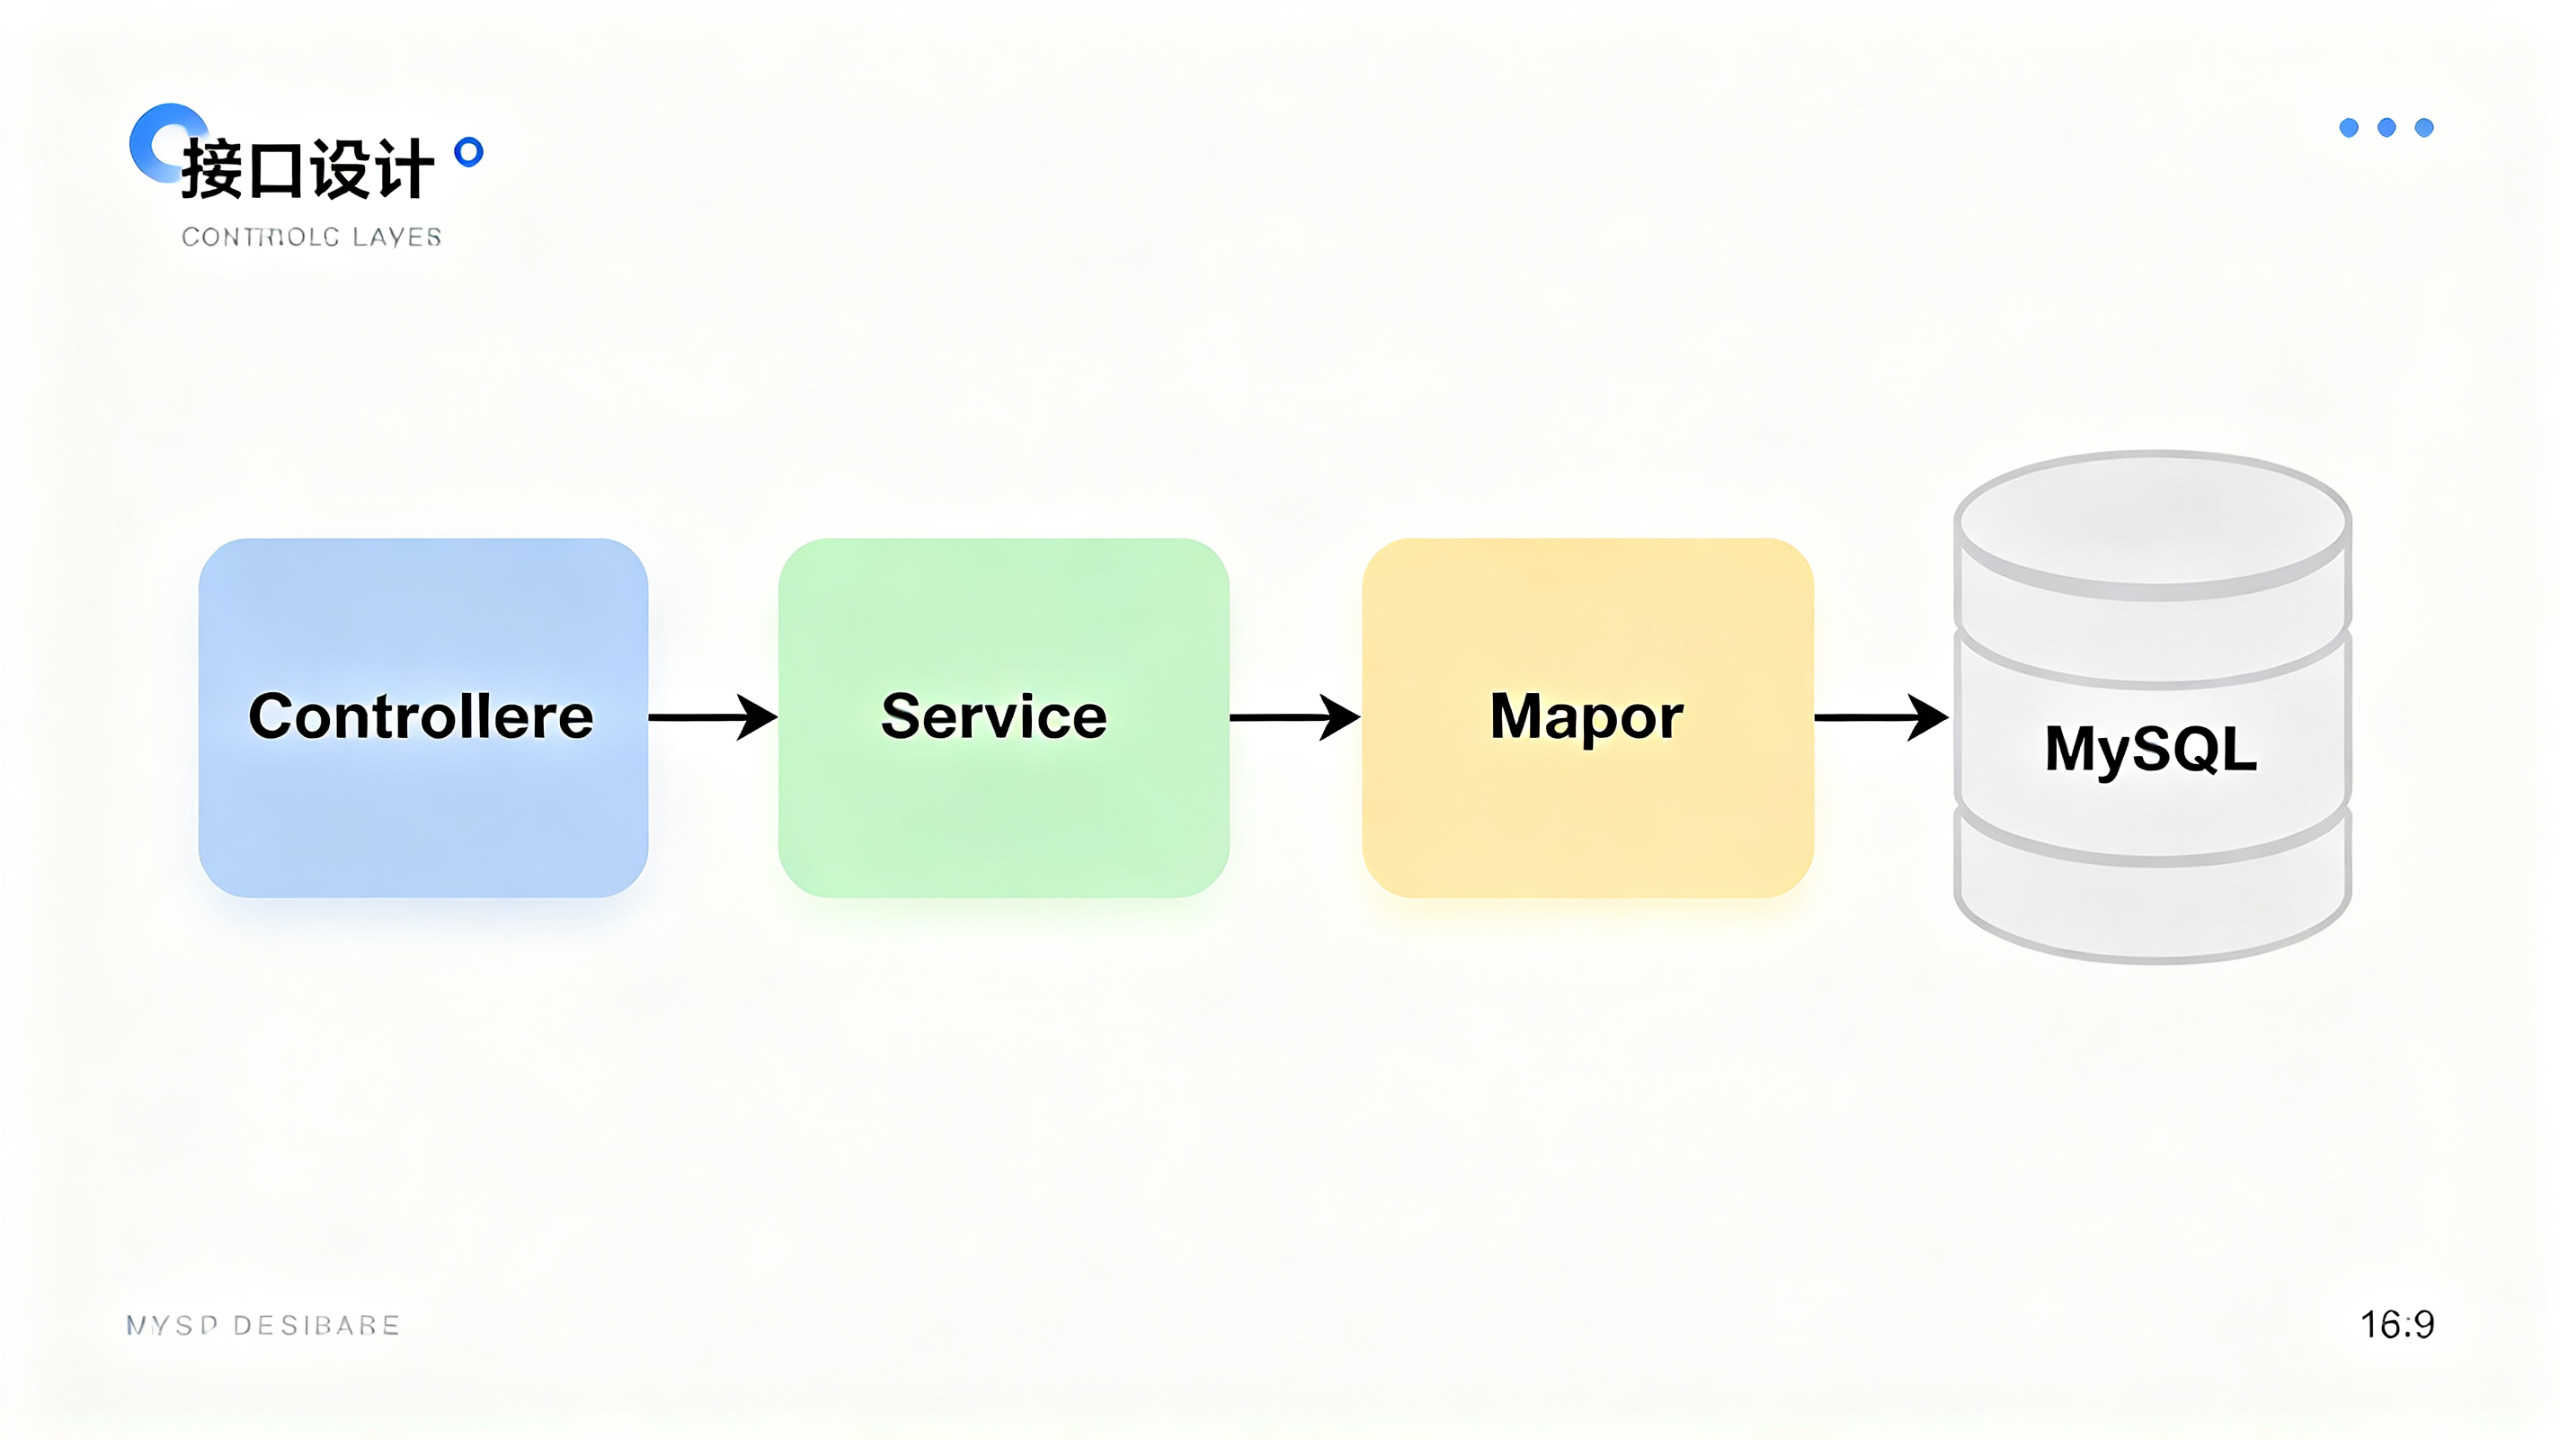
The back-end part is mainly an interface service written in Java. The common layering is controller, service, and mapper, paired with MySQL for data storage. The request addresses in the front-end pages point to the local back-end service by default. So the running chain of the entire project is: uni-app front end sends a request → Java back-end interface → returns JSON → front end renders lists and details. To make it run, the front end and back end must be started together. Starting only the front end will result in a white screen or interface errors.
2.2 The three essential environment items that must be settled before running: database, back end, and front-end packaging tool
Align the environment first, otherwise every later step will be a pitfall. Use MySQL for the database. Version 5.7 or 8.0 is recommended. You need to import the .sql file included in the back-end directory; the back end requires a JDK and Maven environment, and either IntelliJ IDEA or Eclipse can be used as the IDE; open the front-end project with HBuilderX, because the easiest way to run a uni-app project is to run it directly to the Android App base with HBuilderX.
The common approach is to import the database first, then modify the back-end configuration, start the back end, and finally run the front end with HBuilderX. There are two key points in the back-end configuration file: the database connection address and the port number. The default common port is 8080. If it is occupied, you must change both the back-end application.yml and the baseURL in the front-end utils/request.js or api directory.
# 导入数据库(在命令行或 MySQL 客户端执行)
mysql -u root -p < database/forum.sql

# 检查后端是否启动成功(端口按实际配置)
curl http://localhost:8080/api/health
The first command above imports the database structure together with the seed data all at once; the second verifies whether the back-end interface service is up. If curl returns JSON or HTTP 200, the back end is ready; if the connection is refused, first check the back-end console logs. In most cases, it is caused by inconsistent port configuration. Parameter note: the forum.sql file name is subject to the actual compressed package. If you cannot find it, check the db subdirectory under the back-end resources directory.
// front/utils/request.js 中修改后端地址的常见位置
const BASE_URL = 'http://localhost:8080/api'
This code is the common prefix for all front-end requests. If your back end runs on another machine on the LAN, replace localhost with that machine's LAN IP, such as http://192.168.1.100:8080/api. Note that on a real Android device you cannot write localhost, because that points to the phone itself; you also cannot directly write curly brace expressions, but must write a hard-coded address. After changing the address, all interfaces related to posts and users in the pages will automatically point to the new back end.
2.3 From a technology selection perspective: why use uni-app instead of writing Android natively in Java
Many people ask this question. From the perspective of course design, the advantage of uni-app lies in: one set of code can simultaneously produce Android, H5, and mini programs, so the things you build have many demo scenarios; the UI layer uses vue syntax, and adjusting page layout and interaction is much faster than native; for projects that focus on the Java backend, using uni-app on the frontend can significantly reduce the interface development workload, letting you put your energy into backend API design.
There are costs too: when calling some native capabilities, you have to rely on packaging configuration, such as scanning codes and album permissions, which require permission declarations in manifest.json. This set of code uses the tki-qrcode component, which is a common solution for generating QR codes on the frontend. It is not calling the camera to scan a code, but generating a QR code from a link for others to scan—for this kind of scenario, a frontend QR library is enough, and no native SDK is needed.
3. Breaking down the frontend pages one by one: how the forum's core features are connected
3.1 Homepage information feed and mescroll-uni's pull-to-refresh and pull-up loading
The homepage is a typical list page, displaying a feed of music-related posts. The list data comes from the backend's pagination API, and the frontend uses mescroll-uni to implement pull-to-refresh and pull-up loading. This component is a commonly used scroll-loading solution in uni-app. The reason for choosing it is that it can manage pagination state by itself, so you do not have to hand-write onReachBottom and then concatenate page numbers.
First, let's look at the key code of the page structure:
<template>
  <view class="page">
    <mescroll-uni ref="mescrollRef" @init="mescrollInit" :down="downOption" :up="upOption" @down="downCallback" @up="upCallback">
      <view v-for="item in postList" :key="item.id" class="post-card">
        <text class="post-title">{{ item.title }}</text>
        <text class="post-author">{{ item.nickname }}</text>
        <text class="post-time">{{ item.createTime }}</text>
      </view>
    </mescroll-uni>
  </view>
</template>
The mescroll-uni component must be initialized through ref and @init. The parent component needs to receive the mescroll instance and call its methods. downOption controls the text and style of pull-to-refresh, and upOption controls the page number parameter for pull-up loading. Note: in the up callback, you need to concatenate pageNum yourself. Usually the first page starts from 1, it is reset to 1 on pull-to-refresh, and pageNum is incremented by 1 on pull-up loading. Forgetting to reset the page number is the most common pitfall with this component, and it shows up as the list data continuing from page 2 after pull-to-refresh.
// 上拉加载的回调
upCallback(page) {
  const params = {
    pageNum: page.num,
    pageSize: page.size
  }
  this.$http.get('/post/list', { params }).then(res => {
    if (page.num === 1) {
      this.postList = res.data.records
    } else {
      this.postList = this.postList.concat(res.data.records)
    }
    this.mescroll.endSuccess(res.data.records.length)
  })
}
page.num and page.size are pagination parameters automatically passed in by the mescroll component. You can directly use them to request the backend's common pagination API structure. endSuccess(count) tells the component that this load succeeded and how many records were loaded this time, and the component uses this value to determine whether there is a next page. The records field returned by the backend API is the default structure of MyBatis-Plus pagination, which also inversely shows that the backend pagination uses the common Page object.
3.2 Posting and images: interaction implementation of multi-line text, tags, and image upload
The posting page is the core input entry for a forum-type App. The code includes a title input box, a body multi-line text area, and optional cover image upload. For the multi-line text area, you need to set auto-height or a fixed height on the textarea; otherwise, on Android, after entering a few lines, the view will not scroll.
<view class="publish-card">
  <input v-model="form.title" placeholder="输入标题" maxlength="30" />
  <textarea v-model="form.content" placeholder="分享你的音乐故事" maxlength="5000" />
  <button @click="chooseImage">选择封面</button>
  <button @click="publish">发布</button>
</view>
The textarea's maxlength must be consistent with the backend field length, otherwise the backend will throw an exception. The image selection process is that the frontend first calls uni.chooseImage to get a temporary path, then uploads it to the backend, the backend returns the image URL, and finally when submitting the form, the URL is put into form.cover. Do not try to stuff the image base64 into the JSON request body; that makes the request body very large, and the backend API is prone to time out. The correct approach is to first upload the image to a dedicated upload API, then use the returned URL in the form submission.
// 上传图片并拿回 URL
uni.chooseImage({
  count: 1,
  success(res) {
    const tempFilePath = res.tempFilePaths[0]
    uni.uploadFile({
      url: BASE_URL + '/file/upload',
      filePath: tempFilePath,
      name: 'file',
      success: uploadRes => {
        const data = JSON.parse(uploadRes.data)
        form.cover = data.url
      }
    })
  }
})
The name field here is the form field name specified by the backend API. It must be called file, corresponding to the backend @RequestParam("file"). If the backend parameter name is image, then this must be changed to image. Inconsistency between frontend and backend will return 400. In real projects, I generally first look at the backend controller's @RequestParam annotation before deciding the frontend field name. Do not take it for granted.
3.3 Post details, replies, and QR codes: a complete content interaction loop
The detail page is another key point. After entering the post details, the page needs to display the body content, with the reply list below, and at the bottom an input box and reply button. The forum-reply component encapsulates reply input, reply list display, and reply submission logic. It uses a component-based approach, extracting the reply area from the detail page to avoid the detail page code becoming too long.
<forum-reply :post-id="postId" :reply-list="replyList" @submit="submitReply" />
This component has two props: postId is used to tell the backend which post is being replied to when submitting a reply, and replyList is used for list display. The @submit event is triggered when the user clicks send, and the parent component calls the API after getting the reply content. Many course design projects write the reply logic directly in the detail page. This set of code splits it out with a component, which has a practical benefit: if you want to reuse a reply feature on multiple pages, such as messages on a user's homepage, you can just import the component without copying and pasting page code.
The QR code component tki-qrcode is placed at the bottom of the detail page, and its purpose is to generate a sharing link for the current post. Its core parameter is content. Pass in the link string, and the component automatically draws it into a QR code internally.
<tki-qrcode :val="shareLink" :size="200" @result="qrResult" />
shareLink can be an https link or a custom protocol string. The generated result is just an image and does not affect business logic. Note that :size controls the QR code size. It should not be too large; 200 to 260 gives the best display effect, and any larger will be blurry. The @result callback can get the generated base64 image path, and you can save it to the album to implement sharing an image with a QR code.
3.4 Personal center and login state: how the token is stored
The personal center displays the current user's avatar, nickname, number of posts published, and number of replies. To get this data, the frontend must carry login credentials when requesting the API. This project uses the common token solution: after the user logs in, the backend returns a token string, the frontend stores it locally, and afterward every request carries Authorization in the request header.
// 登录成功后的处理
const res = await this.$http.post('/user/login', { username, password })
uni.setStorageSync('token', res.data.token)
uni.setStorageSync('userInfo', res.data.userInfo)

// 公共服务里统一注入 token
request.interceptors.request.use(config => {
  const token = uni.getStorageSync('token')
  if (token) {
    config.header.Authorization = token
  }
  return config
})
The token is stored in uni.setStorageSync, which at the underlying level corresponds to Android's SharedPreferences or local file storage. On logout, simply uni.removeStorageSync('token'). There is a detail here that is easy to overlook: when storing userInfo, because the object has fields such as createTime, storing it directly will lose type information. When retrieving it, you need to wrap it with JSON.parse; otherwise, when rendering the time field, it will display undefined.
3.5 Message list and search page: division of responsibilities between tab pages
The bottom tab is generally divided into several entries: Home, Discover, Publish, Messages, and Mine. The search function is in the Discover page and supports fuzzy search by post title. The key design point here is: the search interface and the backend list interface share the same pagination structure, and the only difference is passing one extra keyword parameter. This approach is worth continuing to use. When you later add filtering by tag, you only need to add one more tagId parameter and add one condition check in the backend mapper, without redeveloping the interface.
The Messages page displays reply notifications. The notification mechanism of this project is relatively simple: it is not real-time push, but instead pulls the unread message list when entering the Messages page. If you plan to turn it into real-time chat, then you need to introduce WebSocket or polling, and the complexity will increase quite a bit. At the course design stage, it is recommended to keep the existing solution.
4. Key conventions for Java backend interface design and frontend-backend joint debugging
4.1 Interface style: conventions for unified return structure and pagination parameters
The JSON returned by the backend interface to the frontend has a fixed wrapper structure, usually like this - this is the foundation for whether frontend-backend joint debugging can proceed smoothly.
{
  "code": 200,
  "message": "操作成功",
  "data": {
    "records": [],
    "total": 12,
    "pageNum": 1,
    "pageSize": 10
  }
}
code is the business status code. The frontend global interceptor first checks code. If it is not 200, it directly pops up an error prompt and no longer enters the page logic. message is the text shown to users. In data, records is the data list, total is the total number of items, and pageNum and pageSize are the current page number and the number of items per page. Once this structure is agreed upon, all frontend list pages use the same parsing logic. This is the reason the project can quickly roll out pages.
// 后端 Controller 返回统一结构
public class Result<T> {
    private Integer code;
    private String message;
    private T data;

    public static <T> Result<T> ok(T data) {
        Result<T> r = new Result<>();
        r.code = 200;
        r.message = "操作成功";
        r.data = data;
        return r;
    }
}
The Result class is the common exit for the entire backend interface. All controller methods must return Result.ok(xxx). If an interface directly returns a bare object, the frontend common interceptor cannot parse the code field and will mistakenly judge it as an error. During team collaboration, the Result class is usually placed under the common package, and modules are not allowed to define their own return structures.
4.2 The complete chain of the post interface: from Controller to database
Adding posts, paginated queries, and viewing details can be seen as one complete chain. If you only look at the Controller layer, you will miss key logic; if you only stare at the Mapper, you will not clearly understand how frontend parameters come in. Only by breaking down the whole chain can you know where to modify.
@RestController
@RequestMapping("/post")
public class PostController {

    @PostMapping("/add")
    public Result add(@RequestBody Post post) {
        post.setUserId(CurrentUser.getId());
        post.setCreateTime(new Date());
        postService.save(post);
        return Result.ok(null);
    }

    @GetMapping("/list")
    public Result list(@RequestParam(defaultValue = "1") Integer pageNum,
                       @RequestParam(defaultValue = "10") Integer pageSize,
                       @RequestParam(required = false) String keyword) {
        Page<Post> page = postService.pagePosts(pageNum, pageSize, keyword);
        return Result.ok(page);
    }
}
The @RequestBody of the add interface requires the frontend to submit JSON. The title, content, and cover collected in the frontend form must all be controlled within the same object. Note that post.setUserId gets the currently logged-in user from CurrentUser, rather than trusting the userId passed by the frontend - this is a security design. If the frontend can pass userId arbitrarily, there is a risk of privilege escalation. The keyword of the list interface is modified with required = false, allowing it to be empty during search.
The post detail interface is responsible for combining and returning the post body and author information together. Its difference from the list interface is: list only needs list fields, while detail must include the full body text and author information. Many course design projects mix list and detail into one interface, so when the frontend pulls the list, the full content is also brought back, increasing the pressure on the list interface. Separating them is the more standard approach.
4.3 The prototype of login authentication: trade-offs between interceptors and token verification
The backend uniformly performs token verification for interfaces that require login. The implementation method is an interceptor or Spring interceptor plus custom annotations. The login interface itself is not verified, the registration interface is not verified, and the remaining interfaces are uniformly verified. The advantage of this approach is that interception rules are centralized in configuration, rather than manually checked at the beginning of each Controller.
// 拦截器核心逻辑
@Override
public boolean preHandle(HttpServletRequest request, HttpServletResponse response, Object handler) throws Exception {
    String token = request.getHeader("Authorization");
    if (token == null || !tokenService.verify(token)) {
        response.setStatus(401);
        return false;
    }
    CurrentUser.set(tokenService.getUserId(token));
    return true;
}
This interceptor takes the token from the request header and calls verify to check its validity. The verification method is to parse out user information and put it into the current thread copy. Note that whether the verify method internally queries Redis or the database depends on whether the project uses cache middleware. If the backend project is relatively simple and does not introduce Redis, then the token is generally stored in a database table, and the verify method is just a query with expiration time checking. This method is also sufficient for course design.
The token generation logic generally uses the user id plus salt for hashing to generate a non-repeating string. Do not use the plaintext password as the token, and do not let the token carry password information, otherwise it will be leaked when the interceptor logs are printed. Here, UUID or the JDK built-in UUID generation is more recommended, as it is simple and does not conflict.
4.4 Upload interface: image landing and URL return
The upload interface is a common capability reused by multiple pages. Its process is: receive a multipart file, store it in a local directory on the server, and return an accessible URL to the frontend. In the development environment, it is commonly stored in a static directory of the backend project, using a mapped path so the frontend can access the image via HTTP.
@PostMapping("/file/upload")
public Result upload(@RequestParam("file") MultipartFile file) {
    String originalFilename = file.getOriginalFilename();
    String suffix = originalFilename.substring(originalFilename.lastIndexOf("."));
    String newFilename = System.currentTimeMillis() + suffix;
    String savePath = uploadDir + newFilename;
    file.transferTo(new File(savePath));
    return Result.ok("/upload/" + newFilename);
}
suffix takes the file extension, such as .jpg. The uploads directory is placed under the project root directory by default. If your project is deployed to Linux, be sure to confirm that the runtime account has write permission for the upload directory, otherwise it will report FileNotFoundException. newFilename uses a timestamp concatenated with the suffix to prevent duplicate names and also avoid garbled Chinese file names when passed in URLs. In actual operation, I suggest adding a three-digit random suffix on top of milliseconds when concatenating the file name, to prevent multiple files uploaded in the same millisecond from overwriting each other.
4.5 Database table design: field relationships among the post table, reply table, and user table
The database is the foundation of the entire project. Once you understand the table relationships, you will understand why the backend interface can perform joined queries. The table structure generally has three main tables: user, post, and reply. The post table associates with the user table through user_id, and the reply table associates with the post table through post_id and with the user table through user_id.
The user table fields usually include id, username, password, nickname, avatar, and create_time. The password field stores encrypted ciphertext, not plaintext. The post table fields are id, user_id, title, content, cover, create_time, like_count, and view_count. The reply table fields are id, post_id, user_id, content, create_time, and parent_id. parent_id is used to support nested floor replies to a reply. If your project does not need nested replies, this field can be left empty.
The typical SQL for an associated query is that the post list needs to bring out the user nickname and avatar, and the interface layer uses a join to query them all at once, rather than first querying the posts and then looping to query the users. A common mistake in many course design source codes is looping to query the database; if the list has 20 entries, it queries the user table 20 times. When you see this SQL, you need to confirm whether the project uses a table join or MyBatis-Plus entity association. Table joins are more reliable.
SELECT p.*, u.nickname, u.avatar
FROM post p
LEFT JOIN user u ON p.user_id = u.id
ORDER BY p.create_time DESC
The LEFT JOIN in this SQL ensures that the queried posts will not be lost even if the author information is abnormal. ORDER BY create_time DESC puts new posts first. If the number of posts grows large, you can add an index on create_time, but at the course design stage the table scale is not large, so it can still run without adding one.
5. Three essential pitfall-avoidance guides: the places where things are most likely to go wrong when changing data, changing interfaces, and changing package names
5.1 Database import failure: encoding and version syntax incompatibility
Symptom: when importing a .sql file, it prompts Unknown collation or garbled text; the tables are created but all Chinese text is question marks.
Cause: two pitfalls stacked together. First, the character set declaration at the head of the SQL file is inconsistent with the local MySQL; second, MySQL 8.0's default collation is different from 5.7's, and the utf8mb4_general_ci written in some old SQL is not recognized in some environments.
Solution: before importing, first unify the encoding of the SQL file to utf8mb4, and change the collate to utf8mb4_0900_ai_ci; if you insist on using 5.7, explicitly specify both character_set_server and collation_server in the MySQL configuration file. When importing, add the --default-character-set=utf8mb4 parameter. I usually use a text editor to save the SQL as UTF-8 encoding before importing; this step can solve eighty percent of garbled text problems.
5.2 The frontend compiles but the list is blank: the interface address was wrong for three years and nobody noticed
Symptom: the project compiles successfully and the page can open, but all lists are empty; opening the console shows requests returning 404 or net::ERR_CONNECTION_REFUSED.
Cause: the address pointed to by the frontend baseURL is inconsistent with the address the backend is actually listening on. The most common case is that in source code sent by someone else, the baseURL is written as the IP of their machine, and you did not change it after taking it. The second common cause is that the backend port is not 8080 but changed to 8888, while the frontend is still using 8080.
Solution: open front/utils/request.js or config.js, and change the baseURL to the real address of your local backend. After changing it, do not start the frontend first; directly access some GET interface under the baseURL in the browser address bar, and only start the frontend after it can return JSON. This can help you narrow the problem down to either a purely frontend link or a purely backend link. Develop a checking habit: the startup order is fixed as database → backend → interface self-test → frontend.
5.3 Image upload fails but the interface reports no error: directory permissions and missing URL mapping
Symptom: after selecting an image, it prompts that the upload failed, but there is no exception in the backend logs; or the upload succeeds, but the image on the page shows 404.
Cause: the upload directory does not have write permission, and transferTo reports an error but it is swallowed by the upper layer; or the upload succeeds, but the static resource mapping does not expose the upload directory as a URL, so the address obtained by the frontend cannot access the file.
Solution: first manually create a file under the upload directory to confirm that it is writable at the operating system level; then check the static resource mapping in the backend configuration file to ensure that the upload directory is mapped to the /upload/** URL prefix. This mapping code is generally written in a WebMvcConfigurer implementation class, mapping the disk path to the URL path. When troubleshooting, directly access the returned URL address; if the browser can display the image, it means the mapping is fine; if it cannot display, look at the backend mapping configuration. In addition, develop the habit of printing savePath in the logs after a successful upload, to make it easier to locate where the file actually lands.
5.4 Duplicate pagination data: after pull-to-refresh, the list starts from the second page
Symptom: on the home page, pull-to-refresh does not return the data to the first page, but instead appends after the old list, causing the first few entries to be duplicated.
Cause: in mescroll's downCallback, pageNum is not reset, and upCallback uses the component's built-in page.num. If you do not initialize page.num in downCallback, the component will continue to use the previous page number.
Solution: in downCallback, manually call this.mescroll.resetUpScroll(), which will automatically reset the up page number to 1 and then trigger upCallback. If your component version does not support resetUpScroll well, initialize the page number to 1 in onLoad, and on each pull-to-refresh directly clear the list and then reassign it. Remember one principle: the page number state for refresh and pagination should only be managed by the component; do not maintain an independent pageNum copy yourself in data, because inconsistent state in two places will definitely cause problems.
5.5 Android real device cannot connect to the backend: the cognitive trap of localhost
Symptom: it runs fine on the web, but after installing it on an Android phone, requests fail, and all interfaces prompt timeout or cannot connect.
Cause: localhost on the phone points to the phone itself, not your development computer. In the emulator, 10.0.2.2 may be used to refer to the host machine, but on a real device you must write the computer's LAN IP.
Solution: Make sure the phone and computer are connected to the same router, and fill the LAN IP of the computer running the backend into the frontend baseURL, for example http://192.168.1.5:8080/api. There are several related pitfalls here: the backend must listen on 0.0.0.0 instead of the default loopback address; the computer firewall must allow the backend port. The verification method is to directly access the interface under http://192.168.1.5:8080/api in the phone browser, and only run the App after the JSON can be opened. If the phone browser can access it but the App cannot, check the network permission configuration in manifest.json; a uni-app project must ensure that cleartext traffic is not restricted. Android 9 and above prohibit cleartext HTTP requests by default. If the backend is HTTP, you need to enable the cleartext transmission switch in the manifest, or switch to HTTPS. This configuration is often overlooked during packaging. If you are afraid of trouble, just use an HTTPS certificate, or keep the backend unpackaged during debugging.
6. Three modification techniques worth doing immediately
6.1 Change the fixed hardcoded IP to dynamically configurable
The first thing to do after getting the source code is not to get the process running, but to change baseURL from hardcoded to configurable. I now force myself to do this every time I get a new project, because hardcoded addresses will repeatedly bite you when changing computers, changing networks, or testing on a real device.
// 新增 config.js 统一管理环境变量
const ENV = {
  development: {
    baseURL: 'http://192.168.1.5:8080/api'
  },
  production: {
    baseURL: 'https://api.example.com/api'
  }
}
export default ENV[process.env.NODE_ENV || 'development']
process.env.NODE_ENV is automatically injected in uni-app by the HBuilderX run mode. When running to the browser it is development, and it can be manually changed when packaging and releasing. Put baseURL in one file so you do not need to search and replace the whole text when changing it. Do not trust your memory, and do not think "it is just one address"; once a project adds a sharing QR code and image upload, there are at least 5 places involving address concatenation.
6.2 Uniformly handle login expiration in the global interceptor
The interface interception in the source code usually only performs token validation, and the frontend pages do not have unified handling for login expiration. The modification method is: in the request utility interceptor, when encountering a response with code 401, directly clear the local token and jump to the login page. This trick can avoid repeatedly writing the same three lines of "please log in first" logic in multiple pages.
response.interceptors.response.use(res => {
  if (res.data.code === 401) {
    uni.removeStorageSync('token')
    uni.navigateTo({ url: '/pages/login/login' })
    uni.showToast({ title: '登录已过期', icon: 'none' })
  }
  return res.data
})
Put the judgment logic in the common interceptor, and changing one place takes effect across the whole client. From then on, every time I take over a project with login state, I check on the first day whether the interceptor handles 401, and if not, I add it first. Once the interceptor is handled well, later changes to permissions, adding membership, and adding role control all become much easier.
6.3 Keep all error information in the console during real-device debugging
When running uni-app on a real Android device, sometimes the page is blank, but the HBuilderX console has no error. At this time do not panic. First add unified error capture in the code, print the error to the console, and then use vConsole to view logs on the phone. vConsole is a frontend debugging panel. It is very useful for embedding pages in mini programs, and it can also be used on the App side of uni-app. It displays console logs on the page, so you do not need to connect a data cable every time to view computer logs.
// main.js 里挂全局错误捕获
Vue.config.errorHandler = err => {
  console.error('[AppError]', err)
}
This line of code is extremely valuable during the real-device debugging stage. Whether the blank screen is due to interface cross-origin, abnormal component rendering, or some field being undefined, it can all be seen in the console. After I get the first page running locally, every subsequent round of real-device debugging deliberately exercises the four main flows: login, posting, replying, and uploading images, and I mark one round in the list each time I run one. From then on, every time I do integration debugging, I force myself to go through a full-process regression, and no longer test only the one page that was changed. Hope it helps you. Once it runs through, adding your own requirements will be much smoother.
This article also has accompanying premium resources. Click to obtain