
Full Process of Publishing an iOS Game: Certificate Signing, TestFlight Beta Testing, and App Store Review Practice
An in-depth review of the full process of publishing an iOS game, covering certificate signing, provisioning profiles, Xcode Archive builds, IPA export, TestFlight beta testing, and App Store review and state machine. Combined with the real-world project Dark Dynasty, it explains in detail the four types of release roles, package size reduction, handling of high-frequency errors, and version iteration handoff.
When I first received the task of building and publishing the iOS version of Dark Dynasty, the gameplay portion was already complete, and teammates generally thought this was just a matter of "clicking twice in Xcode, packaging, and uploading." But after actually running through it once, I discovered that going from zero to launch involves far more than compilation and upload: certificates, provisioning profiles, Archive, TestFlight, and review materials—each link could directly collapse the entire schedule.
I am writing this content according to the path actually taken in the Dark Dynasty project, covering the complete chain from project preparation, signing configuration, Archive builds, IPA export, TestFlight beta testing, to submission for review and release on App Store Connect. Whether you are an indie developer or the client lead in a team, this process can be directly used for reference. Game projects in particular have many differences from ordinary apps, and in the article I will clearly explain those details hidden outside the documentation that only become known after stepping into the pitfalls.
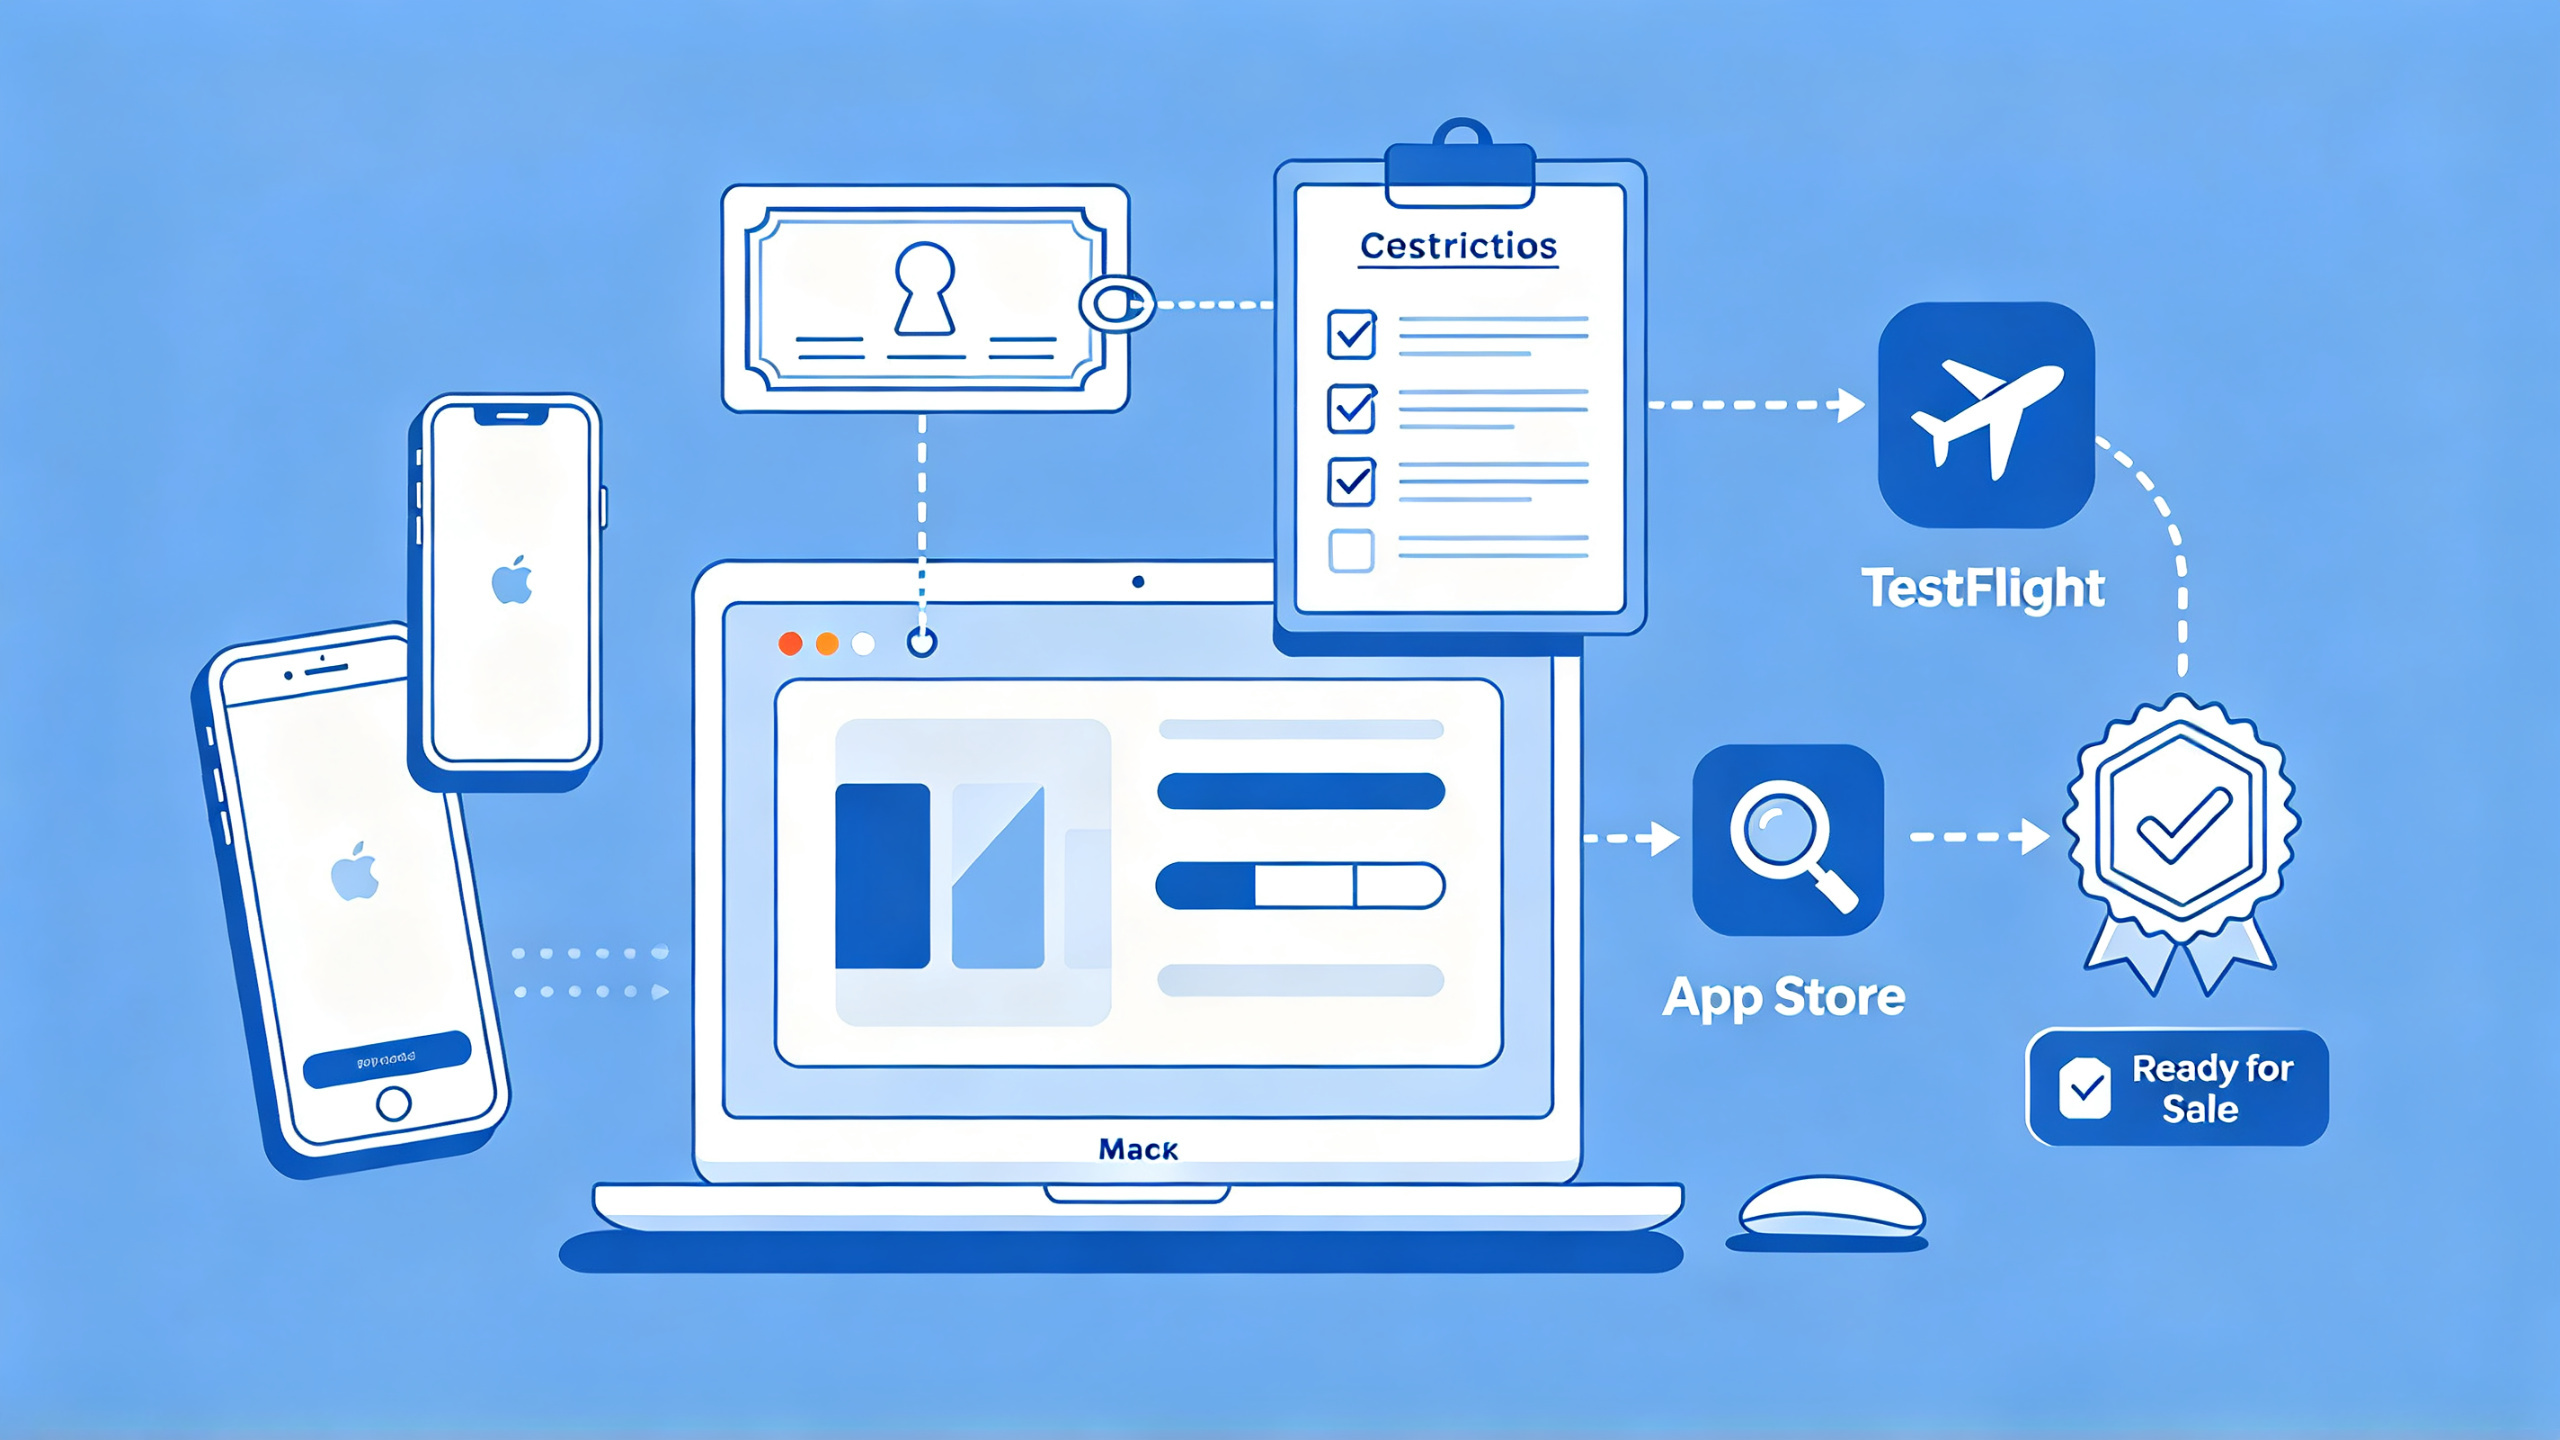
1. Project Overview: How Many Hurdles an iOS Game Must Pass from Development to Launch
First, let me explain the basic situation of the Dark Dynasty project. It is a dark-themed ARPG mobile game. Its core gameplay includes character class selection, skill combinations, Boss challenges, and equipment progression, and it also has a social system consisting of chat, teaming, and leaderboards. It is precisely these functional forms that determine that its iOS build and release cannot follow only the standard process, but must additionally handle resource bundles, in-app purchase compliance, and user-generated content review.
Many developers' first reaction is: if Android can launch, isn't iOS just a matter of switching packaging tools? The actual differences are very large. iOS's signing mechanism requires every installation package to carry a valid certificate and provisioning profile, and the coordination between the build toolchain and the App Store Connect backend is also stricter than Android. More critically, Apple's review team really will install your package on a real device and experience it from beginning to end. If they encounter crashes, freezes, or privacy non-compliance, it will enter the rejection process. So building and publishing is not just a technical task, but a complete delivery process.
1.1 Three Key Decisions: Engine, Minimum Version, Package Size Target
Before the project started, I first settled three things. These three things directly determine the complexity of all subsequent work.
The first is the engine. For dark-like ARPGs such as Dark Dynasty, commercial projects basically choose between Unity and Unreal. Unity's iOS build chain is more mature. The combination of IL2CPP plus AssetBundle has abundant documentation and rich community cases, and the trial-and-error cost is low for small and medium-sized teams. Unreal can also run on iOS, but its initial package size is considerably larger. There is no absolute answer here; the key is team familiarity. My view is to tinker less: choose whichever the team is comfortable using. The process logic still holds on the native iOS project—ultimately everything must land on the Xcode Archive step.
The second is the minimum system version. This decision affects a whole set of things, including the scope of compatibility testing, engine version selection, and third-party SDK adaptation. I do not recommend setting the minimum version too high just to "look new," nor accommodating ancient systems just to cover old devices. In practice, first look at which version each integrated SDK supports, take the intersection, then compare it with the proportion of existing devices held by the target user group, and finally set a reasonable value.
The third is the package size target. The upper limit for a single iOS app package is 4GB, but in reality no one releases right at the limit. The larger the package, the slower the reviewer's download, and user conversion rates will also be affected. My strategy at the time was to keep the initial package within a few hundred MB as much as possible, split game resources into remote AssetBundles by level, character, and skill effects, and retain only basic UI, login, and core combat resources during startup. This must be planned before building; otherwise, if you wait until after Archive to split it, the rework cost is extremely high.
1.2 Four Types of Roles in the Release Cycle
I made things clear with the team from the start: iOS release is not a one-person operations job. Four roles must all be in place.
- Apple Developer account holder: responsible for the account entity, agreement signing, and member management
- Certificate manager: generates and safeguards certificates and private keys, and handles provisioning profile pairing
- App Store Connect administrator: maintains app information, TestFlight testers, and review materials
- Server lead: handles resource bundle CDN, player account system, and login state verification
Among these four roles, the easiest place to get stuck is the first step. When applying for a company account, D-U-N-S Number verification may take several days or even longer; although an individual developer account is faster, it cannot satisfy the need to launch under a company entity. So my advice has always been: start the account application process when the project enters the mid-development stage, get certificates, provisioning profiles, and App IDs all connected first, and complete one real-device installation using development signing. When it is truly time to release, you only need to switch to the distribution certificate and run through the build again.
2. Environment and Project Preparation: Development Certificates, Provisioning Profiles, and the Xcode Project
2.1 What Certificates and Provisioning Profiles Each Manage
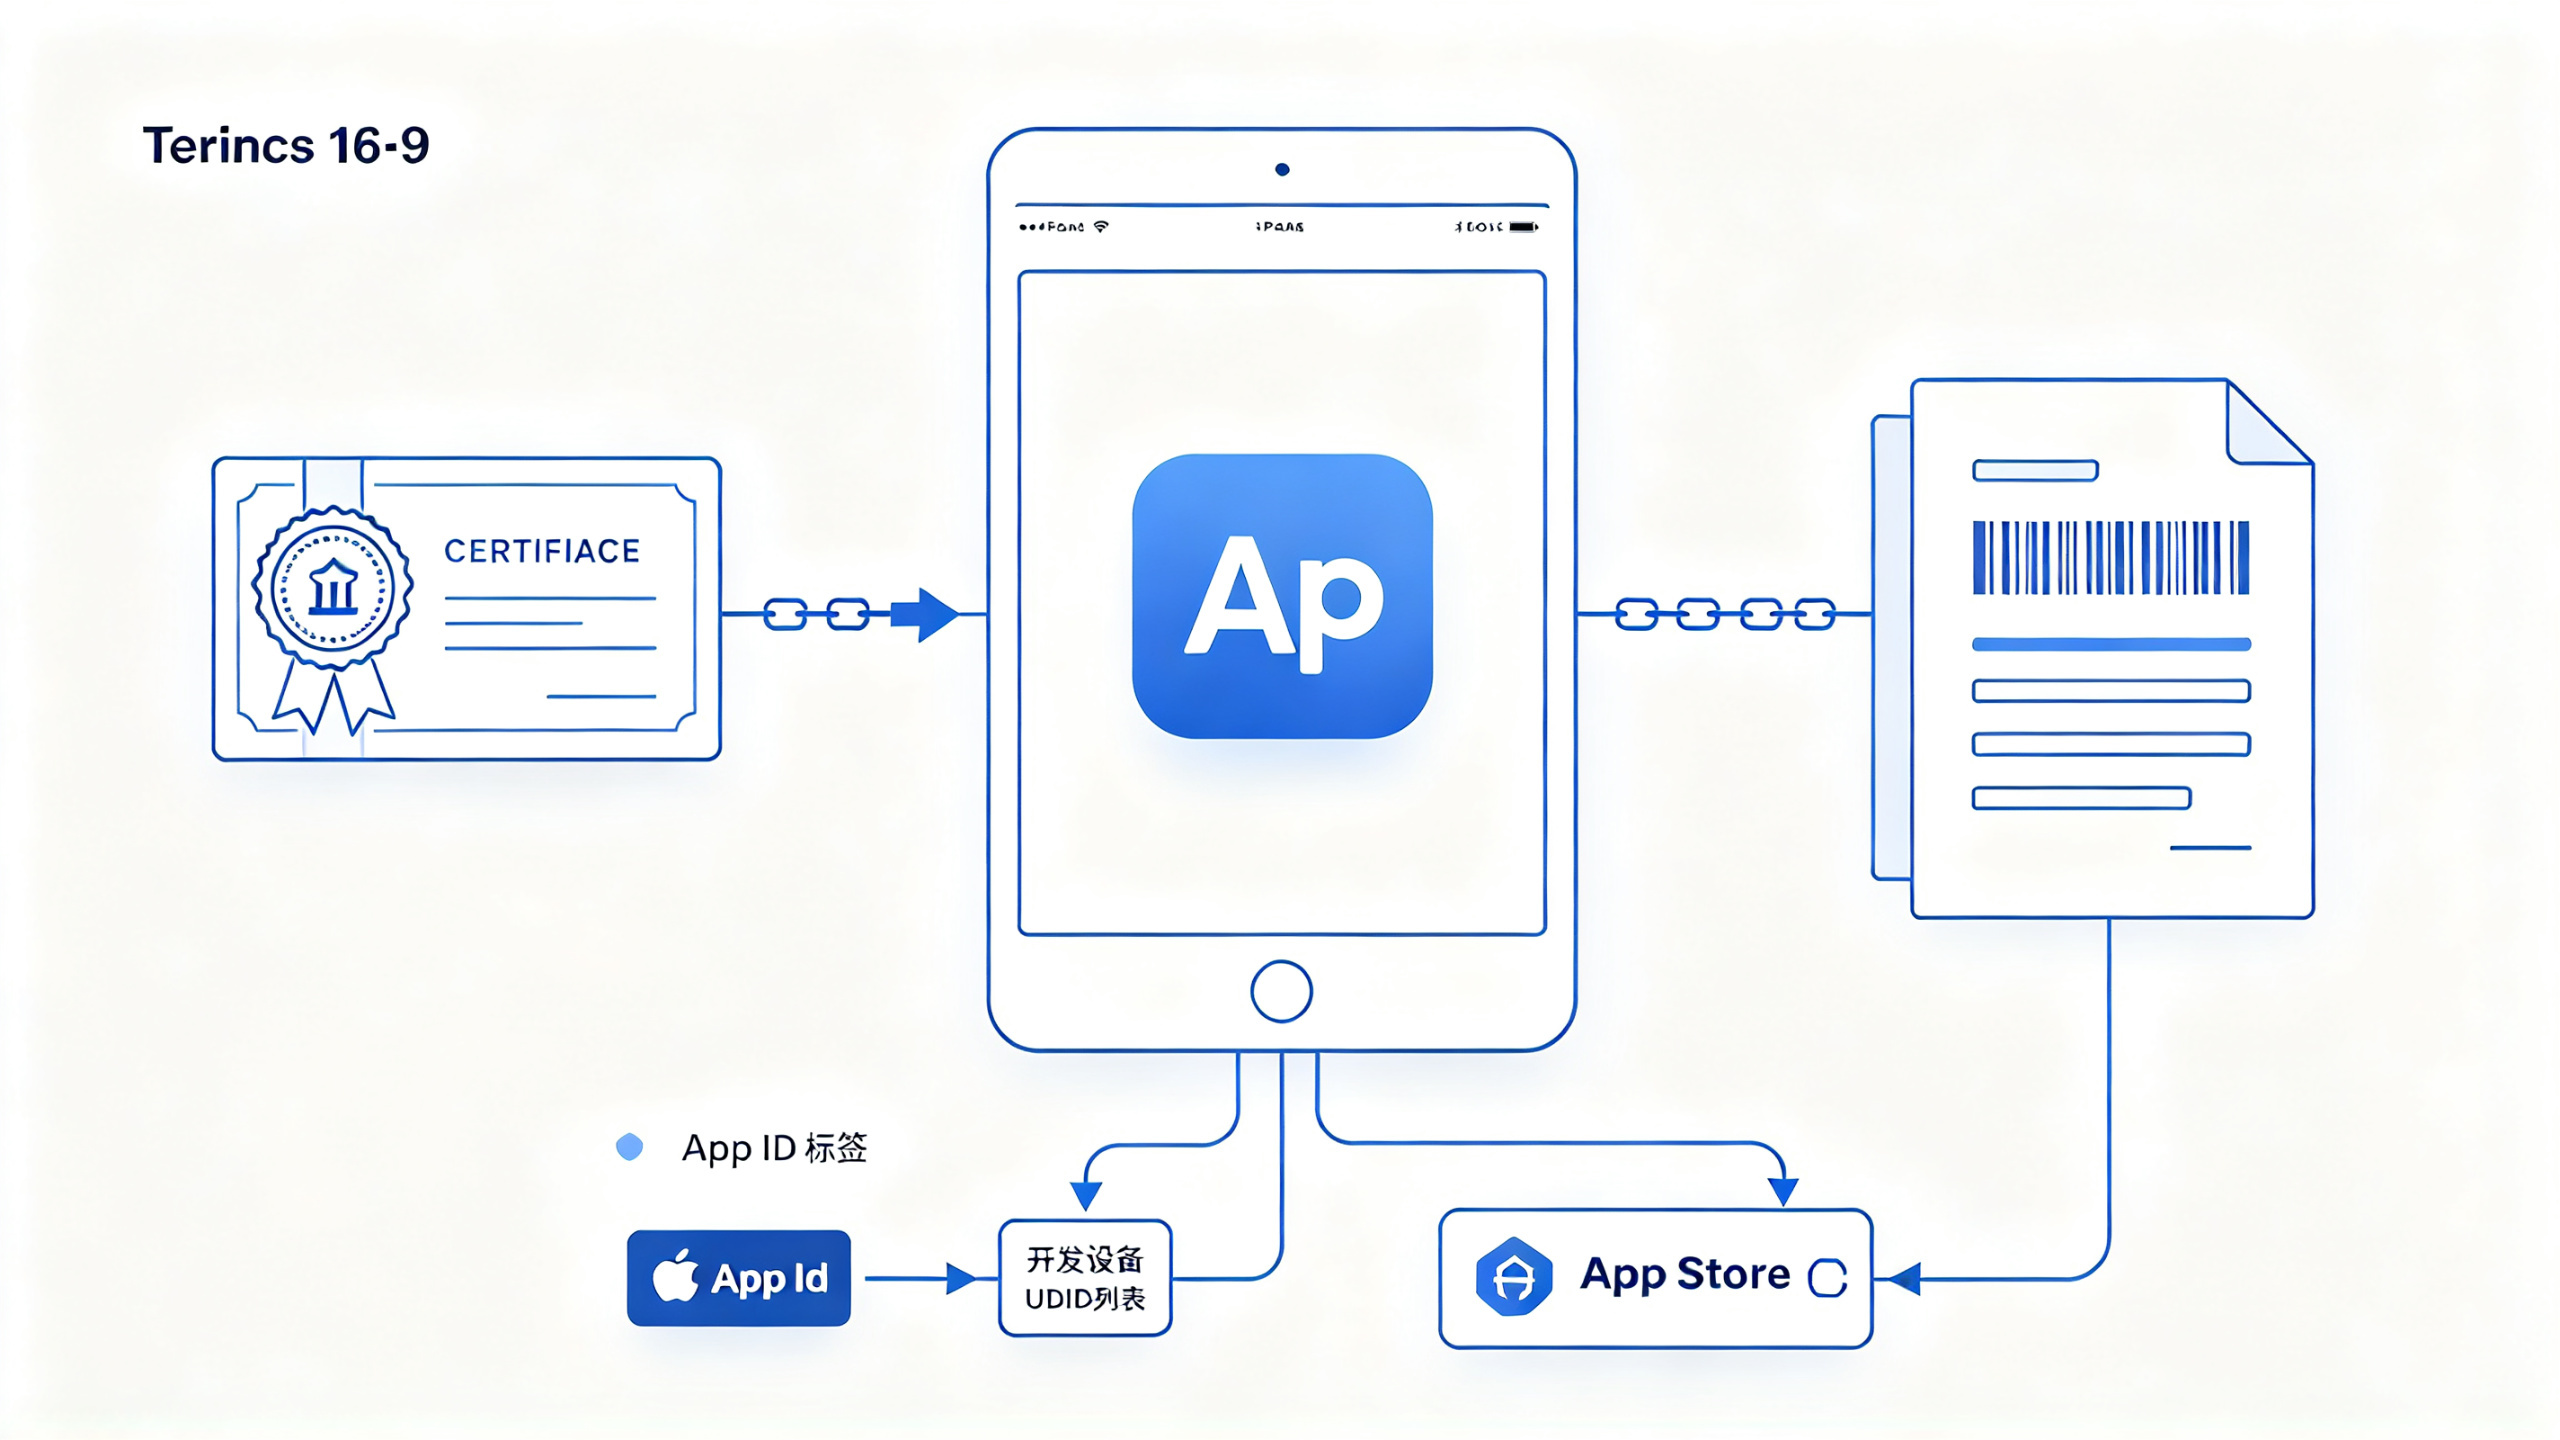
What beginners most easily get confused about is the relationship between certificates and provisioning profiles. Let me explain with an everyday example: a certificate is like your ID card, while a provisioning profile is your pass in a certain access control system. The ID card proves that you are you, and the pass determines which doors you can enter.
In the iOS system, developer certificates are divided into two categories: Development and Distribution. Development certificates are used for beta testing during development and can be installed on registered real devices; Distribution certificates are used for launch and official distribution. A provisioning profile binds the App ID, certificate, and device list (or distribution channel) together. Real-device debugging uses a development provisioning profile, which specifies the UDIDs of devices allowed to install; launch uses an App Store provisioning profile, which does not limit devices and only points to the App Store channel.
In the project, I deliberately chose manual signing instead of Xcode's automatic signing. Automatic signing is a great experience for individual developers and single-app scenarios, but game projects usually need to maintain multiple configurations at the same time, such as the development build, the beta build, and the review build. Manually selecting certificates and provisioning profiles allows precise control over every output, at the cost of maintaining just one configuration table. This bit of work can save a lot of troubleshooting time when problems arise in the release pipeline.
The table below is the minimal signing configuration checklist I maintain in the project. You can copy it directly:
Purpose | Certificate Type | Provisioning Profile Type | Purpose Description |
On-device debugging | iPhone Developer | iOS Development Profile | Specify device UDIDs, used for daily joint debugging |
TestFlight beta testing | iPhone Distribution | App Store Connect Profile | Upload and distribute to testers |
App Store release | iPhone Distribution | App Store Profile | The final artifact submitted for review |
To check whether the certificate is ready, you can also take a look directly from the command line:
security find-identity -v -p codesigning
This command lists all certificates in the local keychain that can be used for code signing. If you do not see a Distribution certificate in the list, go to the developer portal and download it again first.
2.2 Generation and Import of the Xcode Project
Dark Dynasty uses an Xcode project exported from Unity, and there are several places in this step that are very easy to get wrong.
Before exporting, the Bundle Identifier, version number, target OS version, and scripting backend all need to be set correctly in Unity. Be sure to choose IL2CPP for the scripting backend. Mono is no longer a mainstream choice on iOS now, and it suffers in package size, performance, and review compatibility. The exported project path must not contain Chinese characters or spaces; otherwise, subsequent script processing and resource injection will most likely report path errors. I have seen this pitfall more than once.
After importing into Xcode, the first action is to check whether the deployment target in Build Settings is consistent with the Unity settings. Because the project may mix multiple Pod libraries and SDKs, if the minimum version of some library is higher than that of the project, compilation will fail directly. When encountering this kind of problem, do not force-change the library's deployment target yourself; first confirm the supported range with the SDK provider.
Another easily overlooked place is the App Transport Security configuration. If the game makes a large number of HTTP resource requests, the relevant domains must be added to the ATS whitelist, or a stricter exception configuration must be used. During the review stage, if it is found that you accessed an address that is undeclared and does not conform to the ATS specification, at best the metadata will be rejected, and at worst the review result will be affected. I check the relevant fields in Info.plist immediately after exporting the project.
3. Build Process: Breaking Down the Core Steps from Source Code to IPA
3.1 Configuration Checklist to Go Through Before Archive
The formal release build in Xcode is called Archive, and the menu path is Product -> Archive. Before clicking it, I habitually check the following configurations item by item:
- Whether the version number (Version) and build number (Build) are as expected; the build number must be larger than the previous one
- Whether the signing certificate has been switched to Distribution
- Whether the build target selected is Generic iOS Device, rather than some simulator or real device
- Whether Build Configuration has been switched to Release
- Whether all Debug logs, debug menus, and local fake data logic have been disabled
- Whether App Thinning needs to be enabled to support per-device slicing
The case of the build number matters. After uploading to App Store Connect, TestFlight is very strict about determining the uniqueness of the build number; uploading the same build number twice will be considered a duplicate version. In my script, I automatically increment the build number to avoid manual mistakes.
There is also a detail that is often overlooked: before archiving, you need to clean up unnecessary architecture symbols. Now that Apple has deprecated Bitcode, there is no need to include the standard simulator architecture in the verification package. Configure Valid Architectures and Excluded Architectures clearly in Build Settings, and the built package will be smaller.
3.2 The complete selection logic of Archive and Export Options
Archive is not the final product; what it generates is an xcarchive package, which contains the executable file, resources, and dSYM symbol files. After that, you need to use the Export operation to export it into an uploadable IPA.
Why go through this extra loop instead of compiling directly into an IPA? Because the significance of Archive is not limited to producing an installation package; it also preserves complete symbol information. If users later experience crashes, the logs uploaded to a crash analysis platform need dSYM for symbolication in order to restore the corresponding code lines. If you produce the package directly without Archive, troubleshooting online crashes will take many more detours.
During Export, a distribution method selection will pop up, with four options: App Store Connect, Ad Hoc, Development, and Enterprise. For app review submission, you must choose the first item; TestFlight internal testing also goes through the App Store Connect option, and afterward you just choose internal testing distribution in the backend. At this point Xcode will re-sign the package with the release Distribution certificate. I will additionally check the signing information to avoid having it replaced by an old certificate at the export step.
After the export is complete, I will rename the IPA to zip, unzip it, and inspect the .app package inside Payload. The key things to check are whether the package size meets expectations, whether the icons are complete, and whether the resources and Metadata are correct. Although these actions are basic, they can catch at least one major accident in every release cycle.
3.3 Verification and slimming down of build artifacts
Game projects have one big difference from other Apps: the proportion of resources is extremely large. The code itself may be only a few dozen MB, but UI, scenes, character models, and sound effects together can reach several GB. If all of it is packed into the IPA, not only will review and download be slow, but installation for users in a no-network environment will also be very painful.
My approach is to split resources into remote packages. During build time, only the content necessary for startup is put into the IPA, and the remaining resources are downloaded from the server by version number. The thing to be most vigilant about at this step is “inconsistency between local and remote resource versions.” The first time I did it, because the client resource version number was not aligned with the server side, testers directly got a white screen when launching the game in a weak-network environment. Later I set a rule: before every build, a script must be used to verify the client configuration and the server resource version number, and if the two sides are inconsistent, the build is terminated directly.
For package slimming, there are also some basic but effective methods: compress audio to MP3 or AAC, tier texture compression formats by device model, remove unused Shaders and atlases, and when cleaning up old AB packages, simultaneously clean up old files on the resource server. Do an incremental comparison every release cycle, and the package size can be stably controlled within the target range.
4. Release process: App Store Connect, TestFlight, and review
4.1 The complete closed loop of TestFlight internal testing
After the IPA is uploaded, the first stop is TestFlight rather than App Store review. This step can be understood as adding a gate before review, first sweeping away internal problems.
For the upload method, I recommend using the Transporter desktop client directly. Although uploading with Xcode’s built-in method also works, the log prompts are not intuitive enough, and it is hard to locate problems when they occur. After a successful upload, the corresponding build version will appear in the App Store Connect backend, but the status will first show Processing. Only after it becomes Ready to Test can you add it to testers.
External members for internal testing require an invitation system, and up to 10000 test devices can be added at one time, which is more than enough for the vast majority of teams. Before the invitation emails are sent externally, I will first use members of the internal testing group for a round of gray release, confirming that there are no startup crashes and no missing resources before opening it up. The key scenarios covered during internal testing for game projects include: first installation and launch, offline launch, account registration and login, in-app purchase ordering, foreground/background switching, interruption by incoming calls, and landscape/portrait switching. Dark Dynasty has voice chat and voice features, so I will additionally test the microphone permission pop-up, and whether the feature can still be used normally after authorization is denied.
Weak-network simulation is also worth arranging dedicated time for. Use network tools to raise latency above 300ms and set packet loss rate to around 5%, then run through the login and battle flows. Many problems cannot be detected under office WiFi, but reveal themselves as soon as they reach users.
4.2 Material preparation and process details for submitting for review
Review is not over once the binary file is uploaded; the information that needs to be filled in the App Store Connect backend is actually more troublesome. App name, subtitle, description, keywords, technical support URL, and privacy policy URL are all indispensable. Screenshot sizes need to fit the three tiers of 6.9-inch, 6.5-inch, and 5.5-inch, and if iPad is supported, corresponding sizes are also needed. Many teams cut corners here and only make one set. If review finds stretched or distorted images or misaligned UI, it is very easy to be rejected.
Regarding age rating and the privacy questionnaire, game projects must be especially cautious. As long as there is user-generated content, advertising, simulated gambling, frequent point redemption, and in-app purchases, it must be filled in truthfully. Some developers lower the rating to save trouble, but then reviewers see content that does not match while running the game. In mild cases it is rejected and must be refilled; in severe cases it affects account credibility.
The review notes field is something I strongly recommend everyone make full use of. I will submit an explanatory document, including: how the account system registers and logs in, whether guest mode is needed, how the in-app purchase flow is triggered, whether there is any weak-network logic that reviewers need to pay special attention to, customer service contact information, and so on. This “review notes.txt” can help reviewers quickly understand the gameplay and reduce the probability of misjudgment.
4.3 Communication and state machine during review
The review backend has a state machine with very intuitive names: Waiting for Review, In Review, Pending Developer Action, and Ready for Sale.
The most troublesome is Pending Developer Action. At this point reviewers usually attach a problem description, such as “please provide an in-app purchase test account within 24 hours” or “please explain the purpose of using the advertising SDK.” If it is not handled in time, the review time will be greatly prolonged. My experience is to copy this step to the entire project team, rather than letting product or development reply alone, because some issues require the client to urgently produce a package in coordination.
"Dark Dynasty" includes interactive features such as chat, team-up, and leaderboards, and involves user-generated content. Apple review is very sensitive to this and requires mechanisms such as sensitive word filtering, user reporting, and blocking. We had these features ready in advance and wrote the handling process in the review notes, and ultimately passed on the first try, saving about three days compared with expectations. This experience is very critical for making games with social features.
5. Record of Common Issues and Troubleshooting Techniques
5.1 High-Frequency Errors in Xcode Builds and Uploads
I sorted the high-frequency issues I encountered during the release cycle of "Dark Dynasty" by frequency of occurrence and made a quick reference table:
Error message | Root cause | Handling method |
No signing certificate 'iOS Distribution' found | The local keychain is missing the distribution certificate or private key | Re-download the certificate from the developer backend and double-click to import it |
Invalid Bundle. The bundle ... does not support the minimum OS version | The project deployment target is inconsistent or lower than the requirement inside the package | Unify the project's deployment target and ensure SDK compatibility |
App Store Connect Operation Error | Upload network abnormality or a duplicate build number was detected | Switch to Transporter and retry, while confirming the build number is unique |
Provisioning profile doesn't include the currently selected device | The development provisioning profile is missing the current device UDID | Add the device in the backend and regenerate the provisioning profile |
Command PhaseScriptExecution failed | The build script path is abnormal or permissions are insufficient | Check that the path inside the script cannot contain Chinese and ensure executable permissions are correct |
Besides the cases in the table, there is another type of "metaphysical" problem: the same set of code can build on one person's computer but fails on another person's computer. This is usually not a code problem, but is caused by inconsistent local certificate and provisioning profile states. I suggest that at least two people on the team each hold a copy of the signing configuration, to avoid the single point of risk where "only one person can release the version."
5.2 Typical Reasons for Review Rejection and Countermeasures
Review rejection is actually not that scary. What is most feared is not knowing where it was rejected and how to modify it.
Crashes are the most common issue. When the reviewer runs to a certain level, the App crashes, and the logs returned by the backend are often incomplete. Using a crash platform plus dSYM symbolication can obtain an accurate stack trace. I handled a typical case: it got stuck on a crash caused by insufficient memory on low-end devices, because some special effect resources were not compressed and only high-end devices could run it. It was ultimately solved by loading resources in tiers.
Missing functionality is also very common. For example, the launch screen shows a black screen on overseas device models, or the beginner tutorial is forcibly skipped, causing buttons on subsequent screens to be unclickable. This type of problem must be tested before submission by going through the complete flow on a completely newly installed blank device, and not even once can this be skipped.
Metadata non-compliance mainly appears when the app name, description, screenshots, and functionality do not match. I have encountered someone writing the in-app purchase item names in an especially exaggerated way, and as a result the reviewer directly rejected it after checking the screenshots and description. The solution is to make all screenshots, descriptions, and in-app purchase item names use the same standard, ensuring they are truthful and verifiable.
Failure to explain permission usage also needs attention. As long as the App accesses the photo album, location, or microphone, the privacy policy must clearly state the purpose. Games with voice features must note that voice data is used for real-time communication. Such details are easily overlooked.
5.3 Release Handoff During Version Iteration
Publishing is not the end point; it is only the beginning of the next round of builds. During version iteration, the easiest thing to go wrong is version number confusion. I strongly recommend using git tags to mark the commit point of each release, and at the same time making the build number automatically increment. Before each build, the script reads the current project version, adds one to the baseline build number, and writes it back to the configuration, so there will not be a situation where this build number is the same as the previous one and causes the upload to fail.
When a serious bug appears online, the correct way to stop the bleeding is to first pause sales in App Store Connect, rather than rushing to submit an expedited review request. The expedited channel is only suitable for crash-level issues that truly affect all users. The number of uses is very precious, and giving it to ordinary feature bugs will cause the review team to treat it differently.
If you really encounter a scenario that needs expediting, one set of materials must be prepared in two ways: first, the issue reproduction steps and a description of the impact scope; second, the fix package is already prepared and has passed TestFlight self-testing. Only when the review team sees a clear issue description and a verifiable fix package will they be more inclined to assist with handling it.
Finally, let me mention one habit I insist on myself: after each round of release is completed, immediately organize the pitfalls encountered throughout the process, the configurations changed, and the temporarily added scripts into an archive document. The location of the next build and release is often hidden in these records. What "Dark Dynasty" relied on to go from zero to launch was actually not any single operation being especially stable, but a reusable process, plus the team's continuous correction of that process.