
What to Do When Rejected by App Store 4.3a: Practical Methods for Cleaning Up Dependency Library and Image Resource Fingerprints
When rejected by App Store 4.3a for duplicate apps, changing copy often treats the symptom but not the root cause. This article explains the similarity fingerprint logic behind the review, provides a five-step engineering method for cleaning up historical dependency libraries and refactoring image resources, and includes pre-submission self-checks and review reply experience to help developers reduce duplication risk from the package itself.
Receiving a Rejection email at eleven at night with the subject line reading 4.3(a) is the email many iOS developers least want to see. 4.3a is the clause in the App Store Review Guidelines specifically targeting "spam apps/duplicate apps"—simply put, Apple believes your package looks too similar to an app already listed on the store. The first time I encountered it, the team stayed up all night changing the title, swapping keywords, and modifying the launch screen, only to be rejected even faster the second time. It was only later, after shifting focus from the copy back to the package itself, that we found the real problems in the dependency libraries and image resources, and understood how this process should actually be controlled.
This article is organized around four things: what 4.3a actually checks, why dependency libraries get flagged, how to handle image resources, and how to reply to the review after cleanup. If you are currently dealing with an App Store rejection, or plan to resubmit an old project carrying heavy historical baggage, you can follow this article directly. Every step in this article is not theoretical but an operational process verified across multiple real projects. The title says "one hundred percent solution"—I won't make mystical promises, but if your 4.3a is indeed caused by these two categories, dependency libraries and image resources, following the approach below will raise your pass rate high enough to make you wonder "why didn't I do this sooner."
1. What 4.3a Actually Checks: Understand the Rules Before Cutting
1.1 Don't Treat 4.3a as a Copy Problem
Many developers, upon receiving a 4.3a email, first react by modifying the app description, keywords, screenshots, or even changing the app name to something completely unrelated. This can't be said to be entirely ineffective, but in most cases it treats the symptom, not the root cause.
The original intent of App Store Review Guideline 4.3 is "don't upload duplicate, spammy, or apps that obviously copy other developers' work." 4.3a is a refined subcategory of this clause in the review backend, specifically used to flag packages with "obvious similarity to other already-listed apps." The email usually gives only a one-sentence hint, such as "Your app appears to be similar to apps already available on the App Store" or "Your app may be a copy of another app." The judgment logic behind this sentence is complex, but one key point is easily overlooked: the judgment happens immediately after the package is submitted—the machine looks at the package first, then the human looks at the copy.
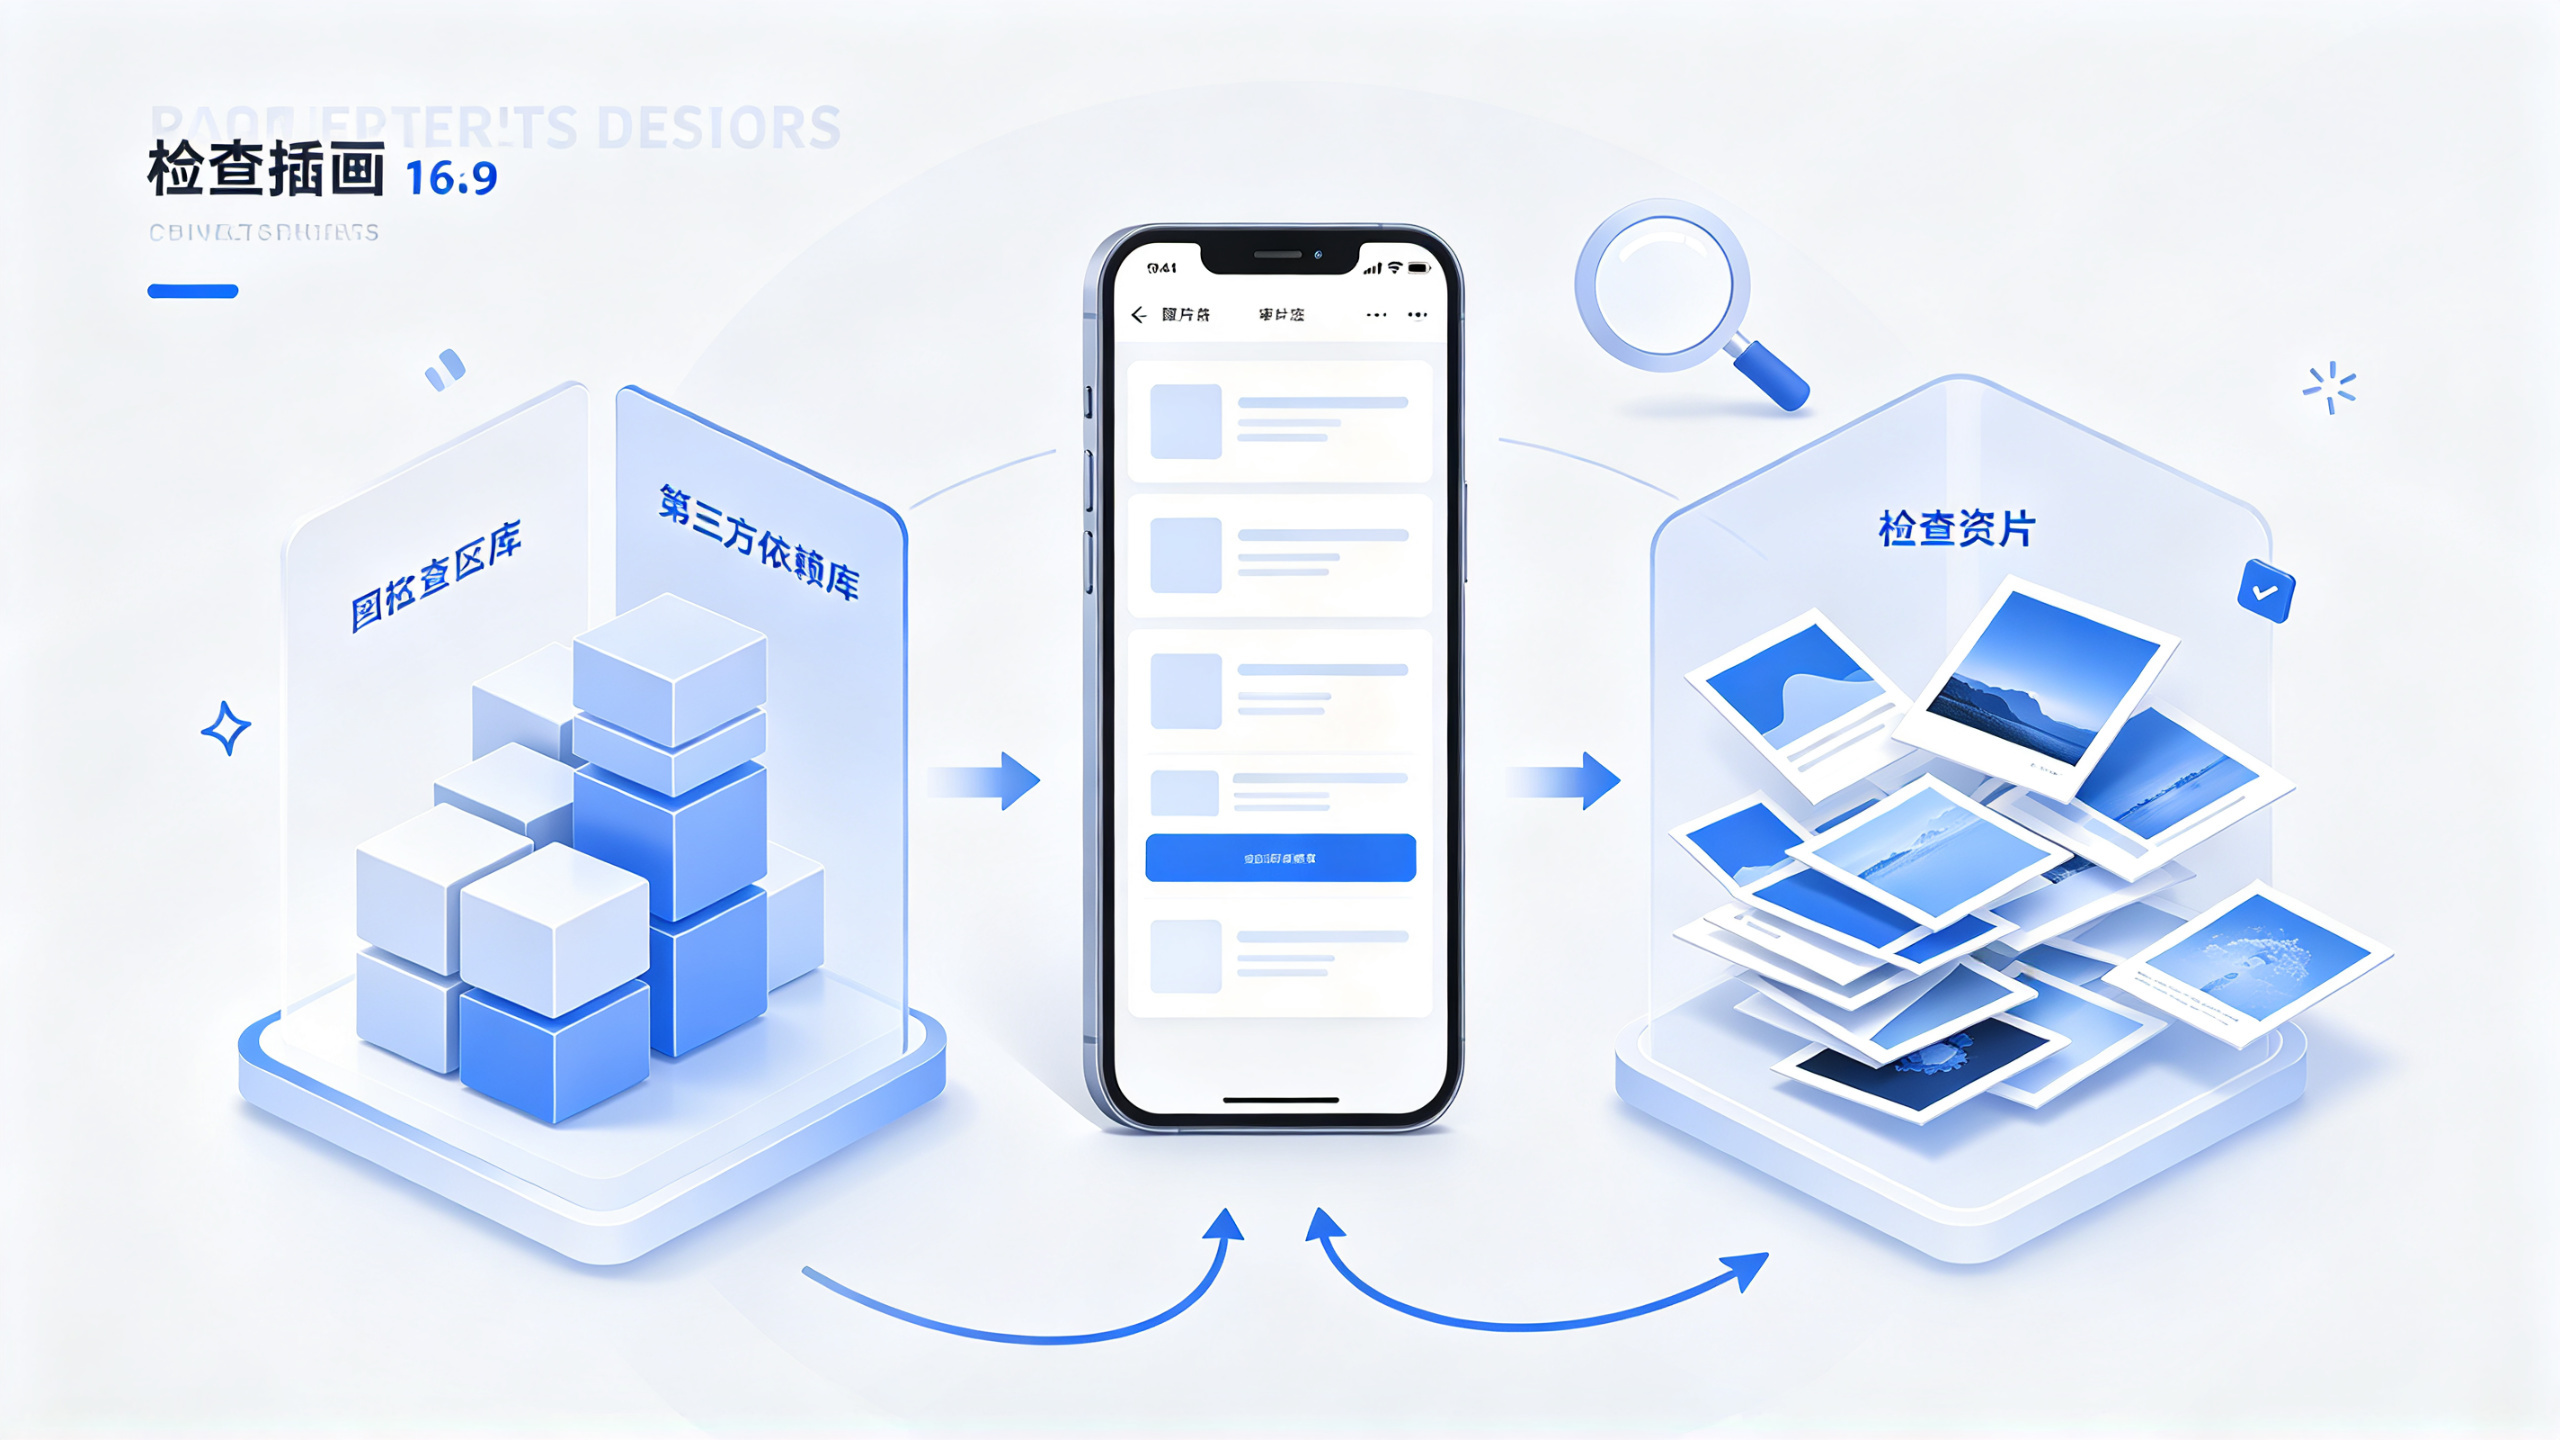
Apple's review process roughly divides into three stages: machine scanning after submission, rule comparison, and manual spot checks or appeal reviews. The machine scanning stage doesn't look at your ASO copy at all; instead, it first breaks down the IPA's binary, resource files, and metadata into fingerprint features, then performs hash comparisons against existing apps on the store. This fingerprint includes Bundle ID structure, code symbol tables, hashes of third-party Frameworks, image resource hashes, Asset Catalog structure, and even the arrangement of certain fields in Info.plist. A 4.3a hit often occurs at this stage, so the real problem to solve is not in the description text but in the package.
1.2 Why Dependency Libraries and Image Resources Are Key Suspects
If machine scanning is the first goalkeeper of the review, then "similarity" is the radar in the goalkeeper's hands. A normal app contains its own unique code, SDK combinations, and UI assets, and these contents combined should produce a unique fingerprint. But the following two situations cause large-scale overlap in fingerprints:
The first is dependency library residue. Many old projects were modified from templates, open-source projects, or purchased source code, and the code skeleton retains the original template's SDK combination. For example, an open-source Demo integrated four libraries—Facebook Share, Firebase Push, AdMob Ads, and Google Login—and later you used this Demo to build your own app, deleting the interface but not these four libraries. At this point, your package's SDK symbol table is highly consistent with a Demo variant already listed on the store, and the machine treats this SDK combination as "shell app evidence."
The second is image resource residue. The App Store review backend extracts image resources from apps in bulk, including icons, launch images, tab bar icons, embedded illustrations, and brand logos, then performs MD5 or SHA hash comparisons on these images. Open-source template assets, tutorial sample images, and free UI Kit assets circulating online have been used by hundreds of apps simultaneously. If you stuff these images into your package unchanged, the hash comparison will expose you.
Dependency libraries and image resources are precisely the two areas most easily overlooked by many developers in daily iteration. During a UI redesign, only the interface was replaced, but the old SDKs were not removed; when slicing images, for convenience, a few placeholder images were copied directly from an old project. These inconspicuous operations all end up becoming similarity evidence in 4.3a.
1.3 Under What Circumstances Is This Rejection Most Easily Triggered
Among the 4.3a projects I have encountered, the triggering scenarios are highly concentrated in the following categories:
Open-source projects cloned wholesale from GitHub or resource sites, with only the interface changed and the author's native third-party SDKs and assets not replaced;
Purchased ready-made source code, or sharing the same code base from the same outsourcing team with another already-listed app;
Historical versions integrated a large number of ad, push, analytics, and payment SDKs, and later the channel was changed or features were cut, but the project was not fully cleaned up;
Cross-platform solutions (Flutter, Unity, React Native) retain a large number of default assets bundled with the framework, and these assets have appeared on the store countless times;
Multiple people within the team share one base project template, and each app is submitted with only a skin and name change.
If any of the above applies when you receive 4.3a, I can basically tell you that the problem lies in the package contents, not the copy. The cleanup plan below is designed for exactly this situation.
2. How Similarity Fingerprints Accumulate Bit by Bit
2.1 Residual dependency libraries: the historical debt every old project has
The accumulation process of dependency libraries is quite representative. When the project started, a batch of libraries was installed with CocoaPods, such as networking libraries, image loading libraries, and third-party login libraries. Later, as the product iterated, the third-party login feature was cut, and the person in charge directly commented out the corresponding pod line in the Podfile, but did not run pod install. Later still, the push service was switched from vendor A to vendor B, and the folder of A's old SDK was still lying in the Pods directory. Or the project team took on a new research requirement and dragged the entire demo source code of some SDK into the project; after running the demo, the feature never went live, but the source code folder was never deleted.
This residual code will ultimately be compiled into the same binary, and when a machine scans it, it can see a large amount of "dead code" with no business entry point. The SDK fingerprints corresponding to the dead code will be compared with other apps in the store. If it happens to encounter an app that also uses the same SDK combination, then suspicion of 4.3a arises.
I once handled an extreme case: in the client's old project lay four advertising SDKs that had long been discontinued, two push SDKs from different vendors, one IM SDK, and one map SDK, while in the actual product only one login feature was in use. After packaging, the binary was about 60MB, but the effective business code was estimated at less than 10MB. As long as this kind of package is submitted to the App Store, a machine scan can tell at a glance that "you copied the structure of other apps." Therefore, cleaning up dependency libraries is the first priority among all 4.3a solutions.
2.2 Residual image assets: your package may be "having a face collision"
The problem with image assets is more hidden than with dependency libraries, because most developers simply do not remember where a certain image came from. In many cases, during version iteration the team copies the Assets folder from an old project, and when copying, they do not care which image is original and which was downloaded from an online template. By the time the app is submitted for review, the machine extracts image hashes and finds that the launch image, tab bar icons, background images, and placeholders overlap with tens of thousands of apps in the store.
There is a very common scenario: a developer downloads a free UI Kit from some design resource site, which includes a set of tab bar icons and default avatars. He picks two or three and puts them into his own app, thinking it is quite good. As a result, this set of assets has been used repeatedly in apps at home and abroad, and during machine hash comparison, one icon may match thousands of apps. In this case, even if your code is completely original, as long as the images collide, it is hard for a human reviewer not to become suspicious when seeing a report that "this app shares the same asset resources with thousands of apps."
What is even more hidden is Contents.json in the Asset Catalog. Many developers directly keep the icons, textures, and gradient backgrounds automatically generated in the template project during development. These images will ultimately be packed into the app bundle and become part of the fingerprint. The way to judge is very simple: if images with names like "sample," "demo," "placeholder," or "bg_default" can be found in your app, then the probability that they appeared in some template project is extremely high.
2.3 How machine comparison and manual review work together
Machine scanning is only the first step. After you submit a package, Apple's review backend will generate a "similarity report." If the report shows that your package shares a large number of resources with an existing app, it will automatically trigger 4.3a and move into the manual review process. Human reviewers do not look through your images one by one like a machine, but when they open the backend they will see a summary such as "Shared resources with N apps," which will greatly influence their judgment.
So this is the problem with "only changing the copy without cleaning the package": you changed the title and description, but the similarity evidence in the machine report is still there, and once a human reviewer checks, it will still be rejected. This is also why revising the copy again and again is of no help. Clearing out the sources of similarity in the machine report is the correct direction for solving 4.3a.
3. The overall path of the solution: not mysticism, but engineering method
3.1 First collect evidence, then start modifying the package
Many teams panic as soon as they receive 4.3a, hurry to change images and text, and then resubmit. This kind of "ants on a hot pan" operation will most likely still be rejected. My suggestion is to calm down and first spend half a day turning the contents of the existing package upside down to figure out exactly which dependency libraries, which images, and which files may constitute fingerprint risks. Only after you have evidence can you decide how to handle things later.
First thing: download the currently rejected build version from App Store Connect, or directly Archive a Release package in Xcode and save it as an ipa file. Second thing: unzip the ipa and look at the contents in the app bundle. Third thing: list all the image assets, Podfile, Build Phases, and Copy Bundle Resources in the project source code. After these three steps are done, the information in your hands is roughly enough.
3.2 Overview of the five-step operation
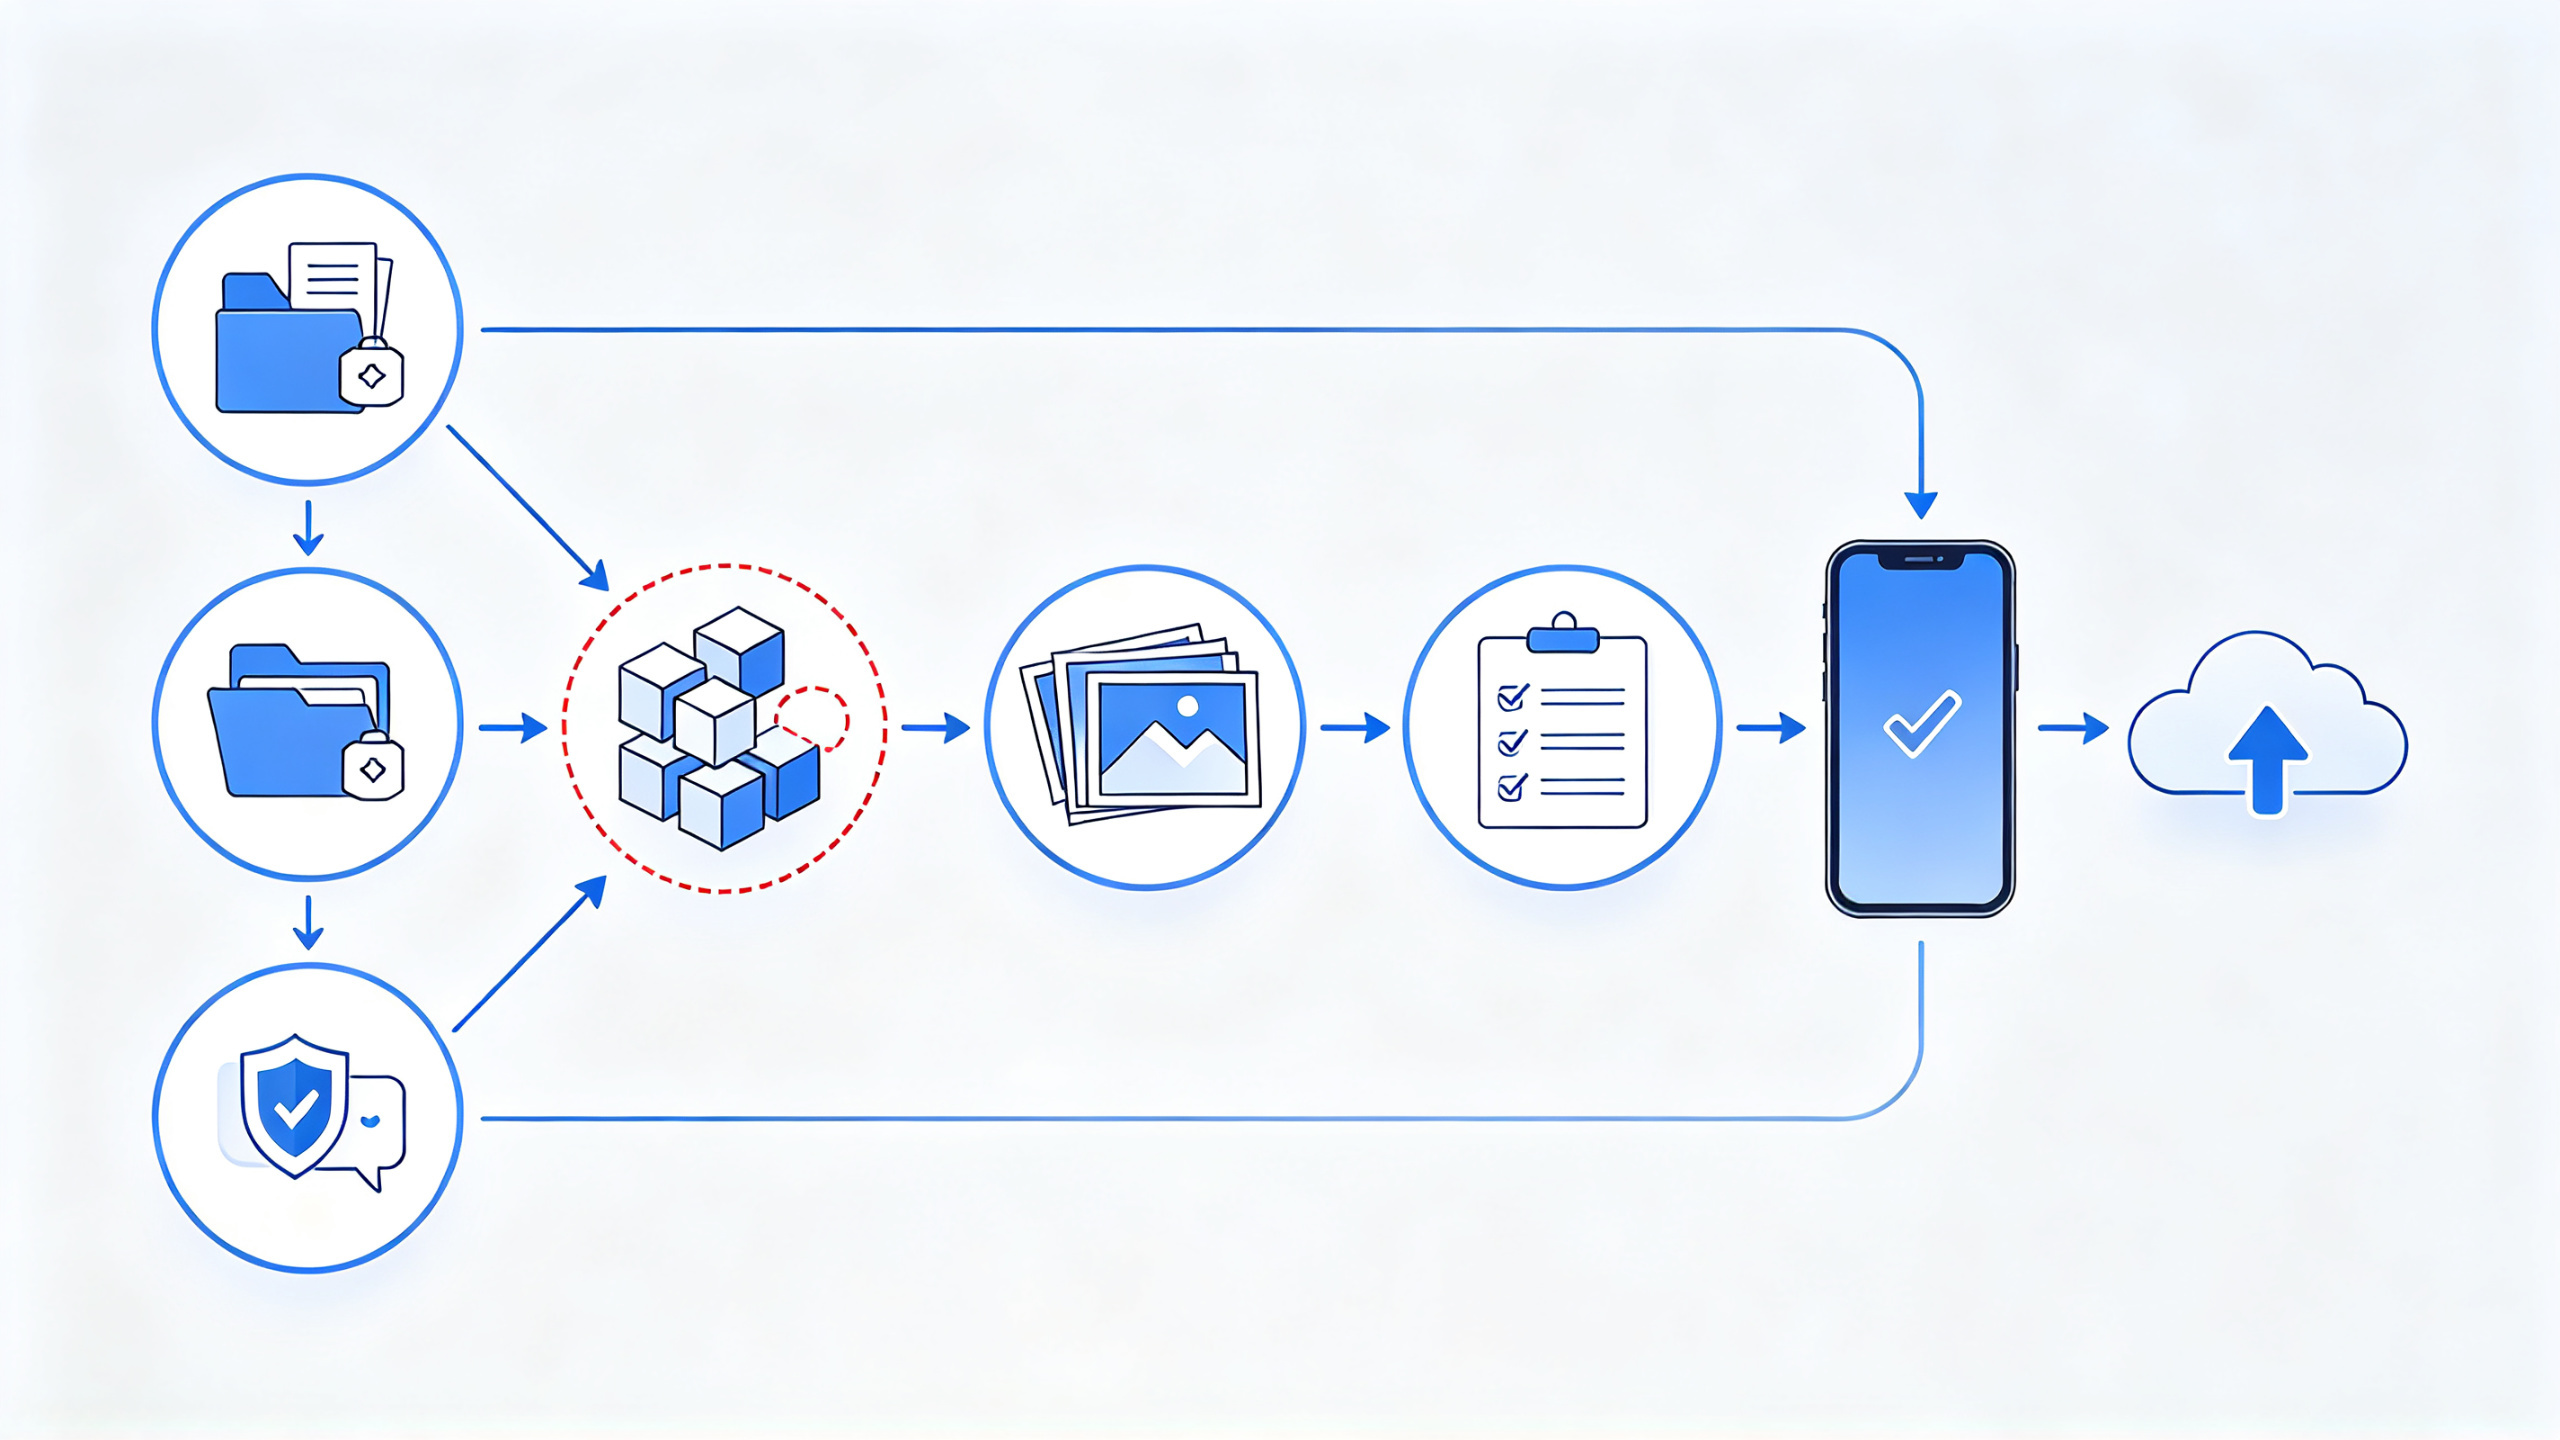
The entire solution can be broken down into five steps, organized clearly in the table below:
Step | Operation content | Core output |
1 | Collect the current build package and source code inventory | Complete inventory of dependency libraries and resources |
2 | Clean up useless dependency libraries and rebuild the dependency environment | Clean Podfile and build artifacts |
3 | Clean up and regenerate image assets | New resource hash table |
4 | Check metadata such as Bundle ID, project code name, and version number | Differentiated fingerprint |
5 | Upload the new build version and reply to review | Evidence chain and appeal record |
These five steps look simple, but each step has many details. In the next two chapters I will expand on the specific operations.
3.3 Why We Do Not Recommend Underhanded Tricks
Some developers ask whether they can add a meaningless obfuscated string to the package, or change image pixels, to make hash comparison fail. In the short term it may work, but Apple's review backend has already upgraded its feature extraction mechanism; it can filter out meaningless pixel perturbations and can also identify the junk code you forcibly insert. What is more troublesome is that as long as manual reviewers see that the in-app screenshots and the actual icon display do not match, they will reject it on the grounds of inconsistent interface or icon violation, and at that point it is not just 4.3a.
My view is that instead of fighting the machine, it is better to wash the fingerprints in the package clean. Making a clean, unique, and logically clear App is the stable approach to getting listed. Do not treat review as an enemy; review is a mirror that reveals an App's portrait, and whatever old materials you are hiding that cannot see the light will sooner or later be dug out.
4. Practical Dependency Library Cleanup: Remove the Dusty "Old Neighbors"
4.1 Find the Suspicious Dependencies
Before cleaning dependency libraries, first figure out exactly what dependencies are in the project. If your project uses CocoaPods, the simplest entry point is Podfile and Podfile.lock. Podfile.lock lists the exact versions of all installed Pods. Compare it with the libraries actually used by the current business, and you can quickly find useless items.
Manual integration requires more effort. Open the Xcode project, look at the Frameworks directory in the left sidebar of the Project Navigator, and also check Link Binary With Libraries and Copy Bundle Resources in Build Phases. Many legacy Frameworks and .bundle files are lying in these locations, with unclear purpose, but they are packed in every time you build.
You can also use the command line to directly inspect the final built binary dependencies:
otool -L [地址已省略]
This command lists all dynamic libraries linked by the executable. If there is a library in there whose purpose you do not even know, it means the dependencies of some module have not been cleaned up thoroughly. You can also list all Frameworks and bundles in the .app directory:
find [地址已省略] -name "*.framework" -o -name "*.bundle"
Generally speaking, a mature App should not have more than three third-party SDKs unrelated to the business in its final package. If you find four or five unrelated large SDKs in your package, then you should be on alert.
4.2 Thoroughly Remove Useless SDKs and Rebuild the Dependency Environment
Finding useless dependencies is only the first step. When actually cleaning them up, I strongly recommend operating in the following order. First, make a complete backup of the project. Better to back up too much than too little, because you never know which step will break the project.
Step one, modify the Podfile to keep only the libraries truly needed by the current business, and lock the version numbers. Locking version numbers is very important; otherwise, after cleanup and re-resolving dependencies, it may automatically upgrade to a new version and introduce new problems.
Step two, run deintegrate in the project directory to first erase the traces of CocoaPods integration:
pod deintegrate
Step three, delete the Pods directory, Podfile.lock, and the xcworkspace file. One reminder here: after Podfile.lock is deleted, the next pod install will re-resolve dependencies. If you have not locked the version numbers, it may install a different version. So if you are not very sure about the versions of some libraries in the Podfile, copy the old Podfile.lock as a backup before operating.
rm -rf Pods Podfile.lock *.xcworkspace
Step four, clean CocoaPods' local cache and DerivedData to avoid old build artifacts confusing the picture:
rm -rf ~/Library/Caches/CocoaPods
pod cache clean --all
rm -rf ~/Library/Developer/Xcode/DerivedData
Step five, run pod install again:
pod install --repo-update
Step six, run Clean in Xcode, then Archive again. If your project still has third-party source code folders manually dragged in, handle them separately. Especially those SDK source codes containing XIB, Storyboard, and image resources: even if the code is not called, the resource files will still be packed into the App package. When cleaning, pay special attention to Copy Bundle Resources in Build Phases; remove all files that are shown there but are no longer used.
4.3 How to Verify After Cleanup
After cleaning the dependency environment, rebuild the package, then verify using the previous methods:
otool -L [地址已省略]
Compare the dynamic library lists before and after cleanup to confirm that those "old neighbors" are no longer there. Then look at the App package size. If it was 60MB before cleanup and becomes 20MB after cleanup, the effect is very obvious. Record the package size, number of dynamic libraries, and Podfile.lock changes before and after cleanup; this data will be needed later when responding to review.
There is also a detail here that many people overlook: check whether Info.plist and embedded.mobileprovision in the .app point to the correct Bundle ID. If the Bundle ID and icon keep changing across iterations, sometimes old names remain in Info.plist. When machine scanning sees that the App name and the metadata inside the package are inconsistent, it will also create a sense of distrust. So when cleaning dependencies, also go through all invalid fields in Info.plist.
5. Image Resource Cleanup and Fingerprint Reconstruction
5.1 Full Scan of Resources, First Look at Duplication Rate and Overlap
The goal of image resource cleanup is not to delete every single image, but to ensure no fingerprints overlapping with template assets remain in the package. The first step is to list all image resources in the project and generate a hash manifest:
find . -type f \( -name "*.png" -o -name "*.jpg" -o -name "*.jpeg" -o -name "*.gif" -o -name "*.pdf" \) \
  ! -path "./DerivedData/*" ! -path "./Pods/*" ! -path "./build/*" ! -path "./.git/*" \
  -exec shasum -a 256 {} \; > asset_sha256.txt
This step outputs the SHA256 hashes of all image and PDF resources to asset_sha256.txt. Next, count duplicate hashes:
cat asset_sha256.txt | awk '{print $1}' | sort | uniq -d
If the output is empty, it means there are no two completely identical images. If a batch of duplicate hashes is output, it means you have multiple copies of duplicate resources in the project. Duplicate resources themselves carry risk — they indicate you have retained old materials from historical versions and have not achieved streamlining.
5.2 Rewrite common assets instead of renaming them
For images in the project that obviously come from templates, sample projects, or UI Kits, simply renaming them is useless. Machines compare the binary content of image files, not filenames. If you rename “demo_bg.png” to “my_background.png”, the hash will not change, and it will still match the template fingerprint.
The correct approach is to regenerate these images. If you can find the design source files, it is best to re-export them directly in design software; if you cannot find the source files, you can rewrite the image data via the command line. For example, use sips, which comes built into macOS:
sips -s format png source_demo.png --out output_new.png
Or use pngcrush to recompress and clean up metadata:
pngcrush -rem alla -reduce -brute source_demo.png output_new.png
Rewritten images may look visually identical, but their binary hash has already changed, which can break fingerprint matching. However, I must remind you that rewriting does not equal original creation. If your image looks visually identical to a screenshot of an already listed App, manual review may still spot the issue. Therefore, the best approach is still to completely replace those generic, widely used assets with your own unique designs.
Launch images and App icons are especially important. The App icon is a resource that the review backend will definitely extract. Many old projects follow the practice of reusing template icons or only changing one color, and these will be identified. Here are two suggestions: first, do not directly use templates found online for the icon; second, if the icon contains features such as grids, shadows, or gradients, try to redesign them. At minimum, ensure it has obvious differences from existing Apps in both visual appearance and fingerprint.
5.3 Use the hash manifest as self-certification material
After cleaning up image resources, run the hash scan again to generate a new asset_sha256.txt. Keep this file safe, as it is your self-certification material. The ideal state is: every hash in the manifest is unique, and you know these images were all produced by your own designers.
Before submitting a new version, you can organize asset_sha256.txt, Podfile.lock, a comparison of build package sizes before and after cleanup, and several key screenshots into one folder. When replying to the review, these are concrete evidence. Apple reviewers handle a large number of complaints every day. If you can proactively submit a manifest stating “I have cleaned up all useless SDKs and template assets”, it is far more convincing than making vague statements such as “we really did not copy others”.
6. On-site experience for pre-submission checks and review replies
6.1 A 10-minute self-check list before submission
After cleaning up dependency libraries and image resources, do not rush to upload; first complete a round of checks. I usually spend ten minutes going through the list below:
Whether the Bundle ID, App name, and version number are consistent;
Whether keywords such as “sample”, “demo”, “test”, and “placeholder” can be found in searches of the project;
Whether every remaining Pod in Podfile.lock has corresponding calls that can be found in the business code;
Whether there are still unknown .framework or .bundle files in the packaged .app;
Whether launch images, App icons, and tab bar icons have all been replaced;
Whether the privacy manifest (PrivacyInfo.xcprivacy), newly added after iOS 17, is complete;
Whether screenshots are completely consistent with the actual interface, especially the launch screen and icon.
These ten minutes can help you avoid a lot of unnecessary rework. The privacy manifest in particular is not configured in many projects after Xcode 15; even if the 4.3a issue is resolved, the app may still be rejected due to privacy issues. Do not dig two pits for yourself in a single submission.
6.2 What wording to use when replying to reviews
If 4.3a was rejected directly in the review message, when you submit a reply in the Resolution Center in App Store Connect, your wording should be concise and forceful. Do not argue "we did not plagiarize," and do not ramble too far. Instead, tell the reviewer what you did and what evidence you provided.
Below is a reply structure you can refer to:
Hello, we have thoroughly reviewed our project and found that several old third-party SDKs and template assets from previous versions were still bundled in the binary. We have removed all unused SDKs, rebuilt the image assets from original design files, and re-uploaded the binary as build version 1.0.3. The attachment includes the updated Podfile.lock, an asset fingerprint list generated by SHA256, and the build size comparison before and after cleanup. Please re-evaluate our submission. Thank you.
This passage has no confrontational emotion and no empty statements. The core message is simply "I have already cleaned the fingerprints in the package, and I have evidence." When reviewers see this kind of reply, they will usually push your package back into the review queue.
6.3 Timeline expectations and several actions to avoid
After you submit a new build, the status will re-enter "Waiting for Review" or "In Review." Generally, there will be a result within 1 to 3 business days. If your Reply has already been sent, but the wait exceeds three days, you can request expedited review in App Store Connect, but only if you have a reasonable justification. Do not submit one version a day to make your presence felt. Every time you submit, the review queue resets, which instead slows down the pace.
Another pitfall that is easy to overlook is: if multiple apps under the same account all use similar dependency libraries and resources, and you clean one, the other is still there. The scope of machine comparison reference is the entire App Store. If your other app has already been flagged with 4.3a, this newly submitted app will also be affected. So when cleaning up, it is best to go through the same batch of projects, not just save one package.
7. Several pitfalls I have stepped into: view them as negative examples
7.1 The lesson of blindly adding obfuscated code
When dealing with 4.3a early on, someone suggested I stuff a bunch of meaningless strings into the binary to make the code fingerprint more complex. I tried it once, and the result was a larger package size, longer review time, and it was still rejected if it was going to be rejected. Later I figured it out: machine review no longer looks only at a single feature. It aggregates code structure, resource fingerprints, SDK combinations, and metadata to score everything. Adding noise at a single point only makes the whole package look more suspicious.
7.2 The case where image "fine-tuning" instead attracted manual attention
Once, we had a launch image that visually was just some template asset plus a line of slogan. At the time I thought changing the size and adjusting the saturation would be enough, but the human reviewer directly asked in Review, "Why does this launch image share layout with another app." That submission was directly rejected, and it added another round of manual explanation. Since then, template assets are all deleted and redesigned, and no fine-tuning is done anymore.
7.3 The version synchronization problem that is easy to overlook during team collaboration
Many projects are maintained by more than one person. You cleaned the Podfile on this computer, but the branch in your colleague's hands still has the old Pods directory, and in the end the Archive submitted is still the old project, which means all the work was wasted. Later, before submitting a version, we would do a collective acceptance check, pull a clean branch, merge all changes, and run pod install again to confirm that no old files were mixed in. This detail looks small, but in fact it saved us more than once.
My personal experience in actual operations is: 4.3a is never a copywriting game, but a game of package fingerprints. Dependency libraries and image resources are the two areas most easily dragged down by historical projects, and also the areas most worth spending time cleaning up. If you are currently stuck in the quagmire of 4.3a, my advice is very direct: do not rush to change the description first. Dig out all those dusty SDKs and old assets in the project, clean them thoroughly, regenerate the fingerprints, and then go reply to the review. After going through this process, you will find that Apple review is actually much more reasonable than you imagined.